Wiring a car stereo might seem tricky at first, but with the right steps, you can do it yourself and enjoy great sound on the road. Imagine turning on your car and hearing your favorite music perfectly clear, just the way you like it.
Whether you’re upgrading your old system or installing a new one, getting the wiring right is key. In this guide, you’ll learn how to wire your car stereo correctly, avoid common mistakes, and save time and money. Ready to take control of your car’s sound system?
Let’s get started.
Tools And Materials Needed
Wiring a car stereo needs the right tools and materials. Using proper equipment makes the job easier and safer. It helps avoid damage to your car’s electrical system. Getting prepared before starting saves time and stress.
Essential Tools
Start with a wire stripper. It removes insulation cleanly from wires. A crimping tool is important for securing connectors. Use a multimeter to check voltage and connections. A screwdriver set is necessary for removing panels and screws. Electrical tape or heat shrink tubing helps protect wire joints. A panel removal tool prevents damage to interior parts.
Required Materials
Use the correct gauge wire for your stereo’s power and speakers. Connectors like butt connectors or spade terminals ensure solid connections. A wiring harness adapter matches your car’s factory wires to the stereo. Fuse holders and fuses protect your system from power surges. Zip ties keep wires organized and away from moving parts. A ground wire is needed to avoid electrical noise and interference.

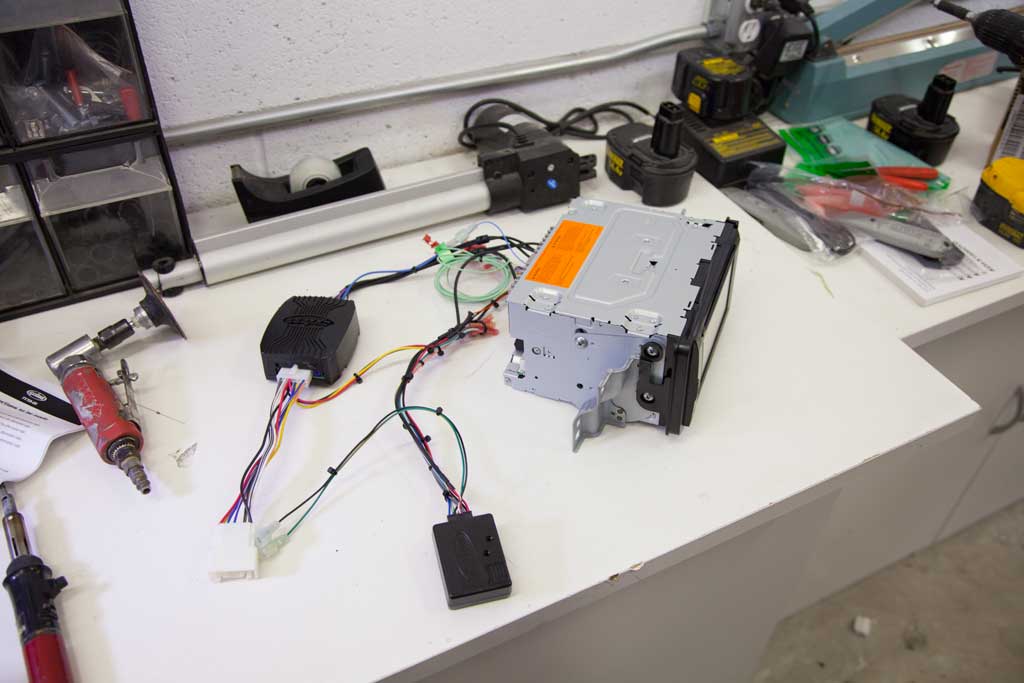
Preparing The Car Stereo
Preparing the car stereo is the first step to a successful installation. This stage ensures safety and proper connection. Take your time to get everything ready before wiring.
Starting with the old stereo removal and checking the wiring helps avoid issues later. Clear and clean connections lead to better sound and performance.
Removing The Old Stereo
Begin by turning off the car and disconnecting the battery. This prevents electrical shocks and damage. Use the right tools to remove the stereo panel carefully. Avoid forcing parts to stop breaking clips or wires. Gently pull the stereo out of the dashboard. Disconnect all wires attached to the back. Keep screws and small parts safe for later use.
Inspecting The Wiring Harness
Look closely at the wiring harness once the stereo is out. Check for any cuts, frays, or corrosion on the wires. Damaged wires can cause poor sound or no power. Clean connectors with a soft brush or cloth if needed. Match the harness wires with the new stereo’s wires. Use a wiring diagram to avoid confusion. Replace any faulty wires before installing the new stereo.
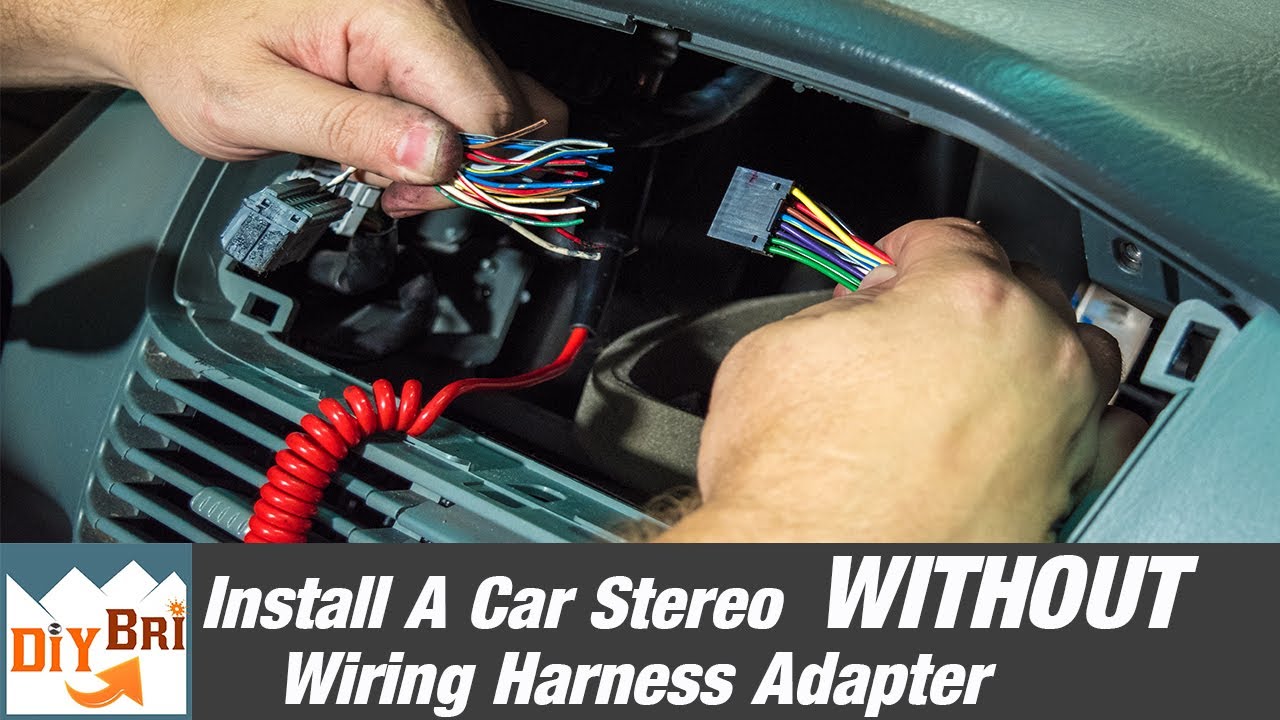
Identifying Wire Colors And Functions
Identifying the wire colors and their functions is a key step in wiring a car stereo correctly. Each wire has a specific role in delivering power, sound, or signals. Knowing which wire does what helps avoid mistakes and protects your car’s electrical system.
Wires come in different colors for easy recognition. These colors usually follow a standard code. Understanding this code makes the installation process faster and safer.
Common Wire Colors
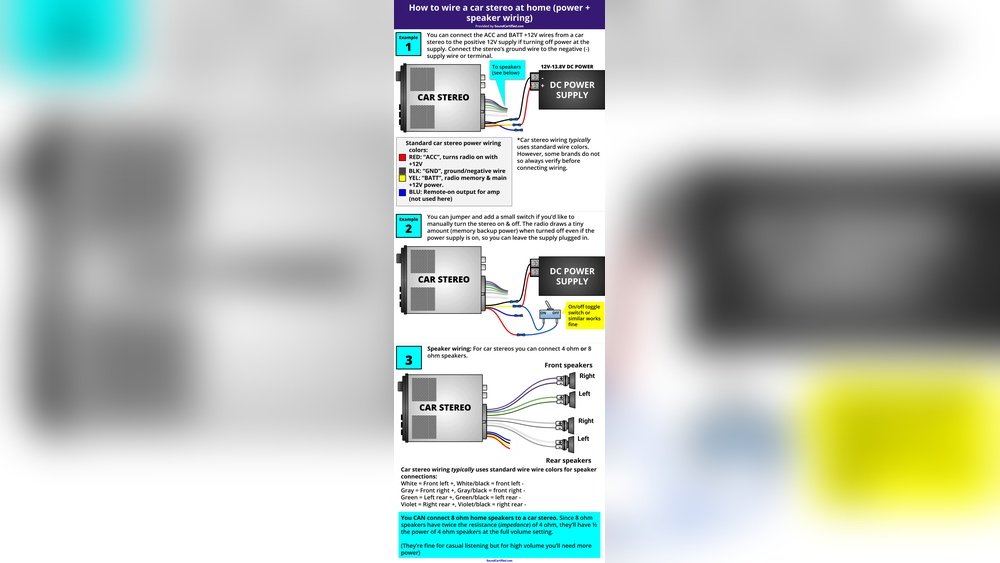
Car stereo wires often use these common colors:
- Yellow: Constant 12V power from the battery
- Red: Switched 12V power, active with ignition
- Black: Ground wire
- Blue: Power antenna or amplifier turn-on
- White and White/Black: Front left speaker positive and negative
- Gray and Gray/Black: Front right speaker positive and negative
- Green and Green/Black: Rear left speaker positive and negative
- Purple and Purple/Black: Rear right speaker positive and negative
Matching Wires To Functions
Match each wire to its function by color and label. Connect yellow to the battery for constant power. Attach red to ignition power for the stereo to turn on with the car. Ground the black wire to the car’s chassis or metal part.
Blue wires control the antenna or amplifier. Connect speaker wires in pairs: positive color without stripe and negative with stripe. Check your stereo’s manual if colors differ from the list.
Connecting Power And Ground Wires
Connecting power and ground wires is a key step in wiring a car stereo correctly. These connections provide the electrical current needed for your stereo to work. The power wire delivers voltage, while the ground wire completes the circuit. Proper connections ensure your stereo runs smoothly and safely. Incorrect wiring can cause shorts or damage. Follow clear steps to connect these wires right.
Locating Power Sources
Find the main power source in your car’s fuse box or wiring harness. The stereo usually needs a constant 12-volt power supply. This power keeps the memory and settings saved even when the car is off. Look for a red wire in the stereo harness; this is often the constant power wire. Use a test light or multimeter to confirm power presence. Also, find the ignition wire, which powers the stereo only when the car is on. This wire is often yellow or orange. Correctly connecting both wires is important for proper stereo function.
Securing The Ground Connection
The ground wire is usually black and connects the stereo to the car’s metal frame. This connection prevents electrical noise and ensures safety. Find a clean, bare metal spot near the stereo location. Remove any paint or rust to make a good contact. Use a ring terminal and a screw or bolt to attach the ground wire firmly. A loose ground can cause the stereo to cut out or produce static. Check the connection by testing continuity with a multimeter. A solid ground connection keeps your stereo stable and noise-free.
Wiring The Speakers
Wiring the speakers is a key step when installing a car stereo. It affects sound quality and system performance. Proper wiring ensures clear audio and avoids damage to your equipment.
Speaker wires carry the audio signal from the stereo to each speaker. Connecting these wires correctly is important. Incorrect wiring can cause weak sound or no sound at all.
Connecting Speaker Wires
Start by identifying the speaker wires from your stereo harness. These wires usually have different colors for each speaker. Match the wires to the correct speaker terminals.
Strip about half an inch of insulation from each wire end. Twist the exposed wire strands to prevent fraying. Connect the wire to the speaker terminal by pushing or screwing it in place.
Use electrical tape or wire connectors to secure each connection. Loose wires can cause poor sound or short circuits. Double-check each connection before moving on.
Ensuring Proper Polarity
Polarity means matching positive and negative wires correctly. Most speaker wires have a marking or color code. A common code is a stripe or different color for the negative wire.
Connect the positive wire to the speaker’s positive terminal. Connect the negative wire to the speaker’s negative terminal. Reversing polarity causes speakers to push and pull out of sync.
Incorrect polarity makes sound weak and unclear. It reduces bass and overall audio quality. Always verify polarity before finalizing your wiring.
Attaching Antenna And Additional Components
Attaching the antenna and additional components is a key step in wiring a car stereo correctly. These parts ensure clear radio signals and better sound quality. Proper connections help avoid noise and interference. This section explains how to connect the antenna and hook up extra devices like amplifiers.
Connecting The Antenna
Locate the antenna cable on the car stereo unit. This cable usually has a round connector. Match it with the car’s antenna plug. Push the antenna plug firmly into the stereo’s antenna socket. A loose connection can cause static or weak signals. Check the antenna wire for any damage. Replace it if the wire is frayed or broken. The antenna should be connected before testing the radio. This ensures the best reception and sound clarity.
Hooking Up Amplifiers And Accessories
Amplifiers boost the stereo’s sound power. Connect the amplifier’s power wire to the car’s battery. Use a fuse near the battery for safety. Attach the amplifier’s ground wire to a metal part of the car body. Connect the amplifier’s input cables to the stereo’s RCA output jacks. Make sure the wires are secure and away from moving parts. Other accessories, like equalizers or subwoofers, connect similarly. Follow each device’s manual for proper wiring. Proper connection prevents damage and improves audio performance.
Testing The Stereo System
Testing the stereo system is a key step after wiring your car stereo. It helps confirm everything works well. This process ensures you enjoy clear sound and proper function. Take your time to check each part carefully. It saves effort and avoids future issues.
Powering On And Audio Check
Start by turning on the car’s ignition. Watch the stereo display light up. This shows the power wire connection is correct. Next, play some music from your chosen source. Listen to the sound from all speakers. Adjust the volume slowly to prevent loud surprises. Check if the audio is clear and balanced. Make sure all speaker channels produce sound. Test bass and treble settings to confirm they work. If sound is weak or missing, double-check speaker wires.
Troubleshooting Common Issues
No power? Check the fuse and battery connection. Loose wires cause most problems. Secure all connections firmly. No sound? Inspect speaker wiring and ground wire. Swap the stereo with another device to test speakers. Static noise? Look for interference or poor wire insulation. Reset the stereo by disconnecting the battery briefly. Repeat the audio check after fixing issues. Patience helps solve wiring problems fast.
Securing And Finishing The Installation
Securing and finishing the installation is a key step in wiring a car stereo correctly. This ensures safety and protects the wiring from damage. Proper finishing also helps the stereo work without issues for a long time.
Taping And Insulating Wires
Wrap all wire connections with electrical tape. This prevents wires from touching and shorting out. Use high-quality tape made for electrical use. Cover every exposed wire fully. Double-check that no metal parts are visible.
For extra protection, use wire connectors or heat shrink tubing. These add a strong barrier around the wires. They also keep moisture and dust away. This step improves the overall safety of your stereo wiring.
Reinstalling The Stereo Unit
Carefully place the stereo back into the dash. Make sure no wires get pinched or bent. Secure the unit with screws or mounting brackets. Tighten them enough to hold the stereo firmly.
Test the stereo before closing the dash completely. Turn it on to check sound and functions. If everything works, snap the dash panels back in place. This step finishes the installation neatly and securely.
Frequently Asked Questions
How Do I Prepare Wires For Car Stereo Installation?
Strip about half an inch of insulation from each wire. Use wire strippers for a clean cut. Twist exposed wires tightly to avoid fraying. This ensures a secure and stable connection during installation.
What Colors Correspond To Car Stereo Wires?
Common wire colors include red for power, black for ground, and yellow for constant power. Speaker wires often come in pairs with solid and striped colors. Knowing these colors helps you connect the stereo correctly and safely.
Can I Use Electrical Tape For Wiring Connections?
Electrical tape can temporarily insulate connections but isn’t ideal for long-term use. Use crimp connectors or solder for secure, durable connections. Proper insulation prevents shorts, ensuring reliable stereo performance.
What Tools Are Needed To Wire A Car Stereo?
Essential tools include wire strippers, crimpers, electrical tape, and a multimeter. A screwdriver and panel removal tool are helpful too. These tools make the wiring process easier and safer.
Conclusion
Wiring a car stereo correctly improves sound and safety. Follow the steps carefully and check each connection twice. Use the right tools to avoid damage or shorts. Take your time and stay organized with wires and colors. Double-check your work before turning on the stereo.
A properly wired system gives clear sound and long-lasting use. Enjoy your music without worry or distractions. Simple steps make a big difference in your car audio experience.