If you’ve noticed unusual noises, reduced performance, or warning lights on your dashboard, metal contaminants might be lurking inside your engine. These tiny metal particles can cause serious damage if left unchecked, leading to costly repairs.
But don’t worry—flushing these contaminants out is easier than you think. You’ll discover simple, effective steps to clean your engine and protect it from further harm. Keep reading to learn how to keep your engine running smoothly and extend its life.

Signs Of Metal Contamination
Metal contamination in an engine can cause serious damage. Early detection is key to preventing costly repairs. Recognizing the signs helps you act fast. These signs often appear before major problems develop.
Unusual Engine Noises
Listen for knocking or grinding sounds. These noises can mean metal parts rub against each other. Metal debris in the engine oil causes friction. This friction creates strange sounds when the engine runs.
Reduced Performance
The engine may feel weaker than usual. Acceleration slows, and power drops. Metal contamination can clog engine parts. This blockage stops the engine from working well. You might notice the car struggles on hills or during quick starts.
Oil Discoloration
Check the engine oil color regularly. Clean oil looks amber or light brown. Dark or metallic-colored oil signals metal particles inside. These particles come from worn engine parts. Contaminated oil loses its ability to protect the engine.

Causes Of Metal Particles In Engine
Metal particles in an engine can cause serious damage over time. These tiny fragments come from different sources inside the engine. Understanding why metal particles appear helps in taking the right steps to remove them. Below are the main causes of metal particles in engines.
Wear And Tear
Engines have many moving parts that rub against each other. This friction causes small bits of metal to break off. Normal use wears down metal parts slowly. Older engines or those with high mileage often have more metal particles. Lack of lubrication speeds up this wear process.
Poor Maintenance
Skipping oil changes or using low-quality oil can harm the engine. Dirty oil carries abrasive particles that grind engine parts. Filters that are clogged or damaged allow metal debris to circulate. Regular maintenance keeps the engine clean and reduces metal build-up. Neglecting maintenance invites metal particles to accumulate quickly.
Manufacturing Defects
Some engines have flaws from the factory. Poorly made parts may wear out faster or break easily. Defective bearings, pistons, or seals can release metal fragments early. These defects cause unusual metal particle levels even in new engines. Detecting such problems early can prevent major engine damage.
Tools And Materials Needed
Flushing metal contaminants from an engine requires the right tools and materials. These items help remove dirt and metal particles safely. Proper preparation ensures the engine stays clean and works better. Gather everything before starting the flush process.
Engine Flush Chemicals
Engine flush chemicals dissolve metal particles and sludge inside the engine. They mix with old oil to clean hard-to-reach parts. Use a product designed for your engine type. Follow the instructions on the label for safe use.
Oil Drain Pan
An oil drain pan catches old oil and contaminants during the flush. It prevents spills and keeps your workspace clean. Choose a pan large enough to hold all the used oil. Place it under the drain plug before removing old oil.
New Engine Oil And Filter
After flushing, replace the old oil with new engine oil. Use the correct oil grade recommended by your vehicle’s manual. Also, install a new oil filter to trap fresh dirt and debris. This step protects your engine and improves performance.
Preparing The Engine For Flushing
Preparing the engine for flushing is a key step in removing metal contaminants. It ensures that the process works well and protects engine parts. Proper preparation helps the flushing fluid reach all areas with dirt and metal bits.
Follow these steps carefully to get the engine ready. Each step helps clear old oil and makes space for fresh fluid. This setup lets the flushing clean deeply and safely.
Warm Up The Engine
Start the engine and let it run for about 5 to 10 minutes. Warm oil flows better and carries away dirt easily. Avoid overheating the engine; just get it warm enough for good circulation.
Drain Old Oil
Place a container under the drain plug and remove the plug. Let all old oil flow out fully. Old oil holds metal bits and dirt. Removing it clears the way for the flushing fluid to work well.
Replace Oil Filter
Remove the old oil filter carefully. Metal contaminants can stick inside it. Install a new oil filter before adding new oil. This step stops old dirt from returning to the engine during flushing.
Step-by-step Engine Flushing Process
Flushing metal contaminants from an engine helps keep it clean and working well. This process removes tiny metal bits that cause wear and damage. Follow these easy steps to flush your engine safely and effectively.
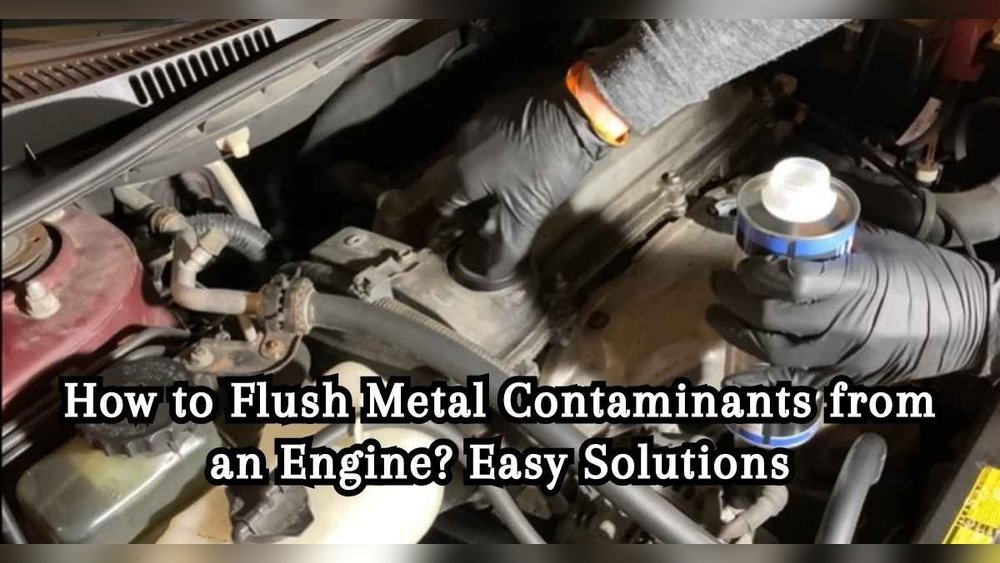
Add Flush Solution
Start by adding the engine flush solution to the oil filler hole. Use the amount recommended on the product label. This solution helps break down metal particles and sludge inside the engine.
Run Engine At Idle
Next, run the engine at idle speed for about 10 to 15 minutes. Keep the engine warm but avoid revving it high. This lets the flush solution circulate and clean internal parts gently.
Drain Flush Solution
Turn off the engine and drain the oil while the flush solution is still mixed inside. Be careful, as the oil may be hot. Dispose of the used oil and flush solution properly to protect the environment.
Refilling With Clean Oil
After flushing out metal contaminants, refilling your engine with clean oil is crucial. Clean oil helps protect engine parts and keeps everything running smoothly. Using the right oil and filling it correctly prevents damage and ensures the engine works well.
Choose The Right Oil
Select oil that matches your engine’s needs. Check the owner’s manual for the correct type and grade. Using the right oil improves engine performance and protects against wear. Avoid cheap or wrong oils to prevent damage.
Fill To Recommended Level
Pour the oil slowly into the engine. Stop when the oil reaches the recommended level. Overfilling can cause pressure problems. Underfilling may lead to poor lubrication. Use the dipstick to check the level accurately.
Check For Leaks
After filling, start the engine and watch carefully. Look under the car for any oil drips or leaks. Leaks can cause oil loss and engine damage. Fix any leaks before driving the vehicle again. Regular checks help keep the engine safe.
Post-flush Maintenance Tips
After flushing metal contaminants from your engine, proper care is crucial. Post-flush maintenance helps keep the engine clean and running smoothly. Follow these simple tips to protect your engine and extend its life.
Regular Oil Changes
Change your engine oil often. Fresh oil removes leftover metal particles. It also protects engine parts from wear. Use the right oil type for your vehicle. Stick to the oil change schedule in your owner’s manual. This keeps the engine lubricated and clean.
Monitor Engine Performance
Watch for unusual noises or vibrations. These can signal metal debris still inside. Check fuel efficiency and acceleration. Any drop might mean engine trouble. Track engine temperature regularly. Overheating can cause damage after flushing. Early detection helps avoid costly repairs.
Schedule Professional Inspections
Have a mechanic inspect your engine regularly. Professionals can spot hidden damage or wear. They check oil quality, filters, and engine parts. Inspections ensure the flush was successful. They also catch problems before they grow. Schedule visits based on your driving habits and vehicle age.

Frequently Asked Questions
What Causes Metal Contaminants In An Engine?
Metal contaminants come from engine wear, friction, and corrosion. These particles damage engine parts and reduce performance.
How Do You Flush Metal Contaminants From An Engine?
Use an engine flush additive with oil change. Run the engine briefly to circulate the cleaner, then drain the oil.
Can Engine Flush Prevent Future Metal Contamination?
Yes, regular engine flushes remove sludge and metal debris. This helps maintain engine health and prevents buildup over time.
How Often Should You Flush Metal Contaminants From An Engine?
Flush every 3,000 to 5,000 miles or during oil changes. Frequency depends on vehicle age and driving conditions.
Conclusion
Flushing metal contaminants from your engine keeps it running smooth. Regular cleaning helps avoid costly repairs later. Use the right products and follow steps carefully. Keep an eye on engine performance after flushing. Clean engines last longer and work better.
Taking simple actions now saves time and money. Trust the process and stay consistent with maintenance. Your engine will thank you with improved power and efficiency.


