Want to enjoy your favorite music, videos, or navigation apps on a bigger screen while driving? Connecting your car stereo to an external display can completely change your driving experience.
But if you’re unsure where to start or worried about complicated wiring, don’t worry—you’re in the right place. This guide will show you simple, step-by-step ways to link your car stereo to an external display, making your car smarter and more fun.
Keep reading to discover how easy it is to upgrade your setup today!

Choosing The Right External Display
Choosing the right external display for your car stereo is key to a better viewing experience. The right screen makes watching videos, using navigation apps, or viewing pictures easier and more enjoyable. Several factors affect your choice, including the type of display, its size, resolution, and how it connects to your stereo.
Types Of Displays Compatible With Car Stereos
Many external displays work with car stereos. Common types include LCD, LED, and OLED screens. LCD screens are affordable and widely available. LED displays offer brighter images and use less power. OLED screens have better color and contrast but cost more. Choose a display that fits your budget and needs.
Screen Size And Resolution Considerations
Screen size matters for comfort and safety. Too large a screen can block your view. A screen between 7 to 10 inches fits most cars well. Resolution affects picture clarity. A higher resolution means sharper images. Aim for at least 720p for clear video playback. Balance size and resolution for the best result.
Connectivity Options To Look For
Check how the display connects to your car stereo. Common options include HDMI, RCA, and USB ports. HDMI delivers high-quality video and audio. RCA cables are older but still useful for many stereos. USB ports allow playback from flash drives or smartphones. Pick a display that matches your stereo’s outputs for easy setup.
Gathering Necessary Tools And Materials
Gathering the right tools and materials is the first step to connect your car stereo to an external display. Without proper equipment, the process can become confusing and difficult. Having everything ready makes installation smoother and faster.
Before starting, know what cables, adapters, and accessories you need. This helps avoid multiple trips to the store or delays in setup. Understanding the tools also ensures a secure and clear connection between your stereo and display.
Required Cables And Adapters
Start with the cables that carry audio and video signals from the stereo to the display. Common cables include RCA cables, HDMI cables, or AV composite cables. The type depends on your stereo and display ports.
Adapters may be necessary if the ports do not match. For example, an RCA to HDMI adapter works if your stereo has RCA outputs but the display only accepts HDMI input. Check your devices before buying.
Power cables or USB cables can also be part of the setup. They provide power to the display or help with data transfer. Choose cables that fit your car stereo and external display specifications.
Additional Accessories For Installation
Besides cables and adapters, some extra tools help with a clean and safe installation. Wire connectors or crimping tools secure connections and prevent loose wires. Electrical tape or heat shrink tubing protects wires from damage.
Mounting brackets or holders keep the external display steady inside the car. These accessories prevent movement and possible damage while driving. Consider the size and shape of your display when selecting mounts.
A multimeter or voltage tester can check connections and power supply. This step ensures everything works correctly before final assembly. Small screwdrivers and panel removal tools also help open the car dashboard without damage.
Preparing Your Car Stereo
Preparing your car stereo is the first step to connect it to an external display. This step helps ensure the connection works smoothly. You need to check the stereo’s features and settings carefully. A well-prepared stereo avoids problems later on.
Start by understanding your stereo’s output options. Also, check if the firmware is up to date. These simple tasks save time and make the setup easier.
Checking Stereo Output Ports
Look at the back or sides of your car stereo. Find the output ports available for video or audio signals. Common ports include HDMI, RCA, or USB. Some stereos might have a dedicated video out port. Knowing the ports helps you pick the right cable for the connection.
Note the port types and count. Some stereos support multiple outputs. Confirm the port matches your external display’s input. This ensures the devices can communicate properly. A wrong port means no signal or poor quality.
Updating Firmware If Needed
Check your car stereo’s firmware version in the settings menu. The firmware controls how the stereo works. Manufacturers release updates to fix bugs and add features. An updated firmware improves compatibility with external devices.
Visit the manufacturer’s website for the latest firmware. Download and install updates carefully. Follow the instructions exactly to avoid errors. Updated firmware can enable new output options or better signal handling.

Wiring The Connection
Wiring the connection is a key step to link your car stereo to an external display. It involves finding the right cables, connecting audio and video signals, and securing everything for safety. Proper wiring ensures clear sound and picture without interruptions. Follow these steps carefully to avoid damage and enjoy your setup fully.
Locating And Identifying Cables
Start by finding the cables on your car stereo and external display. Look for RCA cables or HDMI ports. RCA cables usually have red, white, and yellow ends. Red and white carry audio signals, while yellow carries video. Some stereos use special connectors, so check your manual. Identifying cables correctly saves time and prevents mistakes.
Connecting Audio And Video Outputs
Connect the audio cables from the stereo’s output to the display’s audio input. Match red to red and white to white for sound. Next, plug the video cable into the display’s video input port. Make sure the cables fit snugly to avoid loose connections. Test the connection by turning on both devices and playing media.
Securing Connections For Safety
After connecting, secure the cables to prevent disconnection. Use zip ties or electrical tape to hold cables in place. Avoid tight bends or tension on wires to stop damage. Keep cables away from sharp edges and heat sources. Safe wiring reduces risk of shorts or failure while driving.
Configuring The External Display
Configuring the external display is an important step to enjoy clear visuals from your car stereo. Proper settings make sure the screen shows the right input and looks good. This process is simple but needs attention to detail.
Setting up the display correctly helps avoid blurry images or wrong colors. It also protects your eyes from strain during long drives. Follow these steps to get the best experience from your external screen.
Adjusting Input Settings
First, select the correct input source on your external display. Most displays have options like HDMI, AV, or USB. Choose the one connected to your car stereo. Use the remote or buttons on the screen to find the input menu.
Switch to the right input to see your stereo’s video feed. If the screen stays blank, try cycling through inputs again. Sometimes, the display needs a moment to recognize the connection.
Calibrating Screen For Optimal Viewing
Next, adjust brightness, contrast, and color settings for a clear picture. Use the display’s menu to find these options. Set brightness so the screen is easy to see both day and night.
Contrast controls how sharp the image looks. Increase it slightly for better detail. Color settings let you make the picture look natural. Avoid extreme changes to keep the display comfortable to view.
Check the screen angle and position. Tilt or move the display to reduce glare. This step improves visibility and safety while driving.

Testing The Setup
Testing the setup is an important step after connecting your car stereo to an external display. This step ensures everything works well. It helps you find and fix any problems early. Testing saves time and improves your listening and viewing experience.
Verifying Audio And Video Sync
Check if the sound matches the video perfectly. Play a video with clear dialogue and sound effects. Watch closely to see if the lips move with the words. Listen carefully to confirm the sound matches the action. If the audio lags or leads, adjust the settings on your stereo or display.
Sometimes, small delays happen due to signal processing. Make small changes and test repeatedly. Keep adjusting until the video and audio are synced well.
Troubleshooting Common Issues
Look for common problems like no sound, no video, or poor quality. Ensure all cables are properly connected and secure. Check the input source on your external display. Confirm the car stereo is set to output video and audio.
If the image is blurry or flickers, try a different cable or port. Reset your devices if they freeze or stop working. Consult the user manuals for specific error codes or lights. If problems persist, test the setup with another display or stereo.
Enhancing Your Setup
Enhancing your car stereo setup with an external display opens new ways to enjoy music and videos. The basic connection is just the start. Adding wireless options and smartphone integration makes the system more flexible and fun.
Adding Wireless Connectivity Options
Wireless features remove the need for extra cables. Bluetooth adapters let you stream music from your phone without wires. Wi-Fi modules can connect your stereo to the internet. This allows access to online radio and video apps directly on the display. Wireless also means easier control from anywhere inside the car.
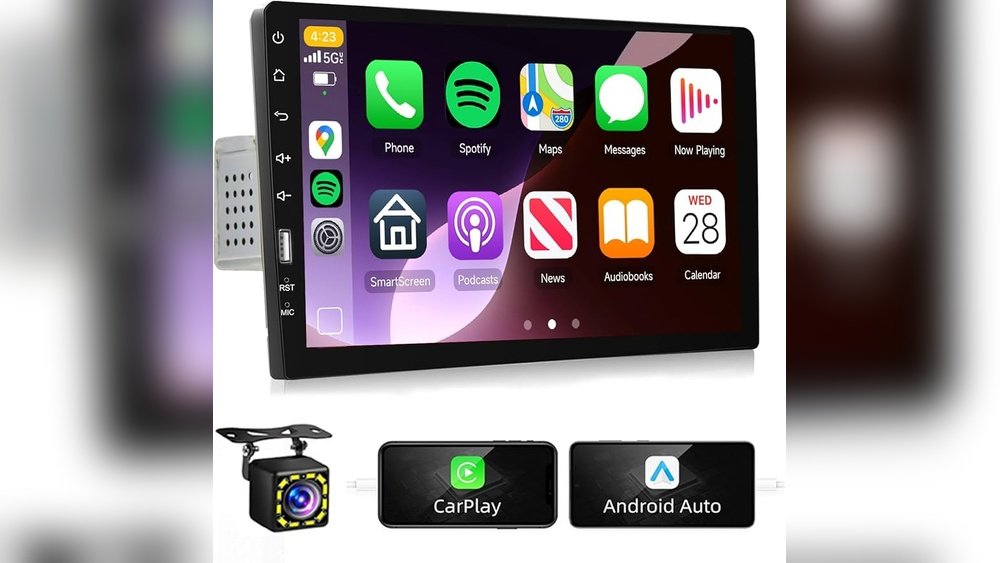
Integrating With Smartphone And Apps
Smartphones bring many apps that improve your car audio experience. Connecting your phone to the stereo display shows navigation, music apps, and calls. Apps like Android Auto or Apple CarPlay work well for this. They keep the interface simple and safe to use while driving. This integration turns your car into a smart entertainment hub.
Frequently Asked Questions
How Do I Connect A Car Stereo To An External Display?
You can connect your car stereo to an external display using an RCA or HDMI cable. Ensure both devices support the connection type. Use appropriate adapters if needed. Connect video output from the stereo to the display input. Adjust settings on both devices for optimal display.
What Cables Are Needed For Car Stereo Display Connection?
Common cables include RCA, HDMI, or AV composite cables. The type depends on your stereo and display compatibility. RCA cables are most common for older models. HDMI is used for high-definition video. Always check your device manuals for supported cable types.
Can I Use A Wireless Connection For Car Stereo Displays?
Yes, some modern car stereos support wireless connections like Miracast or Bluetooth. Wireless connections offer convenience without cable clutter. Ensure both devices support the same wireless technology. Setup usually involves pairing devices via settings menus. Wireless may have slight video latency compared to wired.
Will Connecting An External Display Affect Car Stereo Sound?
No, connecting an external display typically does not affect the stereo’s sound output. Audio usually remains routed through the car speakers or stereo’s audio output. Some setups allow separate audio output control. Check your stereo settings to manage audio sources properly.
Conclusion
Connecting your car stereo to an external display is easier than it seems. Follow the steps carefully and use the right cables. Test the connection to make sure the video and sound work well. This setup can improve your driving experience and make media more enjoyable.
Take your time and double-check each step. Soon, you will have a clear screen showing your favorite apps or videos. Enjoy the new view while driving safely and confidently.