Are you struggling to get clear, professional sound for your videos or podcasts? Connecting an external mic can make a huge difference, but it’s not always as simple as plugging it in.
You might be wondering which cable to use, where to plug it, or how to make sure your device recognizes the mic. This guide will walk you through every step, so you can boost your audio quality quickly and easily.
Keep reading, and you’ll be capturing crisp, clear sound in no time.

Choosing The Right Mic
Choosing the right external microphone can greatly improve your audio quality. The right mic captures clear sound and reduces background noise. It depends on your device, purpose, and budget. Understanding different types of microphones helps you pick the best one for your needs.
Types Of External Microphones
There are several types of external microphones. Lavalier mics clip onto your clothes for hands-free use. Shotgun mics focus on sound from one direction. Condenser mics capture detailed audio, ideal for studios. Dynamic mics are durable and good for live recording. Each type suits different recording situations.
Matching Mic To Device
Check if the microphone fits your device’s input. Smartphones often need mics with TRRS connectors. Cameras usually use XLR or 3.5mm jacks. Computers may require USB microphones. Some devices need adapters to connect certain mics. Matching the mic ensures easy setup and clear sound.
Budget Considerations
Microphones come in a wide price range. Basic models cost less and work for casual use. Mid-range mics offer better quality and features. High-end microphones deliver professional sound but are expensive. Decide your budget before buying. Balance cost with the quality you need.

Checking Device Compatibility
Checking if your device works with an external mic is very important. Not every mic fits every device. A quick check saves time and avoids frustration. You need to see what ports your device has and what the mic needs. Also, some devices need extra adapters or software to work right.
Ports And Connectors
Look at your device’s ports first. Most mics use 3.5mm jacks, USB, or Lightning connectors. Phones and tablets often have smaller ports than laptops. Some devices lack a headphone jack altogether. Knowing your device’s port helps pick the right mic. It also tells if you need extra tools to connect.
Using Adapters
Adapters help connect different plugs. For example, a 3.5mm mic can use a USB adapter. Apple devices may need a Lightning to 3.5mm adapter. Check your device’s specs for compatible adapters. Cheap or wrong adapters may cause poor sound or no connection. Choose quality adapters made for your device.
Software Requirements
Some devices need special software or apps for external mics. This software controls sound input and settings. Check if your device supports external mic input in settings. Updates can improve compatibility. Use apps recommended by the mic brand or device maker. This ensures better sound and fewer problems.
Connecting The Microphone
Connecting an external microphone is a simple process that improves your audio quality. It lets you capture clearer sound for videos, podcasts, or calls. This section explains how to connect the mic properly.
The method depends on the type of microphone and your device. Follow the steps carefully to ensure a solid connection. Proper setup prevents sound issues and interruptions.
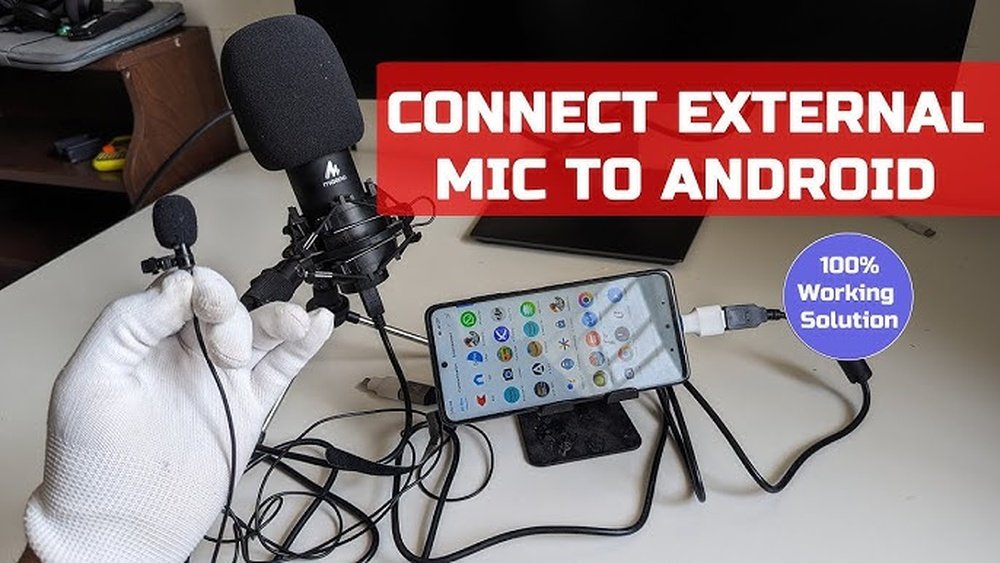
Wired Connection Steps
Start by identifying the mic’s cable type. Most use a 3.5mm jack or XLR connector. Find the matching input on your device, such as a laptop or camera.
Insert the cable firmly into the input port. Avoid forcing it to prevent damage. Turn on the microphone if it has a power switch.
Check your device settings to select the external mic as the input source. Adjust volume levels to avoid distortion or low sound.
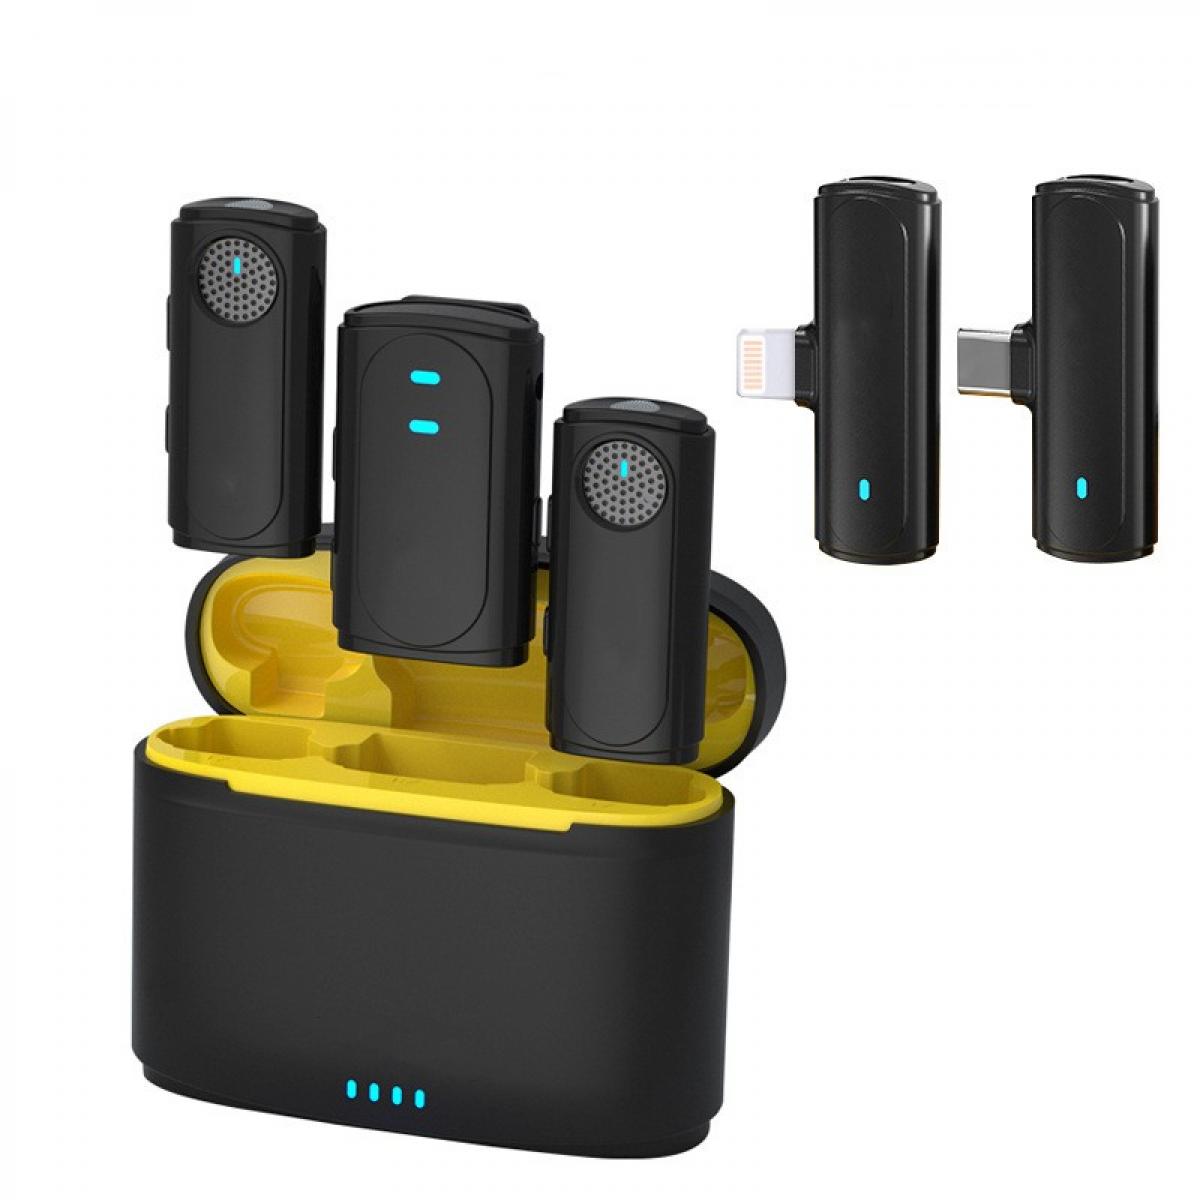
Wireless Mic Setup
Turn on the wireless microphone and its receiver. Keep them close for easy pairing. Look for a pairing button on both units.
Press the pairing buttons to connect the devices. A light usually confirms successful pairing. Move the receiver near the device’s audio input.
Use the correct cable to connect the receiver to your device. Set the device’s audio input to the external mic. Test the sound before starting your recording.
Securing The Mic
Use clips or mounts to attach the microphone securely. This stops unwanted movement and noise. Position the mic close to the sound source for best results.
Check that cables are not pulling or tangled. Use cable ties to keep them neat. Avoid touching the mic while recording to reduce noise.
Keep the mic away from wind or loud background sounds. Use windshields or foam covers if needed. Proper securing improves sound clarity and recording quality.
Configuring Audio Settings
Configuring audio settings is key after connecting an external mic. It ensures clear and balanced sound. Adjusting settings properly helps avoid low volume or poor audio quality. Follow these simple steps to get the best sound from your mic.
Selecting Input Device
First, open your device’s sound settings. Find the input or recording section. Look for the external mic in the list. Select it as the active input device. This tells the system to use your mic for sound capture. Without this step, the system may use the built-in mic instead.
Adjusting Volume Levels
Next, adjust the input volume slider. Set it high enough to capture your voice clearly. Avoid setting it too high to stop distortion. Speak into the mic and watch the volume meter. Aim for a steady green level without hitting red. Balanced volume gives clean and clear recordings.
Testing Sound Quality
Finally, test the sound quality. Use a recording app or voice chat tool. Speak naturally and listen to the playback. Check for clarity, background noise, or echo. Make small volume tweaks if needed. Repeat testing until you get a clean sound. Proper testing confirms your mic works well.
Tips For Clear Audio
Clear audio makes your recordings sound professional. It helps your audience hear every word without distractions. Following simple tips can improve your sound quality a lot. Focus on three key areas for better audio: reducing background noise, placing your mic correctly, and using pop filters or windshields.
Reducing Background Noise
Background noise lowers your audio quality. Choose a quiet room for recording. Turn off fans, air conditioners, and other noisy devices. Close windows to block outside sounds. Use soft materials like curtains or carpets to absorb echoes. These steps make your voice stand out clearly.
Proper Mic Placement
Place your mic close to your mouth but not too close. About six inches is ideal. Avoid pointing the mic directly at your mouth to reduce popping sounds. Angle it slightly to the side. Keep the mic steady to avoid noise from movement. Proper placement captures your voice clearly and naturally.
Using Pop Filters And Windshields
Pop filters block harsh “p” and “b” sounds. Attach one in front of your mic for smoother audio. Windshields reduce wind noise when recording outside. Use foam covers or furry windshields for best results. These tools protect your recording from unwanted noise and improve clarity.
Troubleshooting Common Issues
Troubleshooting common issues helps fix problems quickly. External microphones may face issues like no sound, distorted audio, or connection problems. Knowing simple fixes saves time and avoids frustration. This guide covers easy steps to solve these common problems.
No Sound Detected
Check if the mic is plugged in correctly. Use the right port or adapter for your device. Verify the mic is selected as the input device in settings. Increase the input volume to hear sound. Test the microphone on another device to rule out hardware faults.
Distorted Audio
Distorted sound often means the mic is too close to the source. Move the mic slightly away to reduce noise. Lower the input volume to avoid clipping. Use a pop filter to reduce harsh sounds. Check cables for damage that may cause interference.
Connection Problems
Loose or dirty connections cause connection issues. Unplug and replug the microphone firmly. Clean the ports and connectors gently with a dry cloth. Restart your device to refresh the connection. Update audio drivers or software to fix bugs.
Frequently Asked Questions
How Do I Connect An External Mic To A Laptop?
To connect an external mic to a laptop, locate the mic input jack. Plug the mic cable into the port. Adjust sound settings to enable the external mic. Test the mic for proper audio capture.
Can I Use An External Mic With My Smartphone?
Yes, most smartphones support external mics via the headphone jack or USB-C port. Use an adapter if needed. Select the mic input in audio settings or recording apps for best results.
What Type Of Cable Do I Need For An External Mic?
The cable type depends on your mic and device. Common cables include 3. 5mm TRS, USB, or XLR. Check your device’s input port and mic output for compatibility before connecting.
How Do I Check If The External Mic Is Working?
Open your device’s sound settings or recording app. Select the external mic as the input device. Speak into the mic and watch for input level changes. Adjust volume or settings if needed.
Conclusion
Connecting an external mic is easier than you think. Choose the right cable and port for your device. Plug it in firmly and check the settings. Test the mic to make sure it works well. Clear sound can make a big difference.
Practice a few times to get comfortable. Now, you can record or chat with better audio. Simple steps lead to better sound quality. Give it a try and enjoy your improved voice recordings.