Are you tired of your old car stereo and ready to upgrade to something bigger and better? Converting your single DIN head unit to a double DIN can completely change your driving experience.
Imagine having a larger screen, better sound, and more features at your fingertips. But how do you make this switch without hassle? You’ll discover simple, step-by-step tips that anyone can follow to transform your car’s dashboard. Keep reading, and you’ll be amazed at how easy it is to get a sleek, modern setup in your vehicle.
Tools And Materials Needed
Converting a single DIN car stereo to a double DIN setup requires the right tools and materials. Having everything ready makes the process easier and faster. It prevents mistakes and helps you get the best results.
Essential Tools
You need basic tools like screwdrivers, wire strippers, and pliers. A socket wrench set helps remove bolts holding the stereo. A panel removal tool protects your car’s dashboard from damage. Electrical tape and a multimeter are useful for checking connections and securing wires.
Compatible Double Din Units
Choose a double DIN unit that fits your car model. Check the size and shape before buying. Select a unit with the features you want, such as Bluetooth, touchscreen, or navigation. Make sure the wiring harness matches your car’s system for easy installation.
Adapters And Mounting Kits
Adapters connect the new stereo to your car’s wiring. They simplify the installation and avoid cutting wires. Mounting kits fill the extra space left by the larger double DIN unit. These kits keep the stereo secure and make the dashboard look neat and clean.
Preparing Your Vehicle
Preparing your vehicle is the first step in converting a single DIN to a double DIN. This part ensures safety and smooth installation. Take your time and follow each step carefully. Proper preparation reduces the risk of damage to your car and new stereo.
Disconnecting The Battery
Always start by disconnecting the car battery. This stops any electrical current from flowing. It prevents short circuits or shocks during the work. Use a wrench to remove the negative cable first. Keep the cable away from the battery terminal. This step keeps you safe while working on your vehicle.
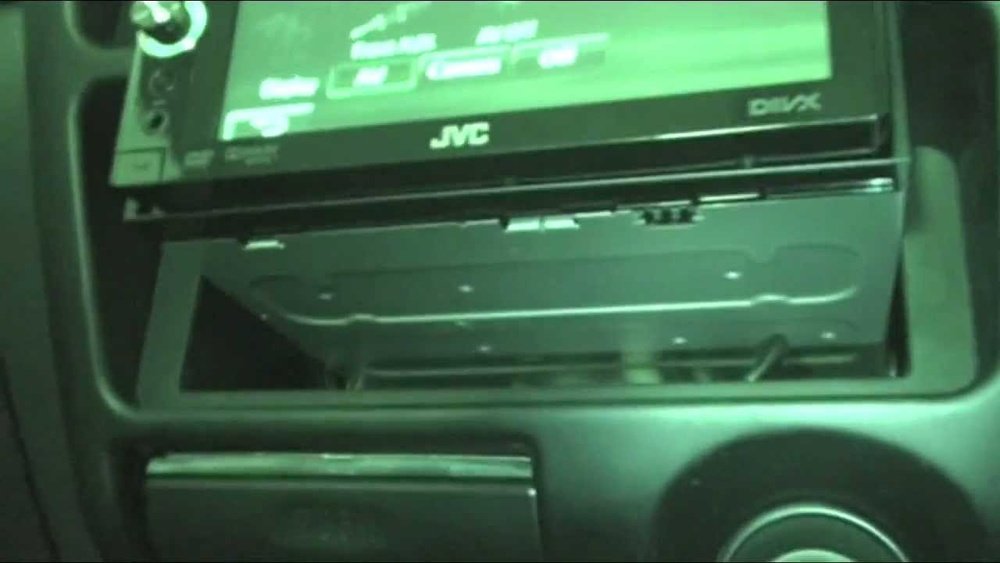
Removing The Single Din Unit
Next, remove the existing single DIN stereo. Use the right tools like screwdrivers or removal keys. Unscrew or unclip the unit carefully. Pull the stereo out gently to avoid damaging wires. Keep all screws and parts safe for later use. This clears the space needed for the double DIN unit.
Inspecting The Wiring Harness
Check the wiring harness for any damage or wear. Look for frayed wires, loose connections, or corrosion. Clean any dirty connectors with electrical contact cleaner. Replace damaged wires or connectors before proceeding. A good wiring harness ensures the new stereo works perfectly. This step prevents future electrical problems.
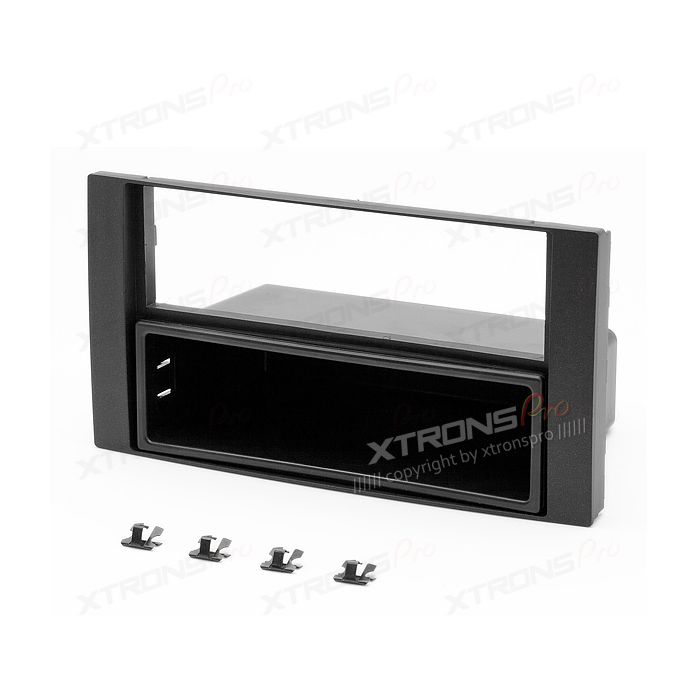
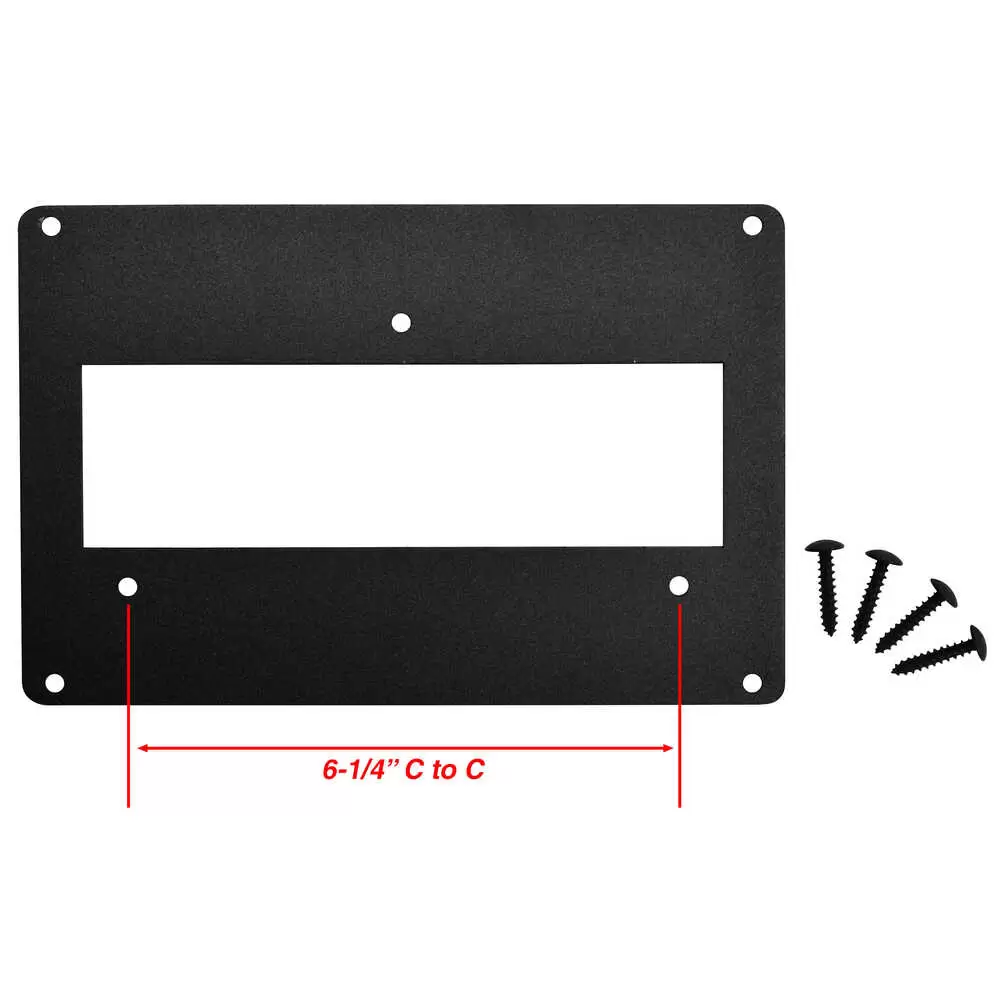
Installing The Double Din Frame
Installing the double din frame is a key step in upgrading your car stereo. This frame holds the new unit securely and fits into the dashboard space. Proper installation ensures a neat look and good function. Follow these steps carefully for a smooth setup.
Fitting The Mounting Bracket
Start by attaching the mounting bracket to the double din frame. Use the screws provided with your kit. Make sure the bracket fits tightly without gaps. Align it with the holes on the frame. This step keeps the stereo stable during driving.
Securing The Frame
Place the double din frame into the dashboard opening. Push it gently but firmly until it locks in place. Use screws to secure the frame to the car’s dashboard. Check that the frame does not move or wiggle. A secure frame prevents damage and noise.
Adjusting The Dashboard Trim
After securing the frame, adjust the dashboard trim around the new stereo. Trim pieces should fit flush with the frame edges. Snap or screw the trim into place carefully. This gives a clean, factory-installed look. Take your time to avoid cracks or misalignment.

Wiring The Double Din Unit
Wiring the double din unit is a key step in upgrading your car stereo. It connects the new unit to your vehicle’s power and speakers. Proper wiring ensures the system works well and safely.
Take time to organize wires before starting. Identify each wire’s function. This helps avoid mistakes and saves time.
Matching Wire Colors
Car wiring colors usually follow a standard. Match the double din wires with the car’s wires by color. For example, red often means power, black means ground.
Check the manuals for both units to confirm color codes. Some colors might differ. Correct matching prevents short circuits and damage.
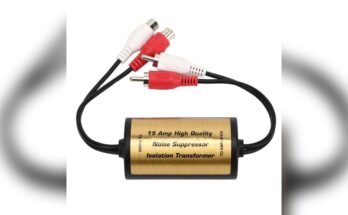
Using Wiring Adapters
Wiring adapters make installation easier. They connect the new unit’s harness to your car’s wiring without cutting wires.
Adapters reduce errors and keep your car’s wiring intact. Choose an adapter that fits your car’s make and model.
Testing Connections
Test all connections before fixing the unit in place. Turn on the car and check the stereo functions.
Listen for sound from all speakers. Check power and controls. Fix any loose or wrong connections immediately.
Final Assembly And Testing
The final assembly and testing stage is crucial for a successful double DIN conversion. This step ensures the new head unit fits well and works properly. Careful attention here saves time and avoids future problems.
Securing The Double Din Head Unit
Place the double DIN head unit into the mounting bracket. Align it carefully with the dashboard opening. Use screws or bolts from the installation kit to fix it firmly. Check that the unit does not move or wiggle. Proper securing protects the unit from damage while driving.
Reconnecting The Battery
Reconnect the car battery’s negative terminal. Tighten the clamp securely to avoid loose connections. This restores power to the vehicle’s electrical system. Ensure no wires are pinched or exposed during this step. Safety first to prevent shorts or electrical issues.
Testing Audio And Features
Turn on the car ignition to power the head unit. Test the radio, CD player, Bluetooth, and other audio functions. Adjust the volume and check sound quality from all speakers. Verify the touchscreen and buttons respond correctly. Confirm that features like GPS and phone pairing work well. Testing ensures everything functions as expected before final dashboard reassembly.
Troubleshooting Common Issues
Troubleshooting common issues is key when converting a single DIN to double DIN. Small problems can stop the process. Fixing them early saves time and effort. This section covers three main issues: no power to the unit, audio problems, and fitment challenges.
No Power To Unit
Check the wiring harness for loose or disconnected wires. Make sure the fuse is not blown. Use a multimeter to test power at the connector. Confirm the ignition switch is on. Ground wires must be secure. Sometimes, the factory wiring adapter may not match the new unit. Replace it if needed. Double-check all connections before moving on.
Audio Problems
Test the speaker wires for continuity. Look for cuts or breaks in the wiring. Ensure the audio settings are correct on the new stereo. Volume might be low or muted. Check if the new unit supports your speaker type. Some units need an amplifier to work well. Replace any damaged speakers for better sound. Clean any dirty connectors to avoid signal loss.
Fitment Challenges
Measure the dash opening before installation. Use a proper mounting kit designed for your car model. Trim the mounting kit if it is too large. Avoid forcing the new unit in place. Check for any wires blocking the fit. Sometimes, dashboard clips or brackets need adjustment. Test the fit without screws first. Secure the unit only after proper alignment.
Frequently Asked Questions
What Tools Are Needed To Convert Single Din To Double Din?
You will need a double din dash kit, wiring harness adapter, screwdrivers, and panel removal tools. These tools ensure a smooth and secure installation of your new double din stereo.
How Much Time Does The Conversion Usually Take?
The conversion typically takes 1 to 2 hours depending on your experience. Proper preparation and following instructions can speed up the process.
Can I Keep My Car’s Original Wiring During Conversion?
Yes, using a wiring harness adapter allows you to retain the original wiring. This prevents damage and ensures compatibility with the new stereo.
Is Professional Installation Recommended For This Conversion?
Professional installation is recommended if you lack experience. It guarantees proper fitment, wiring safety, and avoids potential damage to your car’s dashboard.
Conclusion
Converting a single DIN to a double DIN is easier than it seems. With the right tools and steps, you can do it yourself. Make sure to follow instructions carefully and double-check your work. A double DIN gives you more options and a modern look.
Take your time and enjoy the process. Your car’s audio system will thank you. Simple upgrades can make a big difference. Ready to improve your ride? This guide will help you get there.