
Is your engine running hotter than usual or showing signs of low oil pressure? Your engine oil cooler might be the culprit.
Knowing how to fix your engine oil cooler can save you from costly repairs and keep your vehicle running smoothly. You’ll discover simple, step-by-step solutions that anyone can follow—even if you’re not a car expert. Stick with me, and you’ll learn exactly what to look for, how to spot the problem, and the best ways to fix it quickly and safely.
Let’s get your engine back to peak performance!
Signs Of A Faulty Oil Cooler
Recognizing the signs of a faulty engine oil cooler is vital for vehicle health. The oil cooler helps keep the engine oil at the right temperature. When it fails, the engine may suffer damage. Early detection can save costly repairs and extend engine life.
Leaking Oil Symptoms
Oil leaks near the cooler area are a clear warning. You might see oil spots under the vehicle. The engine oil level may drop faster than usual. Dark stains or wetness on the cooler itself also indicate leaks. Leaking oil reduces lubrication and causes engine wear.
Overheating Engine Issues
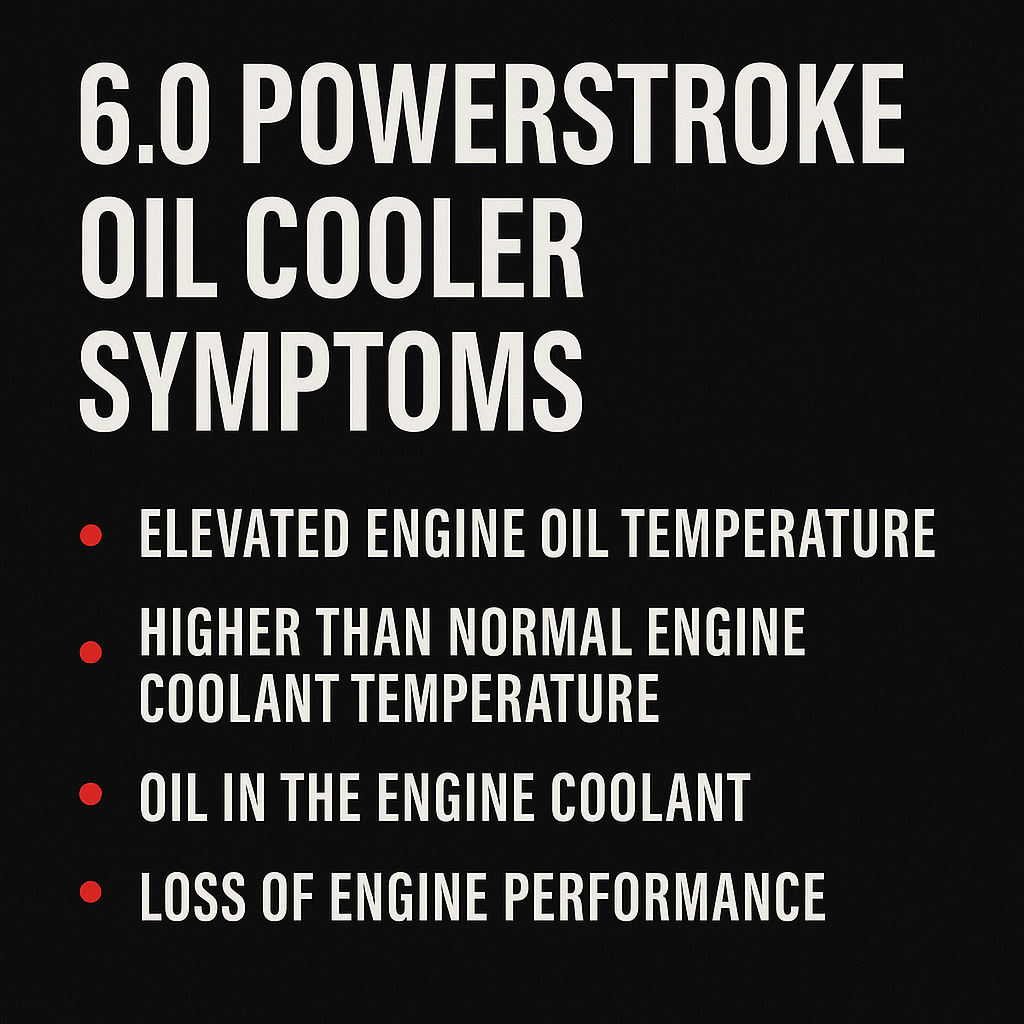
A faulty oil cooler can cause engine overheating. The oil cannot cool properly and loses its effectiveness. The engine temperature gauge may rise quickly. Overheating leads to poor engine performance and possible breakdowns. Pay attention to unusual heat or warning lights.
Oil Contamination Warning
Contaminated oil shows a serious problem in the oil cooler. Look for milky or frothy oil on the dipstick. This means coolant mixes with engine oil. The oil loses its lubricating power and can damage engine parts. Regular oil checks help spot this issue early.
Tools And Materials Needed
Fixing an engine oil cooler needs the right tools and materials. Having these ready saves time and avoids frustration. Each item plays a key role in the repair process. Prepare everything before starting to work on the cooler.
Essential Repair Tools
You need a socket wrench set for bolts and screws. A screwdriver set helps remove clamps and covers. Pliers are useful for gripping and pulling hoses. A drain pan catches oil during removal. A flashlight aids visibility in tight spaces.
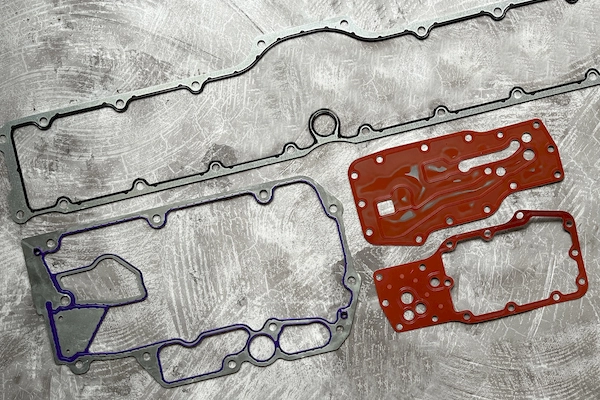
Replacement Parts
Get a new oil cooler that fits your vehicle model. Replace old gaskets and seals to prevent leaks. Use fresh engine oil after the repair. Consider new hoses if the old ones look worn. Having all parts ready avoids delays.
Safety Gear
Wear gloves to protect your hands from hot oil and sharp edges. Safety glasses shield your eyes from splashes and debris. Use old clothes or a mechanic apron to keep clean. Work in a well-ventilated area to avoid fumes. Safety first ensures a smooth repair.
Preparing For The Repair
Preparing for the repair of an engine oil cooler is crucial for a smooth process. Proper preparation saves time and avoids mistakes. Follow these steps carefully to ensure a safe and effective repair.
Vehicle Safety Precautions
Start by parking the vehicle on a flat surface. Engage the parking brake to keep the car stable. Wear gloves and safety glasses to protect your hands and eyes. Disconnect the battery to prevent electrical shocks. Allow the engine to cool down fully before starting any work.
Draining The Engine Oil
Place a drain pan under the oil drain plug. Remove the plug slowly to let the old oil flow out. Wait until the oil stops dripping. Replace the drain plug securely to avoid leaks. Properly dispose of the used oil following local rules.
Accessing The Oil Cooler
Locate the oil cooler by consulting the vehicle manual. Remove any covers or parts blocking access to it. Use the right tools to avoid damage. Keep track of all screws and bolts removed. Clean the area around the oil cooler before repair.
Step-by-step Repair Process
Fixing an engine oil cooler requires a clear plan. A step-by-step repair process helps you avoid mistakes and saves time. Follow each step carefully to ensure the cooler works properly again.
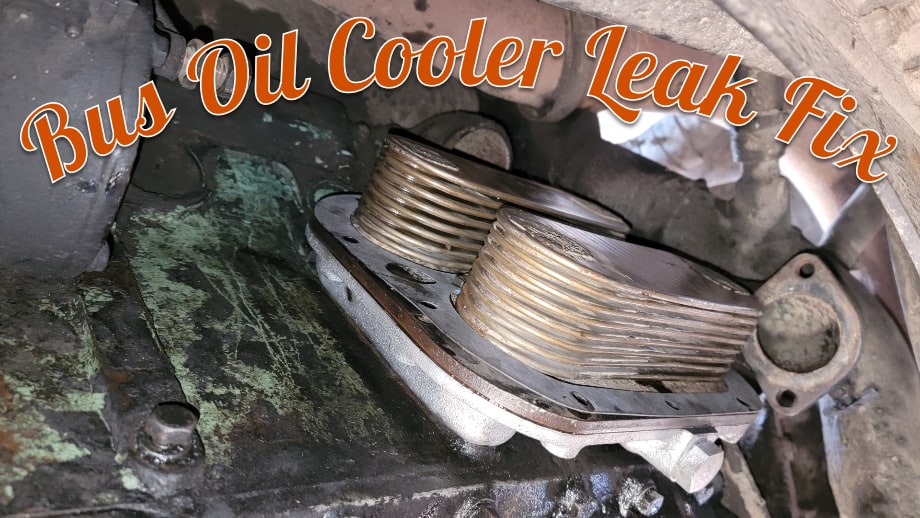
Removing The Damaged Cooler
Start by turning off the engine and letting it cool. Locate the oil cooler, usually near the engine block. Disconnect the oil lines carefully to avoid spills. Remove any bolts or clamps holding the cooler in place. Take out the damaged cooler gently. Keep all parts organized for reassembly.
Inspecting For Additional Damage
Check the area around the cooler for leaks or cracks. Inspect the oil lines and hoses for wear or damage. Look at the engine block surface for any dents or corrosion. Clean the mounting area thoroughly to remove dirt and old gasket material. This step ensures the new cooler fits well and works efficiently.
Installing The New Oil Cooler
Place the new oil cooler in the correct position. Secure it with bolts or clamps as per the vehicle’s manual. Reconnect the oil lines tightly to prevent leaks. Fill the engine with fresh oil and check the level. Start the engine and watch for any leaks or unusual noises. Your engine oil cooler is now fixed and ready to protect your engine.
Testing After Repair
After fixing the engine oil cooler, testing is very important. It shows if the repair worked well. Testing helps catch problems early. It keeps the engine safe from damage.
Checking For Leaks
Start by looking closely at the oil cooler and pipes. Watch for any oil drops or wet spots. Use a clean cloth to wipe parts and find new leaks. Run the engine for a few minutes. Check again for any fresh oil. No leaks mean the cooler is sealed properly.
Monitoring Oil Temperature
Oil temperature affects engine health a lot. Use a gauge to watch the temperature while the engine runs. It should stay within the normal range. A high temperature means the cooler may still have issues. Cool oil protects engine parts from wear and tear.
Ensuring Proper Function
Observe the engine’s performance after repair. Listen for unusual sounds or vibrations. Check for warning lights on the dashboard. The oil pressure should be steady and normal. Proper function means the oil cooler works as it should.
Maintenance Tips To Prevent Future Issues
Maintaining your engine oil cooler is key to keeping your vehicle running smoothly. Simple steps can stop problems before they start. Regular care helps avoid costly repairs and extends the cooler’s life.
Regular Oil Changes
Change your engine oil on time. Old oil becomes thick and dirty. This makes it hard for the cooler to work well. Fresh oil flows easily and cools the engine better. Follow the schedule in your vehicle’s manual.
Routine Inspections
Check the oil cooler often. Look for leaks, cracks, or dirt buildup. Clean the cooler if needed. Watch for unusual engine heat or oil smell. Catching small issues early saves big trouble later.
Using Quality Oil And Coolants
Use good quality oil and coolant. Cheap products can harm the cooler and engine. High-quality fluids protect against rust and wear. Always pick products that match your vehicle’s specs.
Frequently Asked Questions
What Are Common Symptoms Of A Faulty Engine Oil Cooler?
Common symptoms include oil leaks, engine overheating, and low oil pressure. You might also notice oil contamination or coolant mixing with oil. These signs indicate the oil cooler needs inspection or repair to prevent engine damage.
How Do I Check If The Engine Oil Cooler Is Leaking?
Look for oil or coolant puddles under your vehicle. Inspect hoses and connections for wetness or stains. A pressure test can confirm leaks. Timely detection helps avoid severe engine issues and costly repairs.
Can I Fix An Engine Oil Cooler Myself?
Basic issues like hose replacement or tightening fittings can be DIY tasks. However, complex repairs or replacements require professional tools and skills. Always follow safety precautions or consult a mechanic for best results.
How Much Does It Cost To Repair An Engine Oil Cooler?
Repair costs vary by vehicle model and damage severity. Minor fixes may cost $100-$300, while full replacements can reach $500 or more. Getting a professional diagnosis helps estimate accurate repair expenses.
Conclusion
Fixing an engine oil cooler helps keep your engine running smoothly. Regular checks stop leaks and overheating. Clean or replace parts when needed. Use the right tools for safety and success. Small repairs save big costs later. Stay calm and follow steps carefully.
Your car will thank you with better performance. Keep learning to handle simple fixes yourself. Maintenance pays off in the long run.


