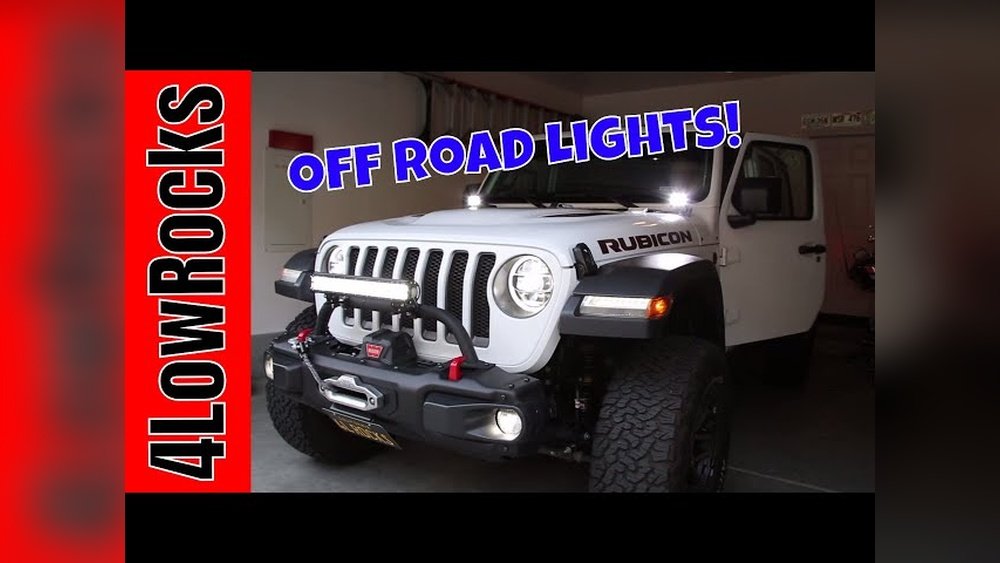
If you love exploring trails, forests, or rocky landscapes with your Jeep Wrangler, you probably know how important good lighting is. Factory headlights often aren’t enough when the sun goes down or the weather turns rough. That’s where off road lights come in. They cut through darkness, reveal obstacles, and help you stay safe. But installing these lights on a Jeep Wrangler isn’t as simple as just plugging them in. It takes planning, the right tools, and some careful steps to do the job right.
This guide will walk you through the entire process of installing off road lights on your Jeep Wrangler. We’ll cover everything from choosing the right lights and tools, to wiring, mounting, and even legal tips. Whether you’re a beginner or a Jeep enthusiast, you’ll find clear advice, real examples, and practical tips that will make your installation smoother and safer.
Why Install Off Road Lights On A Jeep Wrangler?
If you’re wondering whether it’s worth adding extra lights to your Jeep, consider these benefits:
- Better visibility: Off road lights help you see further and wider than standard headlights, making it easier to spot rocks, holes, animals, or other hazards.
- Enhanced safety: Seeing obstacles early means you can react faster, avoid accidents, and protect yourself and your Jeep.
- Stylish look: Many owners love the tough, adventurous look that off road lights add to their Wrangler.
- More adventure options: With strong lighting, you can drive at night, during fog, or in heavy rain without worry.
But don’t forget—installing off road lights the right way is key. Poor wiring or weak mounts can cause failures, or even start a fire. That’s why you need to follow each step carefully.
Choosing The Right Off Road Lights
Not all off road lights are the same. You’ll need to pick the lights that fit your driving style, needs, and budget. Here’s what to consider:
Types Of Off Road Lights
- LED Light Bars: These provide a broad, powerful beam. Great for lighting up large areas.
- Spotlights: Focused beams that shine far ahead. Good for fast driving on open trails.
- Floodlights: Wide, short beams. Help you see around the sides of your Jeep.
- Pod Lights: Small and flexible. Easy to mount almost anywhere.
- Fog Lights: Designed for cutting through fog and dust close to the ground.
Beam Patterns
- Spot: Long, narrow beam for distance.
- Flood: Wide beam for side visibility.
- Combo: Mix of spot and flood for balanced lighting.
Size And Power
- Wattage: Higher watts means brighter lights, but also more power drawn from your Jeep’s battery.
- Length: Light bars come in many lengths—from 6 inches to 50 inches. Make sure your Wrangler has room for the size you choose.
- Lumens: This measures brightness. For off road use, 3,000 to 10,000 lumens per light is common.
Color Temperature
- 6000K (cool white): Most common, looks blueish-white.
- 3000K (yellow): Cuts through fog and dust better.
Build Quality
- Waterproof rating: Look for IP67 or better for deep water crossings or muddy trails.
- Shock resistance: Off road lights should survive bumps and vibrations.
Cost
Prices range from $30 for a single pod light to $500+ for a top-quality 50-inch LED bar. More expensive doesn’t always mean better—read reviews and check warranties.
Non-obvious tip: Some cheap lights look bright at first, but fade or flicker after a few months. Pay attention to reviews about long-term reliability.

Tools And Materials You’ll Need
Gather all your supplies before starting. Here’s a list:
- Off road lights (bar, pods, or spotlights)
- Mounting brackets (specific for your Jeep’s model and light type)
- Wiring harness with relay and fuse
- Switch (on/off or momentary, as you prefer)
- Basic tool kit (wrenches, screwdrivers, sockets)
- Drill and drill bits (if new holes are needed)
- Electrical tape and heat shrink tubing
- Zip ties or wire loom for neat wiring
- Multimeter (for checking voltage)
- Rust inhibitor (if drilling into metal)
- Safety gear (gloves, safety glasses)
Beginner mistake: Some people skip the relay and fuse to save time. Never do this—these protect your wiring and Jeep from electrical fires.
Planning Your Installation
Before you touch any wires, plan where each light will go. Common mounting spots on a Jeep Wrangler include:
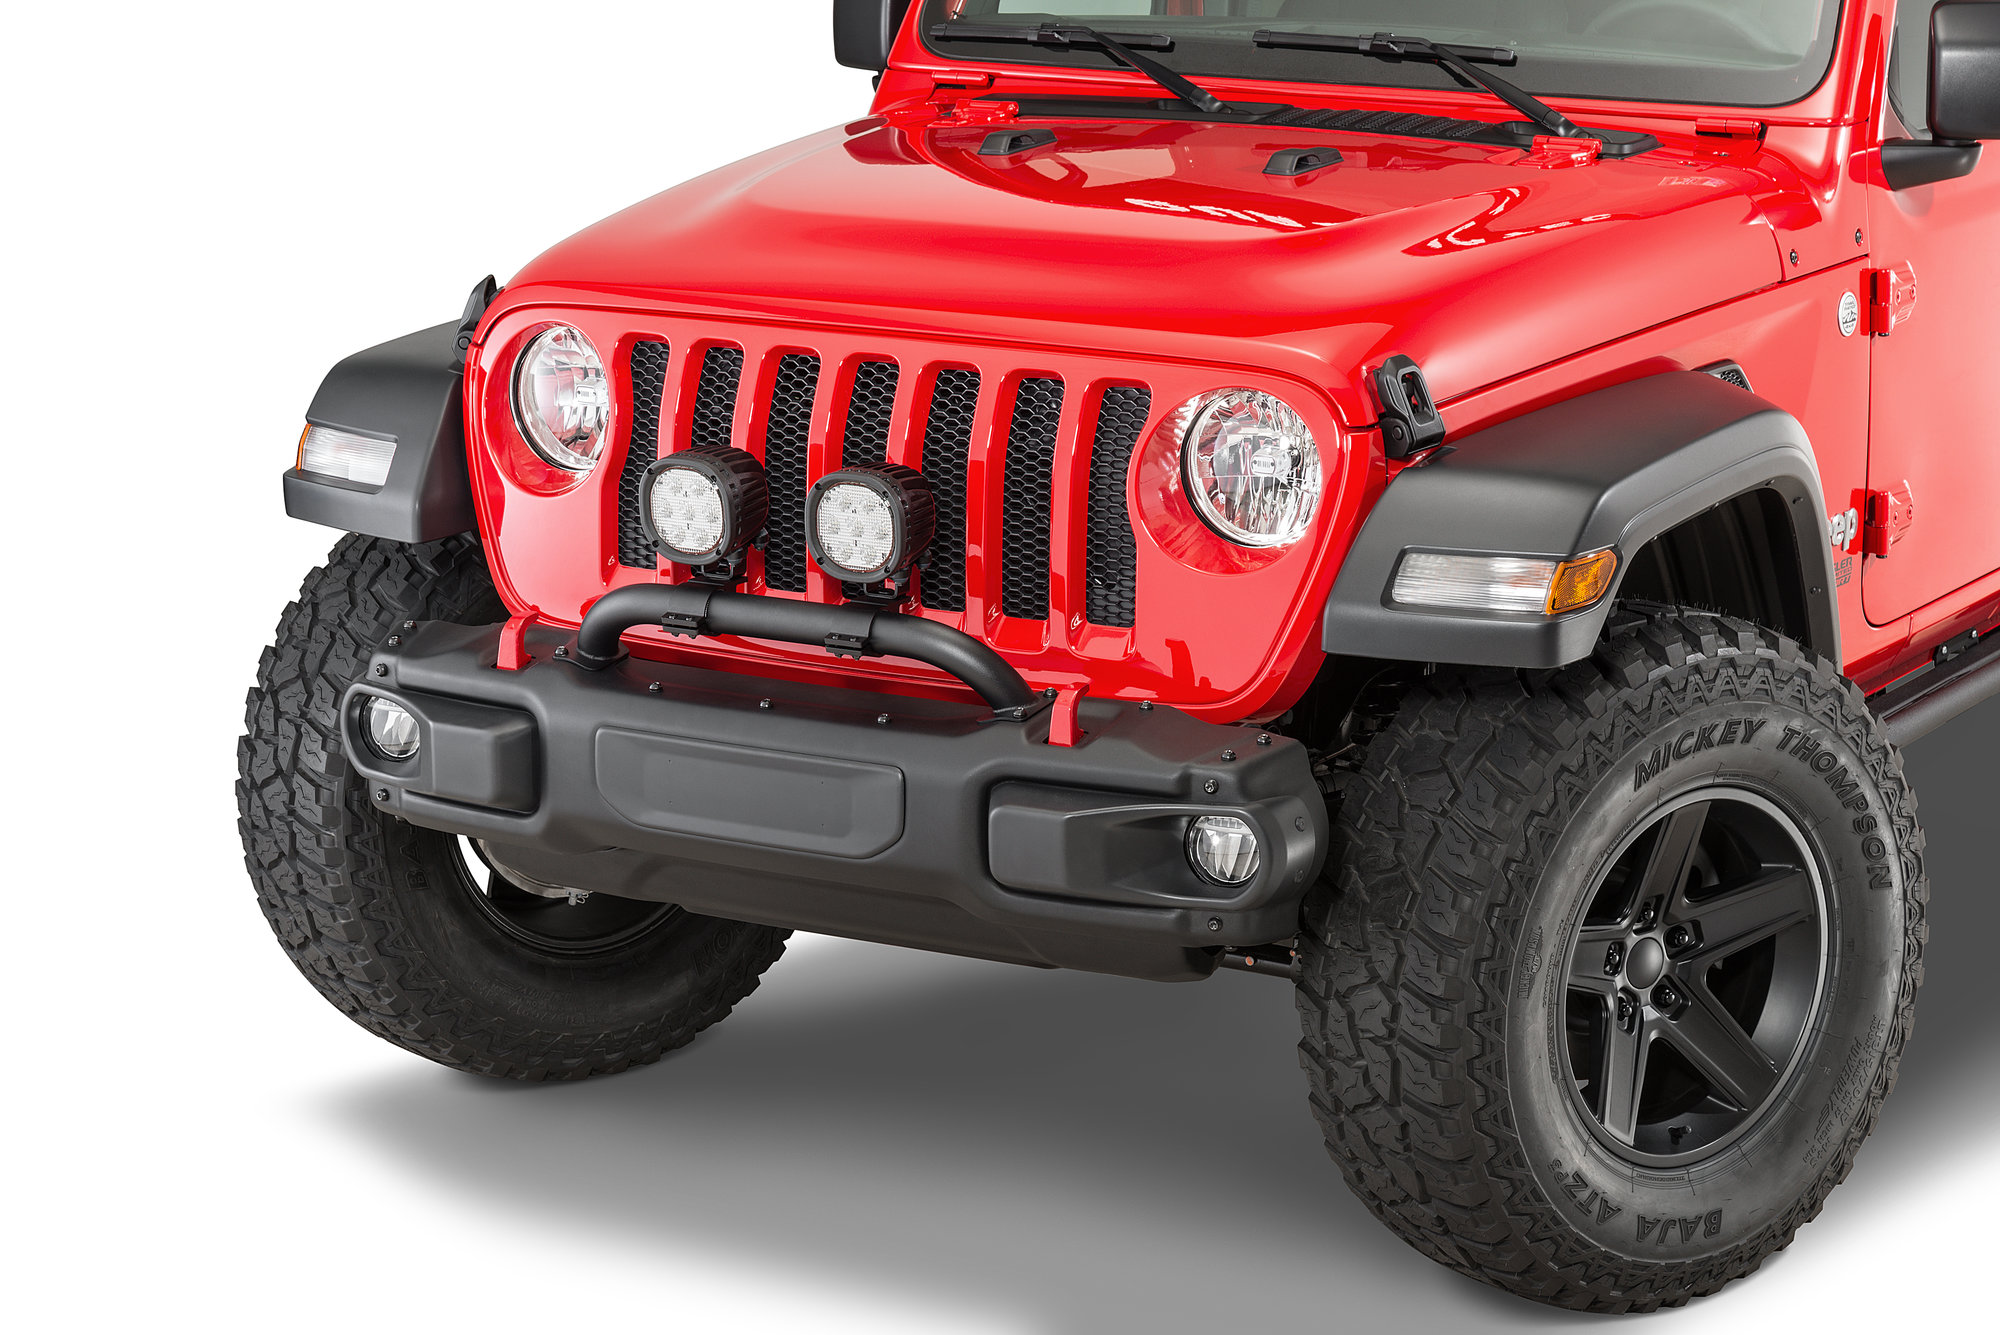
- Front bumper: Good for light bars or spotlights.
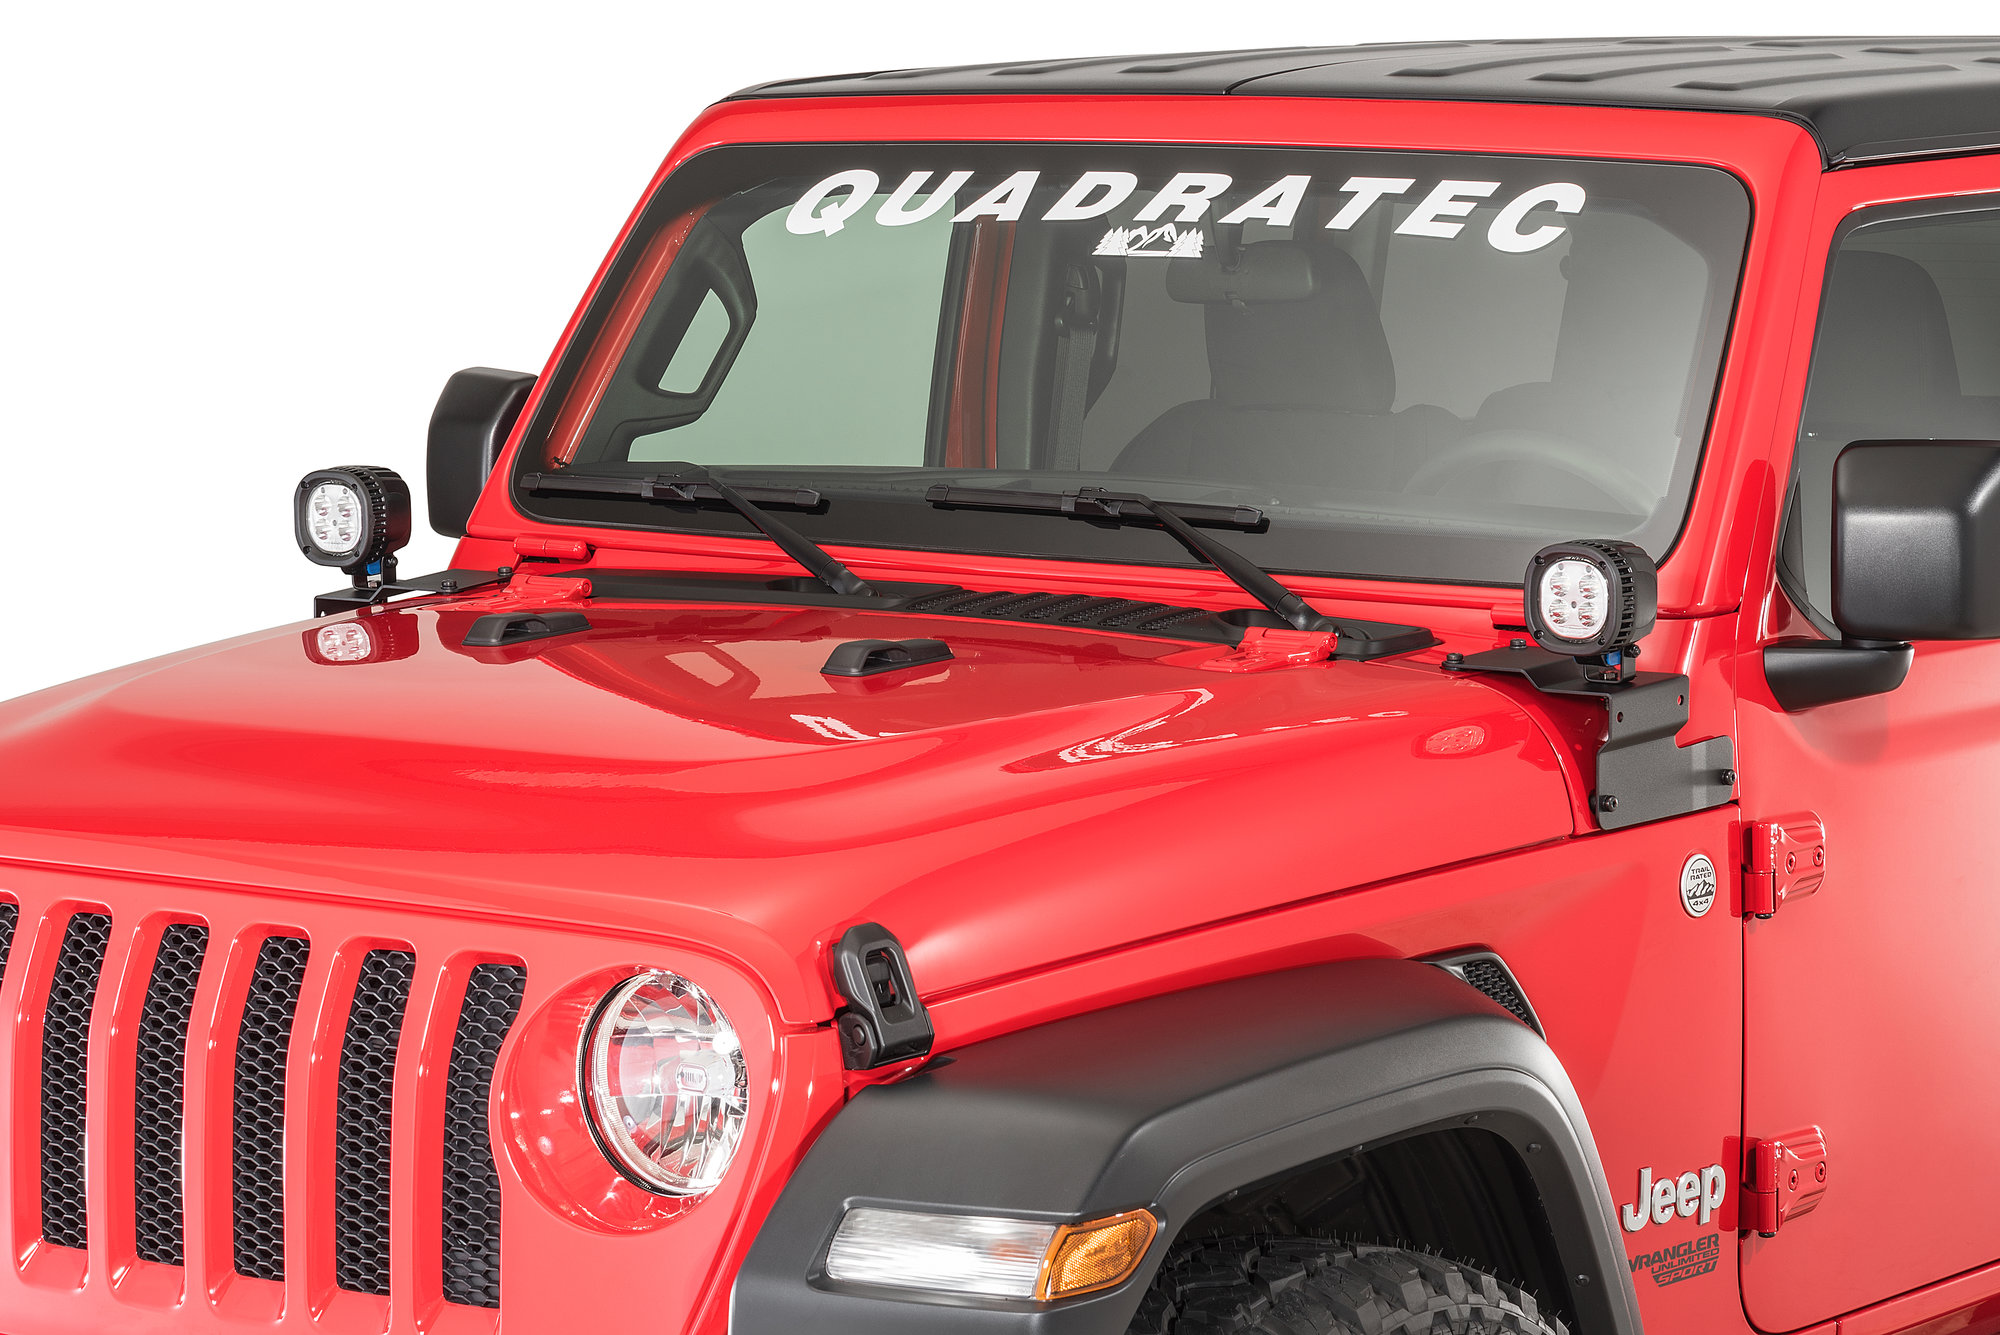
- A-pillar (windshield pillar): Often used for pod lights.
- Roof rack or above windshield: Room for large light bars.
- Rear bumper: For backup or reverse lights.
- Grille area: For small pods or floodlights.
Consider if you want just one type of light, or a mix for more coverage. Also, think about legal rules—in many places, large roof lights must be covered when driving on public roads.
Non-obvious insight: Visualize the light spread at night before drilling. Even a few inches’ difference in placement can cause glare or shadows.
Step-by-step Installation Guide
Let’s break down the installation process into clear steps. This covers a basic setup: one light bar and two pod lights on a Jeep Wrangler.
1. Disconnect The Battery
Always disconnect the negative terminal of your Jeep’s battery before working with wires. This prevents shorts or shocks.
2. Attach The Mounting Brackets
- Line up the brackets with factory holes on your bumper, A-pillar, or roof rack.
- If using existing holes, bolt the brackets in place.
- If drilling is needed, measure twice, drill once. Use rust inhibitor on fresh holes.
- Attach the off road lights to the brackets. Leave bolts slightly loose for adjustment.
3. Route The Wiring Harness
- Start at the light location and route wires toward the engine bay.
- Follow factory wiring paths when possible—this protects wires from heat and moving parts.
- Use zip ties or wire loom for a neat, protected run.
- Avoid sharp edges or hot surfaces (like the exhaust).
- Feed the wiring harness through the Jeep’s firewall (use a factory grommet if possible).
4. Connect The Relay And Fuse
- Mount the relay in the engine bay, close to the battery but away from moving parts.
- Connect the main power wire to the positive terminal of the battery.
- Insert the fuse (usually 20-40A, depending on your lights) as close to the battery as possible.
5. Wire The Switch
- Decide where you want the switch (dashboard, center console, or custom panel).
- Drill a small hole for the switch, if needed.
- Connect the switch wires: One to the relay, one to ground, and one to a power source (often an accessory power tap that only turns on with the ignition).
6. Connect The Lights
- Plug the light wires into the harness. Most kits use waterproof connectors for easy attachment.
- Double-check positive (red) and ground (black) connections.
- Use heat shrink tubing and electrical tape to seal any bare wires.
7. Test The System
- Reconnect the battery.
- Turn on the Jeep and test the switch.
- All lights should come on with the switch and off when you flip it again.
- If not, use a multimeter to check for power at each point.
8. Aim And Tighten
- At night, aim the lights at a wall or open area.
- Adjust until you get the coverage you want (spotlights forward, floods to the sides).
- Tighten all mounting bolts fully.
9. Finish Up
- Tidy up all wires with zip ties.
- Ensure nothing is loose or hanging.
- Replace any trim or panels you removed.
- Clean up fingerprints or dirt from your Jeep.
Wiring Tips And Common Mistakes
Wiring can be scary for beginners, but a few tips make it easier:
- Always use a relay for high-power lights. Never wire them directly to a switch.
- Use a dedicated fuse for each lighting circuit.
- Ground wires should connect to bare metal (scrape off paint if needed).
- Use waterproof connectors for wires exposed to rain or mud.
- Test each light before putting panels back on.
Beginner mistake: Forgetting to check the amperage rating of your wires. Undersized wires can overheat and melt.
Practical example: If your light bar draws 20A, use at least 12-gauge wire for safety.
Legal And Safety Considerations
Every state or country has different rules about off road lights. Some common laws:
- Lights above the headlights often must be covered on public roads.
- Maximum allowed brightness can vary.
- Some colors (like blue or red) are restricted to emergency vehicles.
Check your local DMV or police website for details before you install. This protects you from tickets or having to remove your lights later.
Safety tip: Never aim off road lights at other drivers—they’re much brighter than factory headlights and can blind people.
For more information on lighting rules, you can visit the National Highway Traffic Safety Administration.
Comparing Popular Off Road Light Types
Choosing between a light bar, pods, or spotlights? Here’s a side-by-side look to help you decide.
| Type | Beam Pattern | Typical Use | Pros | Cons |
|---|---|---|---|---|
| Light Bar | Combo (spot + flood) | Front bumper, roof | Wide, powerful, covers large area | Bigger, higher cost, legal limits |
| Pod Lights | Spot or flood | A-pillar, bumper, grille | Flexible, easy to install, affordable | Less total light, small coverage |
| Spotlights | Spot | Roof, bumper | Long range, good for speed | Narrow beam, can miss side hazards |
| Floodlights | Flood | Rear, bumper | Wide, close-up view, good for crawling | Short range |
How To Choose The Best Mounting Location
The right spot for your lights depends on your driving style and needs.
| Mount Location | Best Light Type | Purpose | Potential Issues |
|---|---|---|---|
| Front Bumper | Light bar, pods | Trail driving, open roads | May block winch or tow hooks |
| A-pillar | Pod lights | Cornering, side trails | Potential wind noise |
| Roof | Large light bar | Max area lighting, night crawling | Height limits, glare, legal issues |
| Rear bumper | Flood pods | Backing up, camp site lighting | Exposed to mud, rocks |
Troubleshooting Common Problems
Sometimes, even after careful installation, things go wrong. Here’s how to fix common issues:
- Lights flicker: Check for a loose ground wire or a failing relay.
- Lights don’t turn on: Test for power at the battery, switch, and light. Replace any blown fuses.
- One light is dim: That wire may have a weak connection or corrosion.
- Water in the light housing: Remove, dry out, and seal with silicone if needed.
Non-obvious insight: If your radio signal gets weak after installing lights, try moving the power wires away from antenna wires, or add a ferrite bead to the wiring.
Maintenance Tips For Long Life
Once your lights are installed, a few simple habits keep them working well:
- Clean lenses with a soft cloth and water. Dirt can scratch the lens and reduce brightness.
- Check mounting bolts and wiring every few months, especially after rough trails.
- Reapply rust inhibitor on brackets as needed.
- Store protective covers in the Jeep for use on public roads.
Pro tip: Don’t use harsh chemicals on plastic lenses—they can turn yellow or foggy over time.
Upgrading Your Setup
As you get more experience, you might want to add more lights, upgrade to higher output, or install smart controls (like Bluetooth switches). Always check your Jeep’s alternator and battery capacity before adding more powerful lights.
Example: A stock Jeep Wrangler alternator can usually handle 2-4 auxiliary lights, but if you run a winch, fridge, or other accessories, you may need a higher-output alternator or second battery.
Real-world Installation Example
Let’s look at a typical installation:
Jeep Wrangler JL owner Mark wanted better night vision for camping trips. He chose a 20-inch LED bar for the bumper and two 3-inch pod lights for the A-pillars. He used a plug-and-play wiring kit with a relay and dash switch.
Mark’s tips:
- He found that aiming the pod lights slightly outward helped see around tight corners at night.
- He learned the hard way to use a grommet when running wires through the firewall—his first attempt let water drip into the cab.
- Mark keeps the light covers in his glove box to stay legal on highways.
Frequently Asked Questions
Can I Install Off Road Lights On My Jeep Wrangler Without Drilling?
Yes, many light brackets use existing factory holes, especially on the bumper or A-pillar. However, some roof or custom mounts may require drilling. Always double-check fitment for your specific Jeep model.
Do I Need A Relay For Led Off Road Lights?
If your lights draw more than 10 amps total, a relay is strongly recommended. It protects your switch and wiring from overheating and ensures the lights get full power.
Will Off Road Lights Drain My Jeep’s Battery?
While LED lights are efficient, running them for hours without the engine on can drain the battery. Always turn off lights when parked and consider a dual battery setup for heavy use.
Are Off Road Lights Legal To Use On Public Roads?
Rules vary. Most places require extra lights above the headlights to be covered on highways. Check your local laws to avoid tickets or vehicle inspection issues.
What’s The Best Way To Aim Off Road Lights?
Park 25 feet from a wall at night. Adjust the beam so the brightest spot is just below eye level. For pod lights, angle them outwards to light up side trails or corners.
Adding off road lights to your Jeep Wrangler opens up a world of safe, exciting night adventures. With careful planning and a patient, step-by-step approach, you’ll enjoy better visibility, a tougher look, and more confidence on every trail. Take your time, follow this guide, and your Jeep will be ready for anything the night brings.