Are you ready to upgrade your driving experience with a brand-new stereo? Installing a stereo in your modern car might seem tricky, but it’s easier than you think.
Imagine enjoying crystal-clear sound, hands-free calls, and seamless music streaming every time you hit the road. This guide will walk you through each step, making the process simple and stress-free. Keep reading to discover how you can transform your car’s audio system quickly and confidently.
Your perfect drive soundtrack is just a few steps away!
Tools And Materials Needed
Installing a stereo in a modern car needs the right tools and materials. Having these ready makes the process smooth and fast. It also helps avoid mistakes that could damage your car or stereo system.
Essential Tools
You need a set of basic tools to start. A screwdriver set with both flathead and Phillips heads is vital. A panel removal tool helps take out car panels without damage. Wire strippers and crimpers prepare wires for connections. A multimeter tests electrical connections for safety. Electrical tape or heat shrink tubing protects wire joints. Lastly, a socket wrench set may be needed for bolts.
Choosing The Right Stereo
Select a stereo that fits your car’s dashboard. Check the size and shape before buying. Consider features like Bluetooth, USB ports, and radio options. The stereo should match your car’s power system. Look for easy-to-use controls and clear sound quality. A stereo with a wiring harness adapter fits your car better. This saves time and avoids cutting wires.
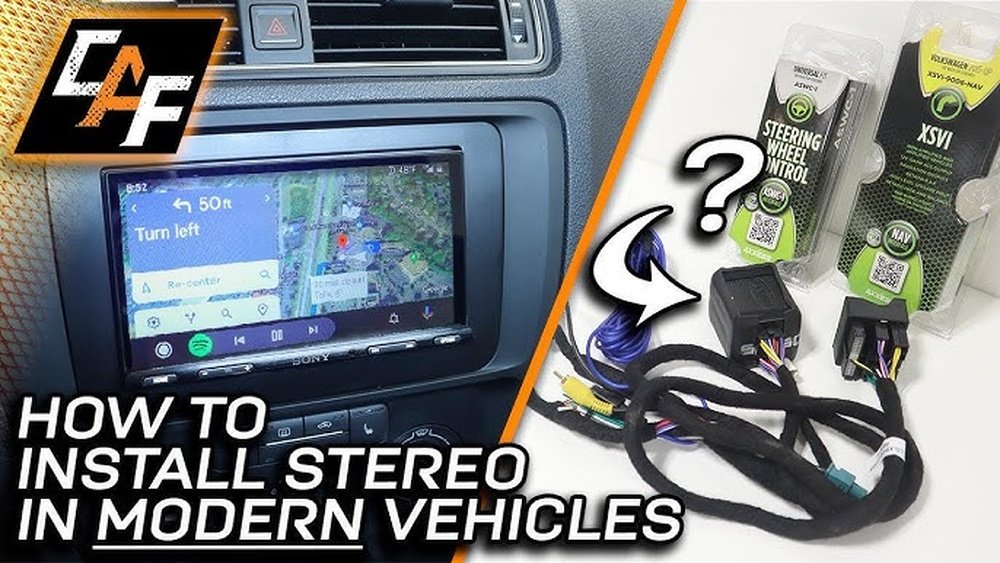
Additional Accessories
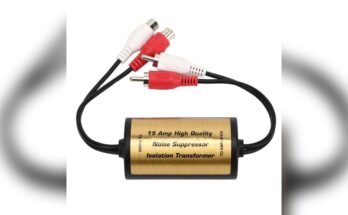
Some extra parts make installation easier. A wiring harness adapter connects the stereo to your car’s wiring. An antenna adapter ensures good radio signal. Mounting brackets keep the stereo stable in the dashboard. A dash kit fills gaps for a clean look. Sound deadening material reduces road noise for better sound. These accessories help achieve a professional installation finish.
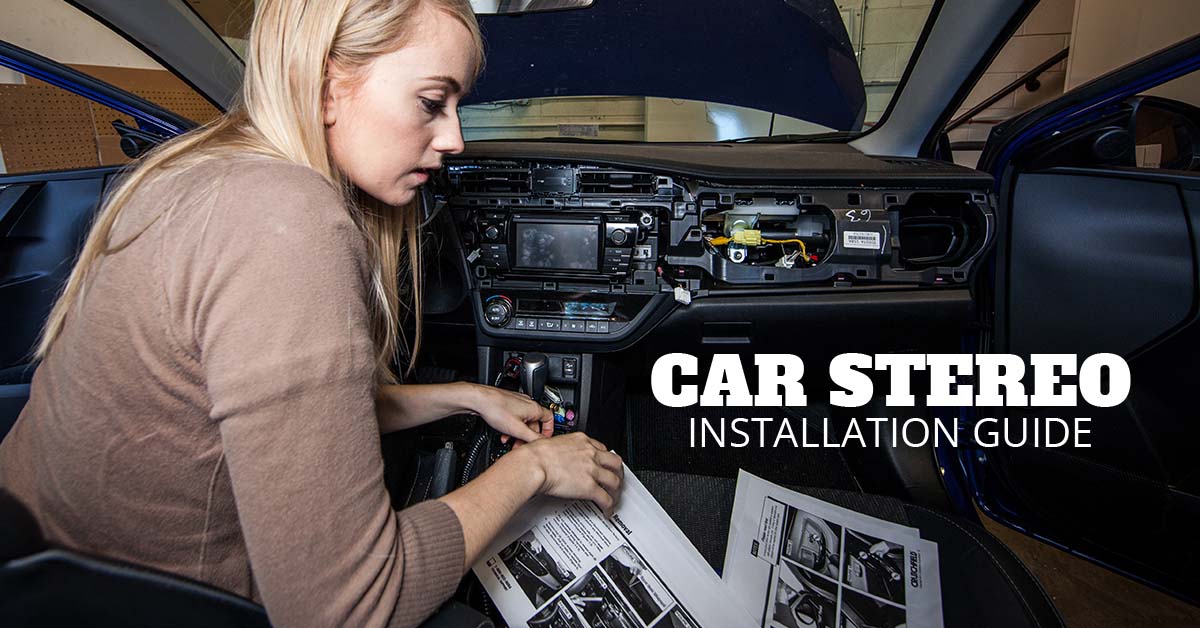
Preparing Your Car
Preparing your car for stereo installation is a key first step. It helps avoid damage and ensures safety. Take your time and follow each step carefully. This process sets the foundation for a smooth installation.
Disconnecting The Battery
Start by disconnecting the car battery. This prevents electrical shocks and short circuits. Use a wrench to loosen the negative terminal first. Remove the cable and secure it away from the battery. Repeat for the positive terminal if needed. Never work on the stereo with the battery connected.
Removing The Old Stereo
Next, remove the old stereo from the dashboard. Use the right tools like screwdrivers or panel removers. Gently pry off trim panels around the stereo. Unscrew any mounting screws holding the stereo in place. Carefully pull the stereo out without pulling wires. Disconnect the wiring harness and antenna plug from the back.
Inspecting Wiring And Connectors
Check the wiring and connectors before installing the new stereo. Look for damaged wires or loose connections. Clean any dirt or corrosion on connectors. Repair or replace wires if necessary. Ensure all connectors fit tightly and match the new stereo’s plugs. Proper wiring prevents future problems and poor sound quality.
Wiring The New Stereo
Wiring a new stereo in a modern car is a key step. It connects the stereo to the car’s power and speakers. Proper wiring ensures good sound and avoids damage. Careful attention helps avoid common mistakes. Follow clear steps for a safe and neat installation.
Matching Wire Colors
Car wires use different colors for each function. The new stereo wires have similar colors. Match the stereo wires to the car wires by color. For example, red is usually power, black is ground, and white or gray is speaker wires. Check the stereo’s manual to confirm colors. Matching colors avoids confusion and wrong connections.
Using Wiring Harness Adapters
Wiring harness adapters help connect the stereo without cutting wires. They plug into the car’s original wiring and the stereo harness. This keeps the car’s wiring safe and easy to restore. Adapters save time and reduce errors. Buy the adapter made for your car model and stereo brand.
Securing Connections
Secure connections prevent wires from coming loose. Use wire connectors or crimping tools for a strong hold. Avoid twisting wires together without connectors. Wrap connections with electrical tape for extra safety. Check all wires after connecting to ensure they are tight and neat.

Installing The Stereo Unit
Installing the stereo unit in a modern car requires care and precision. The process involves securely placing the stereo, connecting all necessary wires, and ensuring everything works before putting the dashboard back together. This section guides you through these key steps.
Mounting The Stereo
Start by sliding the stereo unit into the car’s dash opening. Make sure it fits snugly without forcing it. Use the mounting brackets and screws that came with the stereo. Tighten the screws evenly to hold the unit firmly in place. Avoid over-tightening to prevent damage to the stereo or dash.
Connecting Antennas And Accessories
Attach the antenna cable to the back of the stereo. This connection allows radio signals to reach your unit. Next, connect any accessory wires, such as USB ports or Bluetooth adapters. Match each wire color to the correct port. Double-check all connections for a secure fit.
Testing Before Final Assembly
Turn on your car’s power and test the stereo. Check radio reception, sound output, and accessory functions. Adjust settings to confirm everything works properly. Fix any loose connections if needed. Only after successful testing, reassemble the dash panels carefully.
Finishing Touches
After installing your new stereo, the final steps ensure everything works well and looks neat. These finishing touches complete the project and improve your driving experience. Careful attention here helps avoid future problems.
Reassembling Dashboard Panels
Start by carefully putting back all dashboard panels. Align each piece with the mounting points. Press firmly but gently to snap them into place. Check for any loose edges or gaps. Secure screws tightly but do not overtighten. This keeps the dashboard stable and clean.
Adjusting Sound Settings
Turn on the stereo and test the sound. Adjust bass, treble, and balance to your taste. Set the volume to a comfortable level. Use preset modes if available for different music types. Fine-tune the settings while driving for the best results. Good sound improves every trip.
Troubleshooting Common Issues
Listen for any static or distortion in the audio. Check all wiring connections if sound cuts out. Confirm the stereo powers on without error messages. Reset the unit if it freezes or acts strange. Replace blown fuses quickly to avoid damage. These steps keep your stereo running smoothly.

Frequently Asked Questions
How Do I Choose The Right Stereo For My Modern Car?
Choose a stereo compatible with your car’s make and model. Consider features like Bluetooth, touch screen, and sound quality. Check size to fit the dashboard. Read reviews for reliability. Ensure it supports your preferred media formats and connectivity options.
What Tools Are Needed To Install A Car Stereo?
You need screwdrivers, wire strippers, electrical tape, and a socket wrench. A panel removal tool helps prevent damage. A wiring harness adapter simplifies connections. Always disconnect the car battery before starting the installation for safety.
Can I Install A Stereo Myself Or Hire A Professional?
You can install a stereo yourself if you follow instructions carefully. Basic electrical knowledge helps. For complex systems, professional installation ensures proper wiring and functionality. Hiring a professional reduces risks and saves time, especially for advanced features and custom setups.
How Do I Connect The Stereo To My Car’s Wiring?
Use a wiring harness adapter to match the stereo wires to the car’s wiring. Connect power, ground, speakers, and antenna wires properly. Secure connections with electrical tape or crimp connectors to avoid shorts. Follow the stereo’s wiring diagram for accuracy.
Conclusion
Installing a stereo in modern cars can be simple and rewarding. Follow the steps carefully and take your time. Use the right tools and check connections twice. Test the stereo before finishing the installation. Enjoy better sound and a fresh driving experience.
Remember, patience helps avoid mistakes and keeps you safe. Keep this guide handy for future upgrades. Your car’s audio system can improve with just a little effort. Ready to hear your favorite music clearly? It’s easier than you think.