Are you tired of your old car stereo that doesn’t support Apple CarPlay? Replacing your head unit might sound tricky, but it’s easier than you think.
Imagine having seamless access to your apps, music, and maps right on your dashboard—making every drive safer and more enjoyable. In this guide, you’ll learn simple steps to swap out your current system and upgrade to a smart Apple CarPlay head unit.
Stick with me, and by the end, you’ll feel confident taking control of your car’s tech like a pro. Let’s get started!
Tools And Materials Needed
Replacing an Apple CarPlay head unit needs the right tools and materials. Having everything ready makes the job easier and safer. You avoid damage to your car or the new device. Gather all items before starting.
Essential Tools
You will need a few basic tools to remove the old head unit. A flathead screwdriver helps pry off panels without scratching. A Phillips screwdriver is required for screws holding the unit. Wire strippers and crimpers come in handy for wiring connections. A panel removal tool prevents damage to dashboard plastic. Electrical tape keeps wires secure and insulated. A socket wrench set may be necessary for bolts in some cars.
Choosing The Right Head Unit
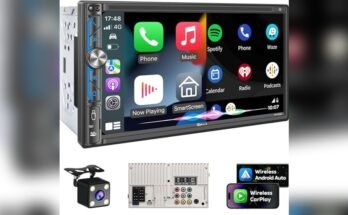
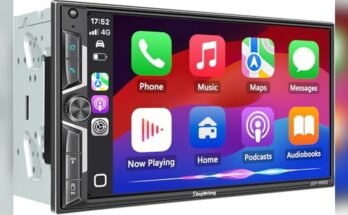
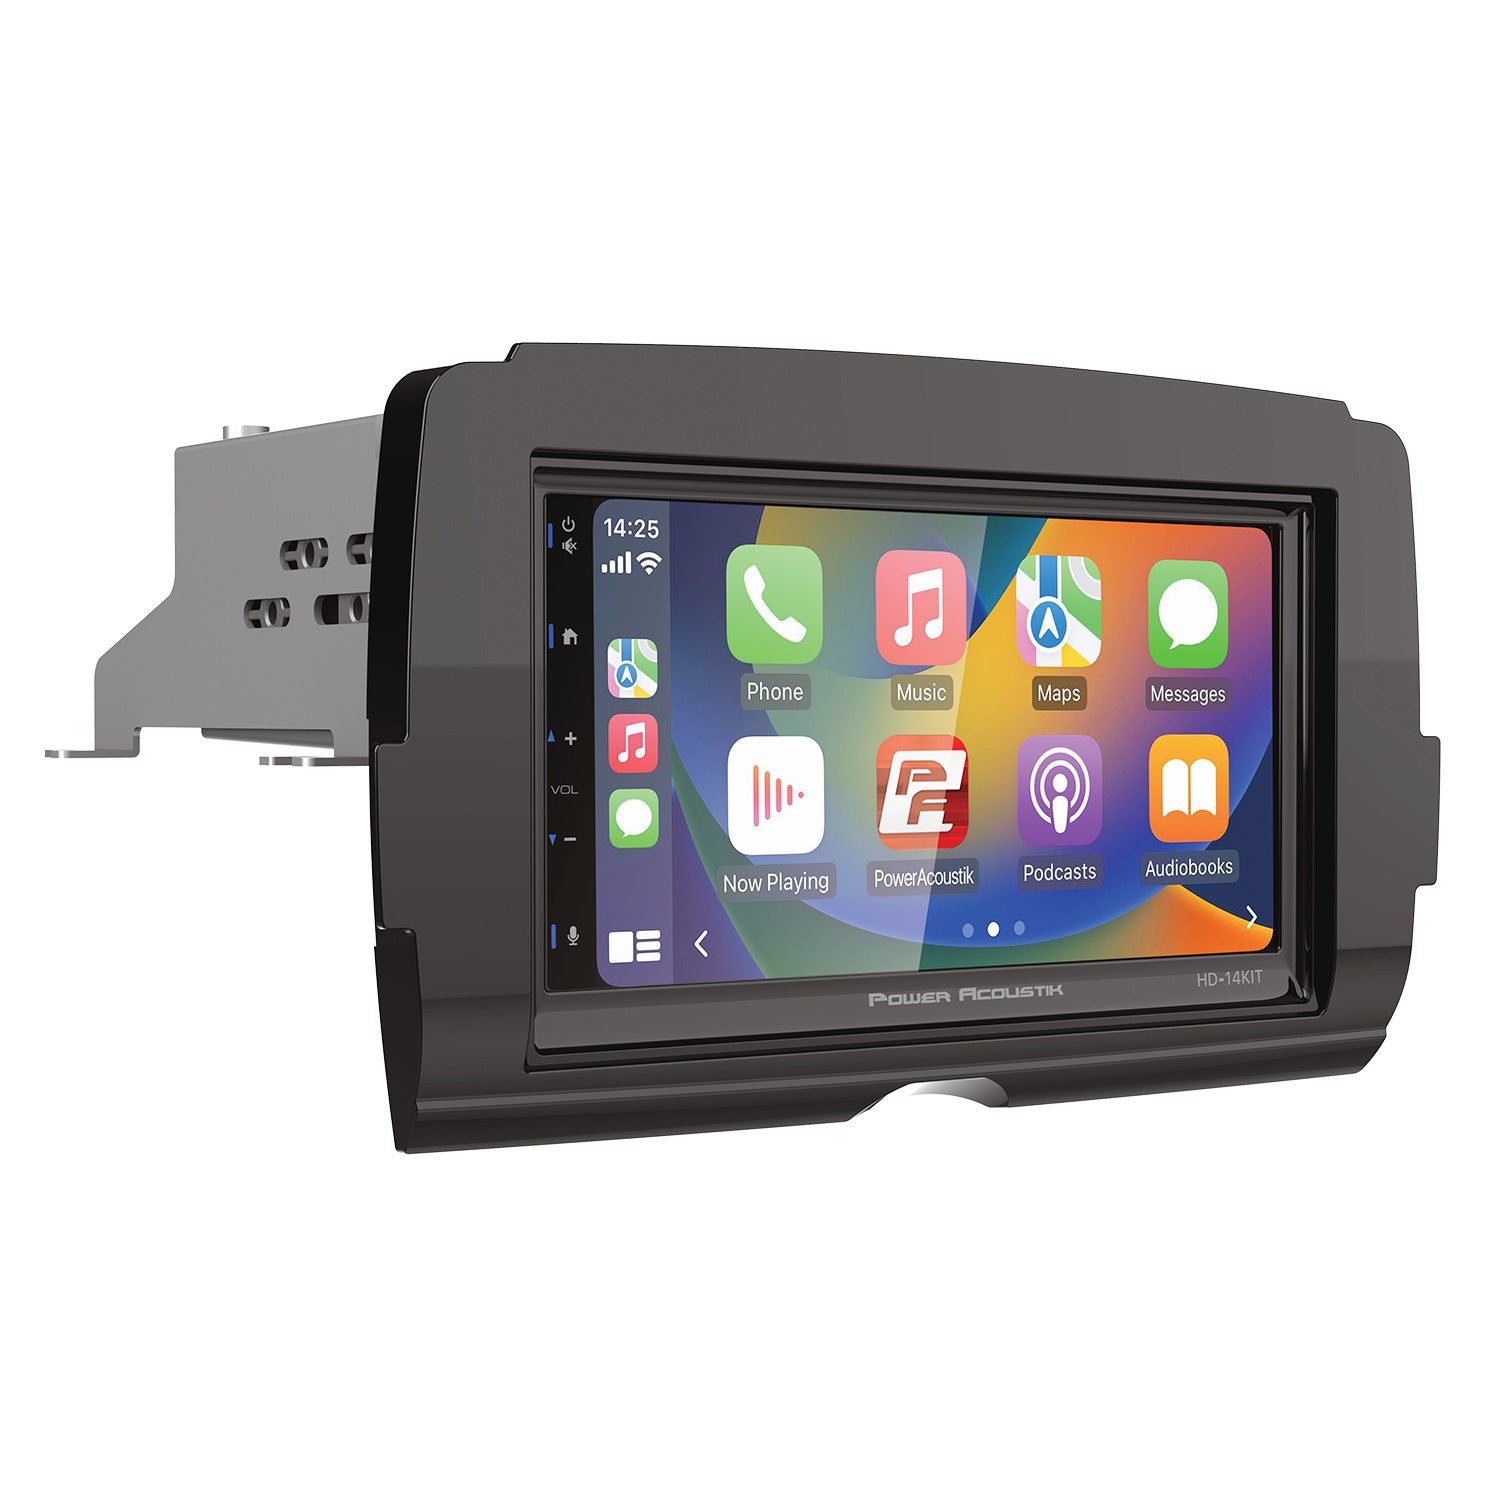
Select a head unit compatible with your car model and Apple CarPlay. Check screen size to fit your dashboard space. Consider touch screen quality and responsiveness. Look for units with easy-to-use menus and voice control. Confirm the unit supports all features you need like Bluetooth or GPS. Quality brands offer better reliability and support. Ensure the new unit comes with all wiring harnesses and adapters for your car.
Preparing Your Vehicle
Preparing your vehicle is the first step to replace an Apple CarPlay head unit. This process ensures safety and smooth installation. Taking care before starting protects your car’s electrical system and interior parts.
Follow each step carefully to avoid damage. Preparation saves time and makes the job easier.
Disconnecting The Battery
Start by turning off your car. Open the hood and find the battery. Use a wrench to loosen the negative terminal. Remove the negative cable from the battery. This stops electricity flow and prevents short circuits. Never skip this step. It keeps you safe and protects your car’s electronics.
Removing Trim And Panels
Next, remove the trim and panels around the head unit. Use a plastic trim tool to avoid scratches. Gently pry the trim pieces away from the dashboard. Keep all screws and clips in a safe place. These parts will be needed for reassembly. Take your time to prevent damage to the interior. Clear access to the head unit is essential for replacement.
Removing The Old Head Unit
Removing the old head unit is the first step in installing a new Apple CarPlay system. This process requires care to avoid damage to your car’s dashboard and wiring. Take your time and follow each step closely. Having the right tools ready helps make the job easier and safer.
Unfastening Screws And Clips
Start by locating all screws holding the old head unit. These are usually behind trim panels or under the dashboard. Use a screwdriver to carefully remove each screw. Keep the screws safe for later use. Next, gently pry off any clips securing the unit. Use a trim removal tool to avoid scratching your dashboard. Work slowly to prevent breaking the clips.
Disconnecting Wiring Harnesses
After loosening the unit, pull it out carefully. Behind it, you will see wiring harnesses connected to the back. Press the release tabs on each connector to unplug them. Avoid pulling on wires directly to prevent damage. Make note of each connection to simplify installing the new head unit. Set the old unit aside once all wires are disconnected.
Installing The New Carplay Head Unit
Installing the new Apple CarPlay head unit is a key step to upgrade your car’s tech. This process requires careful attention to wiring and mounting. Follow these steps to ensure a smooth and secure installation.
Connecting Wiring Harnesses
Start by connecting the wiring harnesses. Match each connector to its proper port on the new unit. This step is crucial for power, sound, and CarPlay functions.
Double-check connections to avoid loose or incorrect wiring. Secure the wires to prevent movement. This prevents future disconnections or damage.
Securing The Unit In Place
Once wiring is complete, fit the head unit into the dashboard slot. Align it carefully to avoid scratching or damaging the frame. Use screws or brackets supplied with the unit to hold it firmly.
Test the stability by gently shaking the unit. It should not move or wiggle. Tighten screws if needed to ensure a strong hold.
Testing The New System
Testing the new Apple CarPlay head unit is an important step. It ensures the system works properly before you finish installation. This phase helps catch any issues early. Follow these simple steps to test your new system carefully.
Reconnecting The Battery
Start by reconnecting your car battery. This restores power to the vehicle’s electrical system. Make sure the battery terminals are clean and tight. Loose connections can cause problems. After reconnecting, turn on the ignition to power the head unit. Watch for any warning lights on the dashboard. Wait a few moments for the system to boot up fully.
Verifying Carplay Functionality
Next, check if Apple CarPlay works correctly. Connect your iPhone using a USB cable or wireless connection. The CarPlay interface should appear on the head unit screen. Test basic features like making calls, playing music, and using navigation apps. Listen for clear sound and check touch screen responsiveness. If something doesn’t work, recheck connections or settings. Ensure CarPlay runs smoothly before concluding the installation.
Troubleshooting Common Issues
Troubleshooting common issues is an important step after replacing your Apple CarPlay head unit. Problems may occur due to wiring, settings, or compatibility. Fixing these issues helps ensure smooth use of your device.
Below are simple solutions to frequent problems. Follow these tips to get your system working properly again.
No Power Or Display
Check all wires and connectors first. Loose or damaged cables often cause power issues. Make sure the head unit is properly connected to the car’s power supply.
Inspect the fuse linked to the head unit. Replace it if blown. Sometimes a blown fuse stops the unit from turning on.
Try resetting the head unit. This can clear minor bugs causing no display or power. Refer to your unit’s manual for reset steps.
Carplay Not Connecting
Ensure your iPhone is compatible with Apple CarPlay. Update your phone to the latest iOS version. Older versions may cause connection problems.
Use an Apple-certified USB cable. Faulty or cheap cables often block CarPlay connection. Test the cable with other devices.
Check your car’s Bluetooth and Wi-Fi settings. Turn them off and on again. This can refresh the connection and fix issues.
Restart both your iPhone and the head unit. This simple step often restores the CarPlay link.
Tips For A Professional Finish
Achieving a professional finish when replacing your Apple CarPlay head unit is important. It ensures the installation looks clean and works well. Taking time to manage cables and reinstall trim carefully makes a big difference. These small steps help avoid problems later and keep your car’s interior neat.
Cable Management
Organize all cables before plugging in the new head unit. Use zip ties or Velcro straps to bundle wires together. Keep cables away from moving parts or sharp edges. Labeling cables can help if you need to disconnect them later. Proper cable management prevents damage and keeps everything tidy.
Reinstalling Trim Neatly
Handle trim pieces gently to avoid breaking clips or scratching surfaces. Align trim parts carefully before pressing them back into place. Use a plastic trim tool to avoid marks or dents. Check that all clips snap securely and no gaps appear. Neat trim installation makes your dashboard look factory-fresh.


Frequently Asked Questions
What Tools Are Needed To Replace An Apple Carplay Head Unit?
You need a trim removal tool, screwdriver set, wiring harness adapter, and electrical tape. These tools help safely remove and install the new head unit without damage.
How Long Does It Take To Replace An Apple Carplay Head Unit?
Replacing an Apple CarPlay head unit typically takes 1 to 2 hours. Time varies depending on your car model and installation complexity.
Can I Replace The Apple Carplay Head Unit Myself?
Yes, if you have basic car and electrical knowledge. Follow step-by-step instructions and use proper tools to avoid damage.
Will Replacing The Head Unit Affect My Car’s Warranty?
Replacing the head unit may void your warranty if not done by an authorized dealer. Check your warranty terms before proceeding.
Conclusion
Replacing your Apple CarPlay head unit can improve your driving experience. Follow the steps carefully to avoid mistakes. Take your time and double-check each connection. A new head unit brings better features and easier phone use. You can enjoy safer, hands-free control on the road.
Stay patient, and don’t rush the process. Soon, your car will have an updated, user-friendly system. Simple tools and clear instructions make this task doable. Enjoy your upgraded tech and drive with confidence.