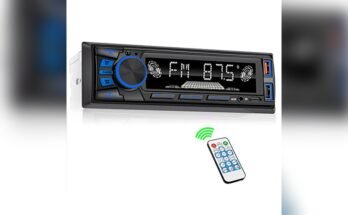
Are you ready to upgrade your old car with a brand-new stereo but don’t know where to start? Installing a car stereo in an older model might seem tricky, but with the right steps, you can do it yourself and enjoy better sound on every drive.
Imagine turning your daily commute into a concert, without paying a mechanic. In this guide, you’ll discover simple, clear instructions that make the process easy—even if you’ve never done it before. Keep reading, and by the end, you’ll have the confidence to transform your car’s audio system all by yourself.

Prepare Your Tools
Preparing your tools is the first step to install a car stereo in an old model car. Having the right tools makes the job easier and safer. It saves time and avoids frustration. Organize everything before you begin. This way, you can focus on the installation without interruptions.
Gather Essential Equipment
Start by collecting all the tools you need. Basic tools include screwdrivers, wire strippers, and electrical tape. A panel removal tool helps protect your car’s interior. A multimeter can check electrical connections. Keep all screws and small parts in a container. This prevents losing important pieces during work.
Check Compatibility
Confirm the new stereo fits your car’s dashboard. Measure the space to avoid buying the wrong size. Check the wiring harness matches your car’s system. Some old cars need an adapter for new stereos. Verify power and speaker wires align correctly. This ensures smooth installation and proper functioning.
Disconnect The Battery
Disconnecting the battery is the first step before installing a new car stereo. It keeps you safe from electric shocks. It also stops damage to the car’s electrical system. This step is very important for any car, especially old models.
Old cars may have worn wires or loose connections. Disconnecting the battery prevents short circuits during the stereo installation. Take your time and do it carefully.
Locate The Car Battery
Open the car’s hood to find the battery. It usually sits on one side of the engine bay. Look for two cables connected to the battery terminals. One cable is positive, the other is negative.
Use The Right Tools
Grab a wrench or socket set that fits the battery terminals. Most car batteries use a 10mm wrench. Using the right tool prevents slipping and damage.
Disconnect The Negative Terminal First
Always remove the negative terminal before the positive. The negative cable is usually black. Loosen the nut and gently pull the cable off. This stops electrical flow safely.
Then Disconnect The Positive Terminal
After the negative is off, loosen the positive terminal. The positive cable is usually red. Remove it carefully and set both cables aside. Do not let them touch each other or the car.
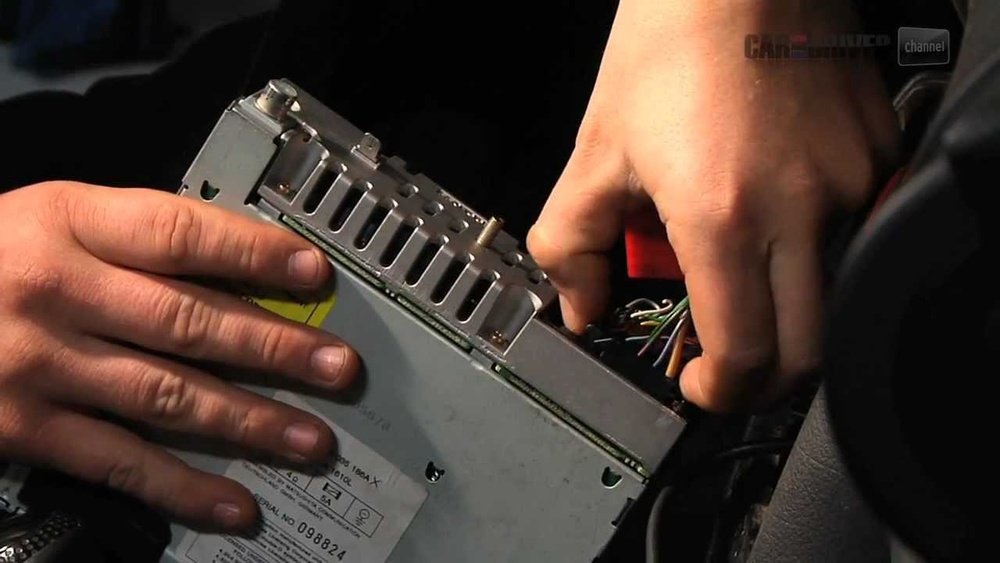
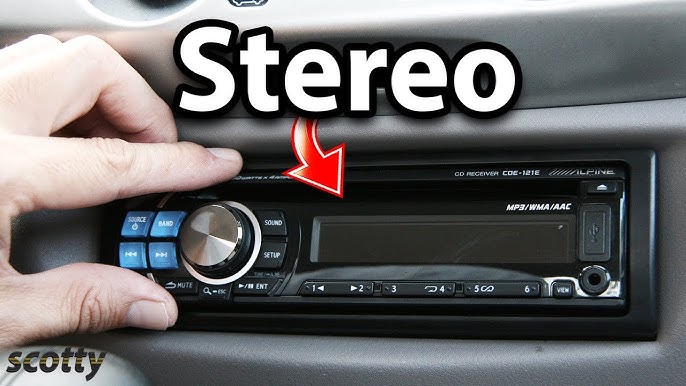
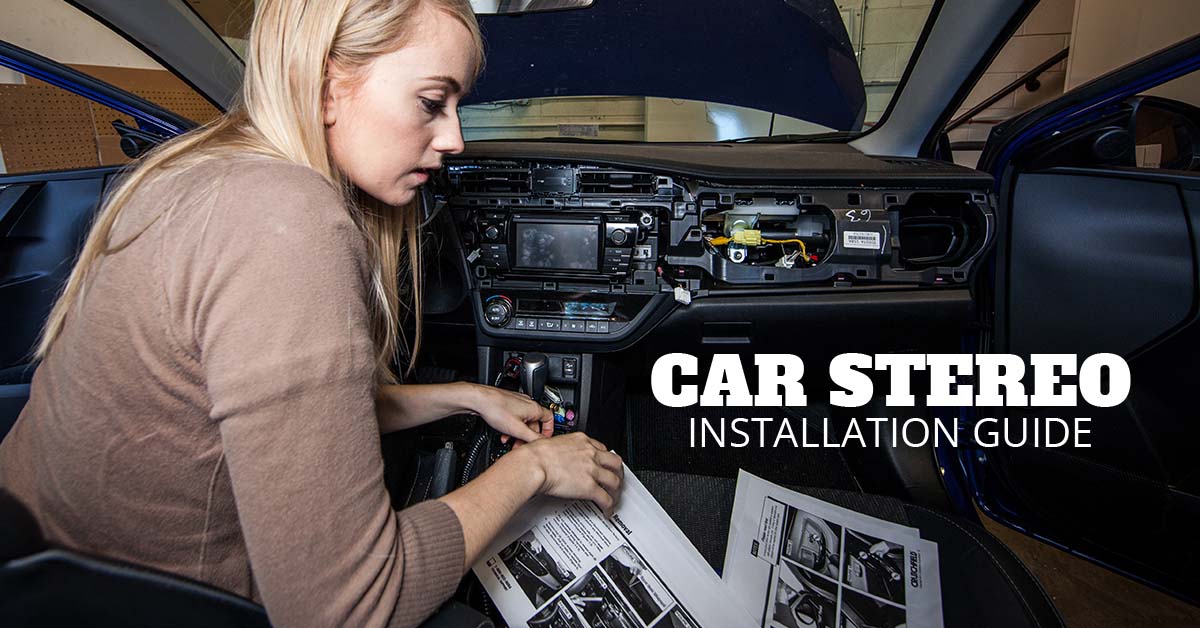
Remove Old Stereo
Removing the old stereo is the first important step to install a new one. It needs care to avoid damage to your car’s dashboard. Follow simple steps to take out the existing stereo safely.
Take Out Trim Panels
Start by removing the trim panels around the stereo. Use a plastic pry tool to avoid scratching surfaces. Gently lift the panels away from the dashboard. This exposes the screws holding the stereo in place. Keep the panels safe for reinstallation later.
Unscrew And Extract Unit
Next, unscrew all the screws securing the stereo. Use a screwdriver that fits well to prevent stripping screws. After removing screws, carefully pull the stereo out of its slot. Disconnect the wiring harness and antenna cable at the back. Set the old stereo aside for disposal or storage.
Inspect Wiring Harness
Inspecting the wiring harness is a vital step in installing a car stereo in an old model car. The wiring harness connects your new stereo to the car’s electrical system. Checking it carefully helps avoid electrical problems and ensures everything works well. Take your time to examine the wires and their condition.
Identify Wire Functions
Each wire in the harness has a specific job. Some carry power, others send sound signals or control functions. Use a wiring diagram for your car model to find the right wires. Match the colors and labels carefully to avoid mistakes. Label the wires if needed to keep track. Correct identification prevents damage and poor sound quality.
Use Adapter If Needed
Old cars often have wiring that does not match new stereos. A wiring adapter can solve this problem. It connects the old harness to the new stereo without cutting wires. Adapters save time and keep the car’s wiring safe. Choose an adapter made for your car model and stereo brand. This step makes installation easier and safer.
Connect New Stereo Wiring
Connecting the new stereo wiring is a key step in installing a car stereo in an old model car. It ensures the stereo works properly and safely. Take your time to connect wires correctly. This helps avoid problems like no sound or electrical shorts.
Match Wire Colors
Start by matching the wire colors from the new stereo to the car’s wiring harness. Most car stereos follow a color code for easy matching. For example, red is usually for power, black for ground, and yellow for battery. Use the stereo’s manual to confirm wire functions. Match each color carefully to avoid mistakes. This step makes sure the stereo gets power and sends sound to the speakers.
Secure Connections
After matching wires, secure each connection firmly. Twist wires together tightly or use wire connectors. Avoid loose connections that can cause sound dropouts or shorts. Wrap each connection with electrical tape to protect from moisture and vibration. Use a wire crimper or solder if possible for a stronger hold. Secure wiring keeps your stereo working well over time.
Mount The New Stereo
Mounting the new stereo in your old car is an important step. It holds the device firmly and keeps it safe during driving. A proper mount ensures the stereo fits well and works perfectly. Follow these simple steps to secure your new stereo.
Attach Mounting Bracket
Start by attaching the mounting bracket to your new stereo. Most stereos come with a metal or plastic bracket. Align the bracket holes with the stereo’s side holes. Use screws to fasten the bracket tightly. This bracket will hold the stereo in place inside the dashboard.
Slide Stereo Into Place
Next, carefully slide the stereo into the car’s dash opening. Guide the wires gently through the back. Push the stereo in until the mounting bracket fits snugly inside. You should hear a click or feel it lock in place. Make sure the stereo is straight and secure before finishing.
Reconnect Battery And Test
After installing the car stereo, reconnecting the battery is the next important step. It restores power to the vehicle’s electrical system. This allows you to test the new stereo and ensure it works correctly. Testing helps find any problems early and fix them quickly.
Power On System
First, turn the car key to the accessory position. This powers the stereo without starting the engine. Watch the stereo display light up. If it does, the power connection is good. If not, check the wiring again. Make sure all connections are tight and correct.
Check Audio Functions
Play music or radio to test sound output. Adjust the volume to verify the speakers work well. Test all buttons and features on the stereo. Try changing tracks and switching modes. Confirm the stereo responds properly to every command. This ensures full functionality before driving.
Reassemble Dashboard
Reassembling the dashboard is the final step after installing your car stereo. This part is important to keep the dashboard looking neat. It also protects the new stereo and wiring inside. Take your time to put everything back correctly. A careful reassembly ensures the dashboard fits well and looks like before.
Replace Trim Panels
Start by placing the trim panels back in their spots. Match each panel with the correct section. Check for any clips or screws you removed earlier. Gently push the panels until you hear a click or feel them snap in place. This prevents rattling sounds while driving.
Ensure Secure Fit
After fitting the panels, confirm they sit tightly against the dashboard. Give a light tug to make sure nothing is loose. Loose parts can cause noise and damage over time. Tighten any screws or clips that feel weak. A secure fit keeps your new stereo safe and stable.
Troubleshoot Common Issues
Troubleshooting is important when installing a car stereo in an old car. Problems can stop the stereo from working well. Knowing common issues helps fix them fast. This saves time and frustration. Here are two common problems and easy ways to solve them.
No Power Or Sound
Check the car’s battery connection first. Loose wires can cause no power or sound. Make sure the stereo’s fuse is not blown. A blown fuse stops power flow. Test the wiring harness to ensure all wires connect properly. Ground wires should have a solid connection. Verify the stereo is switched on and volume is up. A mute or low volume can seem like no sound.
Fitment Problems
Old cars may have different sized slots for stereos. Measure the space before buying a new stereo. Use a dash kit designed for your car model. This kit helps fit the stereo snugly. Avoid forcing the stereo into the slot. Forcing can break the dash or stereo. Check for any dashboard clips or screws blocking the fit. Removing or adjusting them can solve the problem.
Frequently Asked Questions
How Do I Prepare My Old Car For Stereo Installation?
Start by disconnecting the battery to avoid electrical shocks. Remove the old stereo carefully, noting wire connections. Clean the dash area for a smooth fit of the new stereo. Having proper tools handy can make the process easier and safer.
What Tools Are Needed To Install A Car Stereo?
You’ll need screwdrivers, wire strippers, electrical tape, and a wiring harness adapter. A panel removal tool helps prevent damage to your car’s interior. Having a multimeter is useful for checking electrical connections. These tools ensure a professional and secure installation.
Can I Install A Modern Stereo In An Old Car?
Yes, modern stereos can fit old cars with the right adapters. Use a wiring harness adapter to connect new systems without cutting wires. Dash kits help fit the stereo properly in older dashboards. This upgrades your car’s sound system effectively.
How Do I Connect The Wiring For The New Stereo?
Match the wires by color using the wiring harness adapter. Secure connections with crimp connectors or solder for durability. Double-check all connections before powering the stereo. Proper wiring ensures the stereo functions correctly and safely.
Conclusion
Installing a car stereo in an old model car can be simple. Follow each step with care and patience. Use the right tools and double-check connections. Take your time to avoid mistakes and ensure safety. Enjoy better sound and updated features in your car.
This upgrade can make your drives more pleasant. Keep your car stereo manual nearby for help. Trying it yourself saves money and builds skills. Trust yourself—you can do this!