If you're dealing with a Tesla Model 3 window problem, you're not alone. The frameless side glass on this EV has a reputation for acting up, from refusing to close fully to dropping into the door panel. The good news is most issues are fixable without a service center visit.
As of 2026, the National Highway Traffic Safety Administration database still lists plenty of window-related complaints for the Model 3. These windows use a cable-driven regulator and a pinch-detection system, and both must work together smoothly. To fix yours, you first need to know which symptom you're dealing with.
49% off Today's Exclusive Deals
Limited-time Exclusive Deals. Check current discount on Amazon.
Check Price on Amazon As an Amazon Associate I earn from qualifying purchases.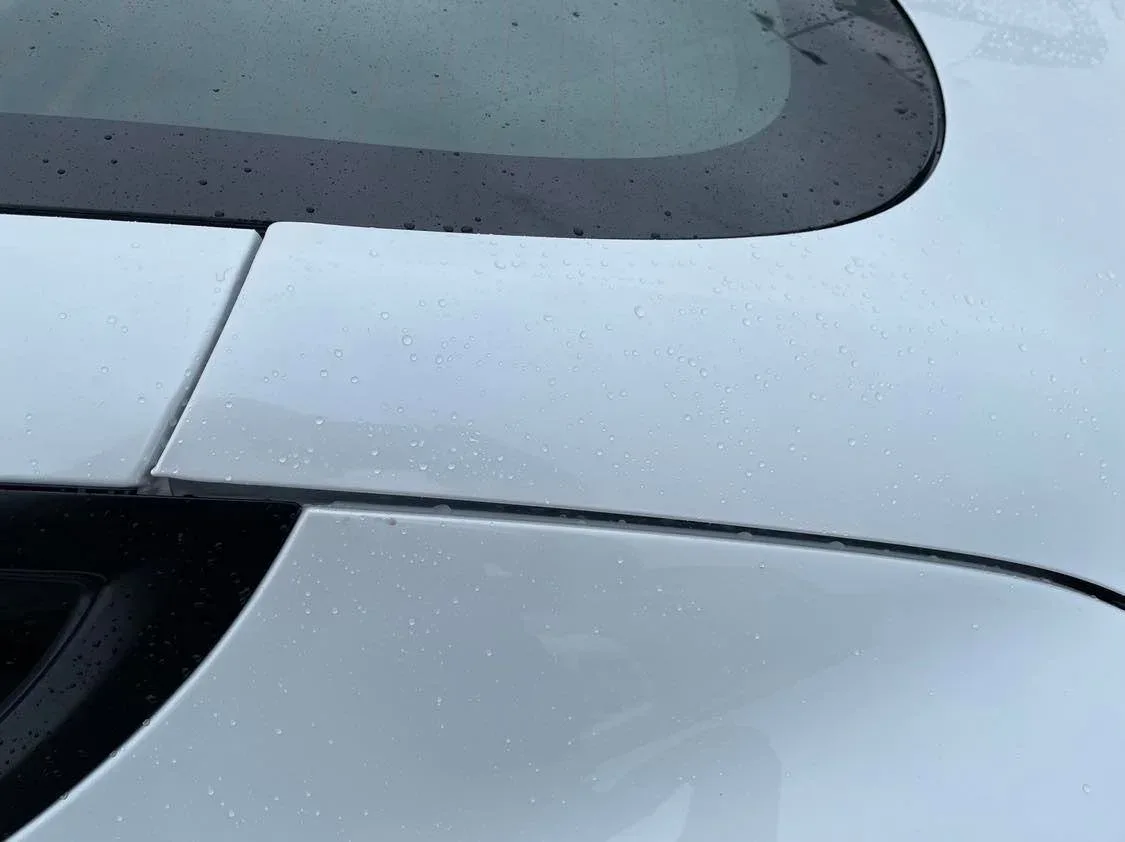
Image source: Bing (Web (fair-use with source credit))
First, Identify the Window Symptom: This Diagnoses the Problem
Your specific symptom tells you exactly where to start. The Model 3's frameless windows have a few common failure modes, and each one points to a different cause.
49% off Today's Exclusive Deals
Limited-time Exclusive Deals. Check current discount on Amazon.
Check Price on Amazon As an Amazon Associate I earn from qualifying purchases.| Symptom | What it likely means |
|---|---|
| Window drops a few inches when the door opens | Normal indexing, but excessive drop signals a limit sensor issue |
| Window won't roll all the way up, leaves a gap | Track binding, pinched seal, or failed calibration |
| Window rolls up then rolls back down | Auto-reverse triggered by excess resistance |
| Window makes a grinding or clicking noise | Worn regulator, broken cable, or debris in the track |
| Window won't move at all | Dead motor, broken regulator, or electrical fault |
| Window falls into the door | Snapped regulator cable or broken plastic clip |
If the window drops too far when you open the door, the car doesn't know the glass is fully closed. That's a calibration issue. If it rolls back down after closing, something is physically blocking it, or the pinch sensor is too sensitive.
If the window is stuck down entirely, that's a mechanical or electrical failure, not a software glitch. You may need to replace the regulator assembly. For a step-by-step guide on freeing a stuck window, check our advice on getting a car window unstuck before you begin any deeper work.
Quick Win: The 60-Second Window Reset That Fixes Most Glitches
Tesla calls this the "window calibration reset," and it's the first thing to try for most Model 3 window problems. It fixes misalignment, excessive drop, and the "won't close fully" complaint.
Here's the process:
49% off Today's Exclusive Deals
Limited-time Exclusive Deals. Check current discount on Amazon.
Check Price on Amazon As an Amazon Associate I earn from qualifying purchases.- Sit in the driver's seat and close all doors.
- Roll the affected window halfway down using the window switch on the door.
- Hold the switch down for 5 seconds after the window reaches the bottom.
- Release, then press and hold the switch up for 5 seconds after the window closes.
- Let go. Test the window with one-touch up and down.
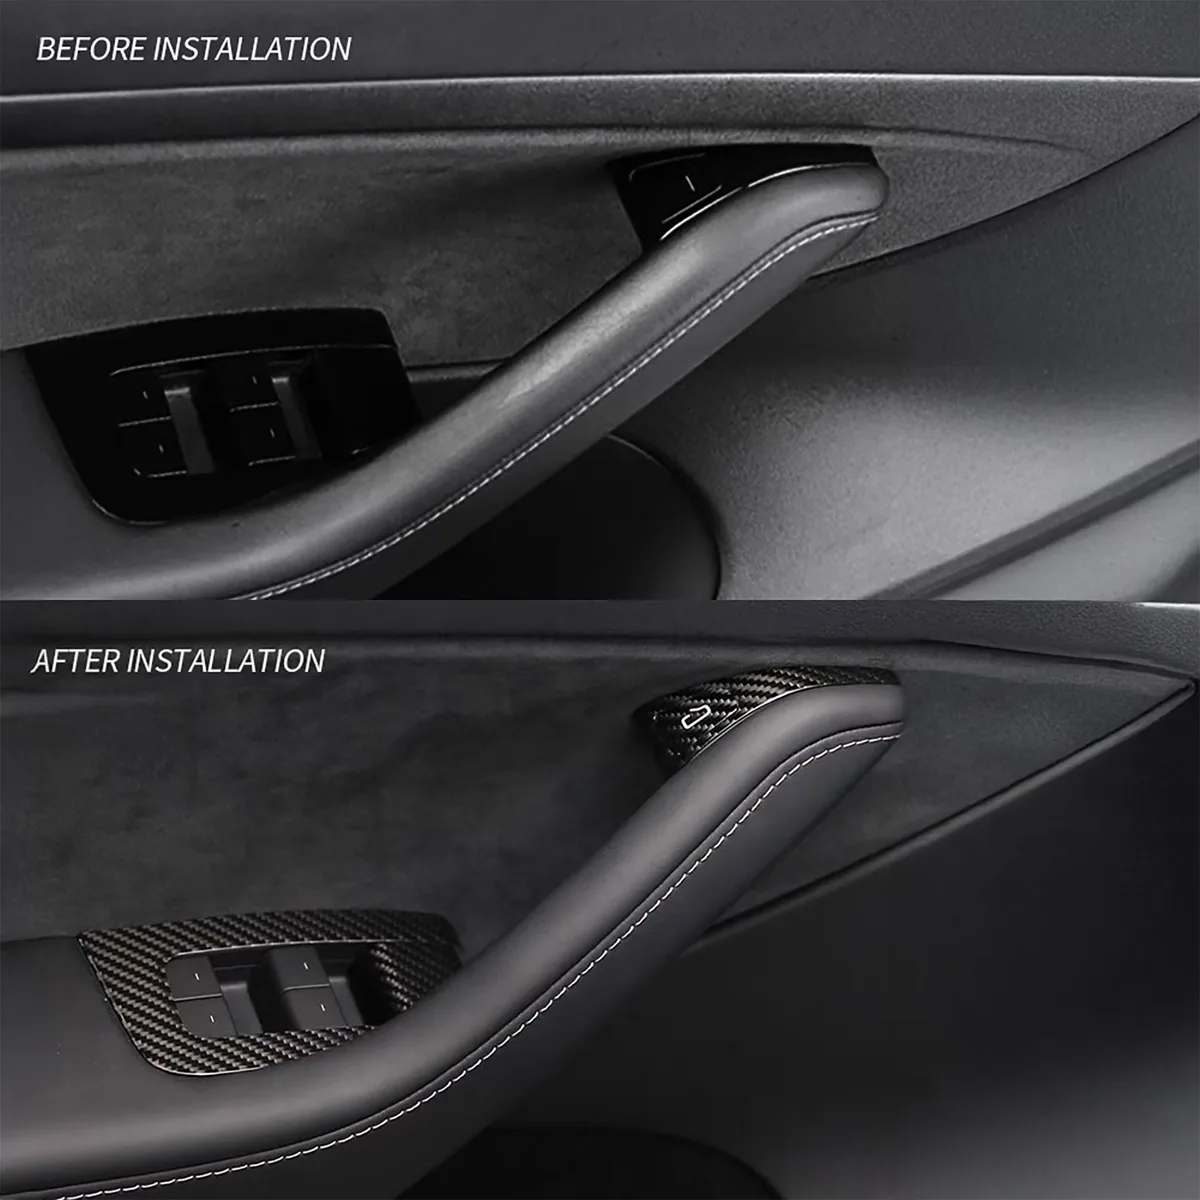
Image source: Bing (Web (fair-use with source credit))
This reset works on most glitches because the window motor loses track of its end stops after software updates or battery drain. The hold-down and hold-up procedure teaches the motor where "closed" and "open" actually are.
Some newer Tesla software also lets you run a similar calibration from the service menu. But the switch method works without extra tools. If the reset doesn't change anything, move on to the mechanical checks.
Reset Didn't Work? Now Check the Regulator, Motor, Track, and Seals
When calibration fails, something physical is usually wrong. You'll need to inspect the moving parts, but you can start without removing the door panel.
Listen carefully while pressing the switch. If you hear a motor spinning but no window movement, the regulator cable is likely snapped. That's a common failure on vehicles past 30,000 miles, especially in areas with road salt.
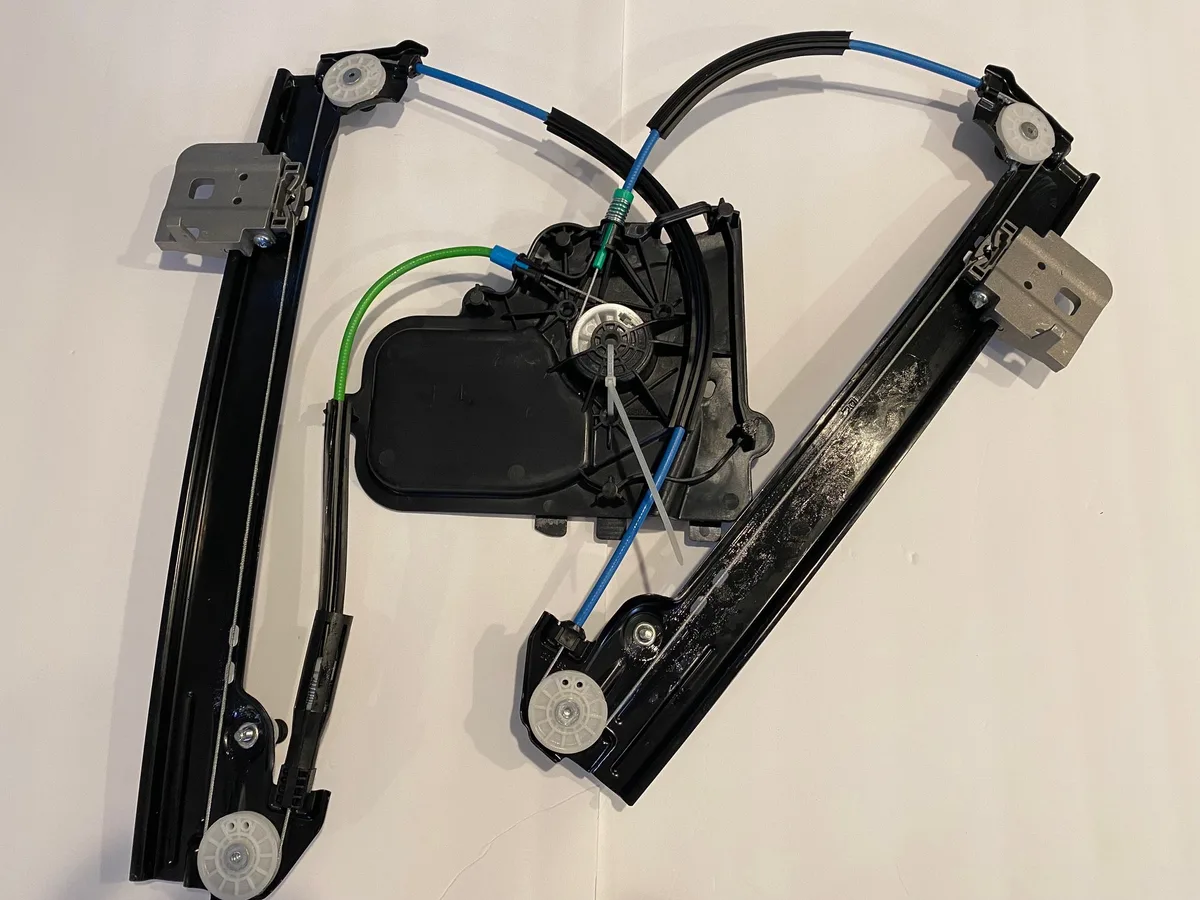
Image source: Bing (Web (fair-use with source credit))
Next, check the window track and rubber seal along the top edge. Dirt, dry leaves, or a hardened weatherstrip can create enough friction to trigger the auto-reverse. Clean the track gently and apply a silicone-based lubricant designed for rubber seals.
Avoid WD-40; it degrades weatherstripping over time.
If the window pushes the seal outward instead of sliding behind it, the glass edge is sitting proud. That suggests the regulator arm is bent or the window glass came loose from its metal channel.
In cold climates, frozen weatherstripping is a separate problem. Ice bonds the frameless glass to the roof seal, and forcing the door open drags the glass against that ice. That stresses the regulator motor and can snap the cable.
Before opening a frozen door, loosen the ice with a plastic scraper or pour a small amount of warm water along the seal edge.
If the motor is completely silent, check the window switch first. A failing switch can lose contact intermittently. Then check the door control module connection.
If neither works, the motor itself may need replacement. If your power window is not working even after a reset, our guide on diagnosing power window failures walks through those electrical checks in detail.
Tesla Mobile Service vs DIY: A Cost, Effort, and Risk Comparison
Once you know the component is broken, you have two realistic repair routes.
| Option | Cost estimate | Effort | Risk |
|---|---|---|---|
| Tesla Mobile Service | $150 to $300 for regulator plus labor | Low, technician comes to you | Low, keeps warranty intact |
| DIY regulator replacement | $60 to $130 for aftermarket part | Medium, around 2 hours | High if you damage door trim or airbag wiring |
Tesla Mobile Service is the safer choice for most owners. They bring the genuine regulator assembly, calibrate the window through the service menu, and verify the pinch protection works. That last step matters because a misaligned frameless window can shatter the glass or leak water.
DIY is best if you're experienced with door panel removal and comfortable disconnecting the 12V battery first. You'll save on labor, but you accept the risk of snapping brittle plastic door clips. An aftermarket regulator may also not match the Tesla software perfectly, which can cause the auto-reverse to trigger incorrectly.
If the repair is still under the basic vehicle warranty, book Tesla service. Window regulators are generally covered for 4 years or 50,000 miles, depending on your region.
The Right Calibration Process After Any Window Repair
Whether you replace the regulator, motor, or just the window glass, you must recalibrate the window afterward. This ensures the motor learns the glass travel limits and the pinch detection works at the right sensitivity.
The switch-based reset works after a repair, but Tesla's service menu gives you a deeper calibration. Here's what a proper post-repair calibration involves:
- Close all doors and windows.
- Put the car into service mode through the touchscreen.
- Select "Window Calibration" in the service menu.
- Follow the on-screen prompts for each window.
- Cycle the window fully down, then fully up, three times.
- Exit service mode and test one-touch operation.
If you did a DIY repair without access to service mode, the manual switch reset is an acceptable fallback. Run it twice and confirm the window seats flush against the roof seal. Close the door and watch the window index upward.
It should tuck neatly behind the weatherstrip.
Check the new regulator's cable for proper tension. Loose cables cause the motor to spin without moving the glass smoothly. If you see fraying within weeks of installation, the part was likely defective or misaligned.
Safety Checks, Warranty Coverage, and Common Mistakes to Avoid
Window repairs touch safety-critical systems, so a few precautions come first. The door panel houses the side airbag and its wiring harness. Pulling the panel carelessly can damage the airbag connector.
Disconnect the 12V battery before any invasive door service, then wait a couple of minutes for the system to power down.
Per FMVSS 118, pinch protection is a federal requirement. If your window fails its calibration, that safety feature may stop working. A window that won't auto-reverse can trap fingers or pet paws.
Here are the most common mistakes owners make:
- Skipping calibration after a repair. Always run the reset, or the window will misalign within days.
- Using WD-40 on the rubber seals. It degrades them. Use a silicone-based lubricant made for weatherstripping.
- Ignoring a slow-moving window. The motor draws extra current as it struggles, and that burns it out.
- Reusing broken door clips during reinstallation. Cheap plastic clips cost a few dollars, but a loose panel rattles for years.
On warranty, Tesla's basic vehicle warranty typically covers window regulators for 4 years or 50,000 miles. If your issue is still under that window, book a service appointment instead of opening the door yourself. Aggregate owner reports suggest most regulator failures appear between 30,000 and 50,000 miles, so check your warranty status before spending anything.
A few preventive habits help too. Clean the window tracks monthly. Inspect the weatherstripping for cracks twice a year.
And avoid slamming the door with the window fully up. The frameless glass needs room to index, so repeated hard slams stress the same regulator components over and over.
Record a short video of the window failing before you call Tesla. Intermittent issues often go quiet by the time a technician arrives. A timestamped clip speeds up both diagnosis and warranty approval.
Frequently Asked Questions
How much does a Tesla Model 3 window regulator replacement cost?
A genuine Tesla regulator assembly typically runs $300 to $600 through mobile service, with labor included. Aftermarket parts cost $60 to $130 but may not match the motor programming. DIY repairs add about two hours of your time and the risk of broken door clips, so many owners choose mobile service for the warranty peace of mind.
Why does my Tesla window go down a little when I open the door?
That's normal. Tesla windows use indexing, which drops the frameless glass about 10 to 15 millimeters so it clears the roof seal. If the window drops more than that, or hesitates before rising, the calibration is off.
Run the switch-based reset described earlier.
Can I drive with my Tesla window stuck down?
Technically yes, but it exposes you to weather, noise, and theft risk. A window that falls into the door can damage the regulator further. If you must drive, tape a plastic sheet over the opening and keep speed under 50 mph to reduce interior pressure stress on the loose glass.
How do I know if my window motor is bad?
Press the switch and listen. A faint click or buzzing with no movement suggests a broken regulator cable. Complete silence means check the switch first, then the door module connector.
Only after ruling those out should you suspect the motor, which typically fails with slow, grinding rotation before dying entirely.
How do I know if my window problem is software or hardware?
If the reset procedure fixes it, it was software. If the window behaves the same after a reset, you're looking at a mechanical or electrical issue. Hardware failures usually involve noise, slow movement, or a window that won't move at all, while software issues show up as inconsistent behavior after an update.
Should I try a DIY repair or call Tesla service?
Call Tesla service if you're under warranty or uncomfortable removing door panels. DIY saves money but carries real risk, especially near the side airbag wiring. If you do attempt it, disconnect the 12V battery first and order the correct regulator model for your specific Model 3 year.