If you've walked out to a dark driveway and realized your Tesla Model 3 headlights aren't working, you know the frustration. You're wondering if this is a cheap fix or a costly one. Most headlight failures on the Model 3 come down to just a few causes.
The LED assemblies themselves are rated for tens of thousands of hours. So a dead bulb is rarely the problem as of 2026. You're usually looking at a weak 12V battery, a software glitch, or a corroded connector.
49% off Today's Exclusive Deals
Limited-time Exclusive Deals. Check current discount on Amazon.
Check Price on Amazon As an Amazon Associate I earn from qualifying purchases.Keep that in mind as we work through the fixes.
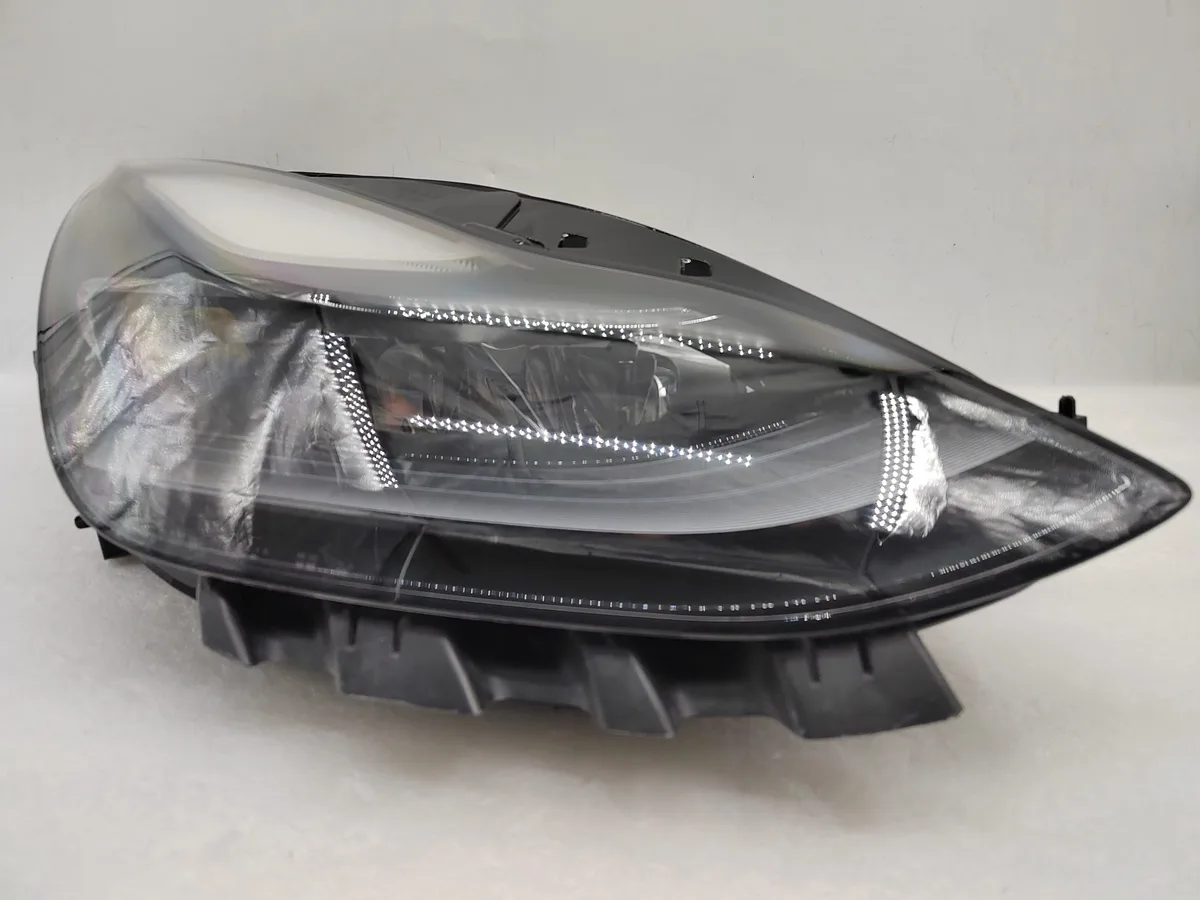
Image source: Bing (Web (fair-use with source credit))
49% off Today's Exclusive Deals
Limited-time Exclusive Deals. Check current discount on Amazon.
Check Price on Amazon As an Amazon Associate I earn from qualifying purchases.Quick Answer
Check your touchscreen for alerts first. Reboot the car using both scroll wheels. Test the 12V battery if both headlights are dead.
Inspect the connector if only one side is out. Most failures trace back to the battery or software, not the bulb.
It Usually Comes Down to Three Things
When Model 3 owners report headlight problems, the cause almost always fits one of three categories. Knowing which one saves you time and money.
The 12V auxiliary battery is the silent killer. It powers the computers that command your headlights. When it gets weak, electrical gremlins appear. Flickering lights, dead lights, or erratic behavior all point here.
49% off Today's Exclusive Deals
Limited-time Exclusive Deals. Check current discount on Amazon.
Check Price on Amazon As an Amazon Associate I earn from qualifying purchases.Software glitches happen more than you'd expect. Tesla pushes over-the-air updates regularly. Sometimes an update introduces a bug in the body control module. A simple reboot fixes this in many cases.
Connector corrosion causes single-side failures. The headlight connector sits low in the front bumper. It takes in road spray, salt, and debris. Over time, that corrodes the pins and kills the connection.
These three causes need completely different fixes. One needs a battery replacement. One needs a reboot.
One needs a connector inspection. Getting the diagnosis right means not spending $1,500 on a headlight assembly you didn't need.
If you're also dealing with turn signal issues on the same car, the electrical troubleshooting logic is very similar. Our guide on fixing non-working turn signals walks through connector checks that apply here too.
How Model 3 Headlights Work (No Fuses, More Software)
Forget what you know about traditional headlight systems. The Model 3 doesn't have a standard fuse box you can pop open and check. It has a few fuses buried deep, but not the kind you're used to.
The headlights are controlled by the body control module. This computer receives commands from the steering column stalk and the touchscreen. When you flip the stalk to auto, the ambient light sensor tells the controller when to activate the lights.
The system works in layers. The 12V battery powers the controller. The controller sends a signal to the headlight assembly.
The assembly's internal driver circuit powers the LEDs. Each LED is individually controlled for features like adaptive high beams on newer models.
This architecture means there's no simple "headlight fuse" to swap. You're troubleshooting a network of components. The upside is that Tesla gives you diagnostic clues through the touchscreen.
Pay close attention to any alerts that appear.
Messages like "Front Lighting Reduced" or "Headlight Unavailable" narrow down the problem. A warning about a specific side tells you which assembly is struggling. That's more useful than most traditional cars give you.
This complexity is why a multimeter test on the 12V battery is always step one. It rules out the most common failure point before you chase expensive parts.
For general headlight troubleshooting principles that apply across vehicles, our headlight quick fix guide covers the basics worth knowing.
Both Headlights Dead? Here's Your Priority List
When both headlights die at the same time, that's a strong clue. The problem probably isn't inside a single headlight assembly. You're dealing with a shared system issue.
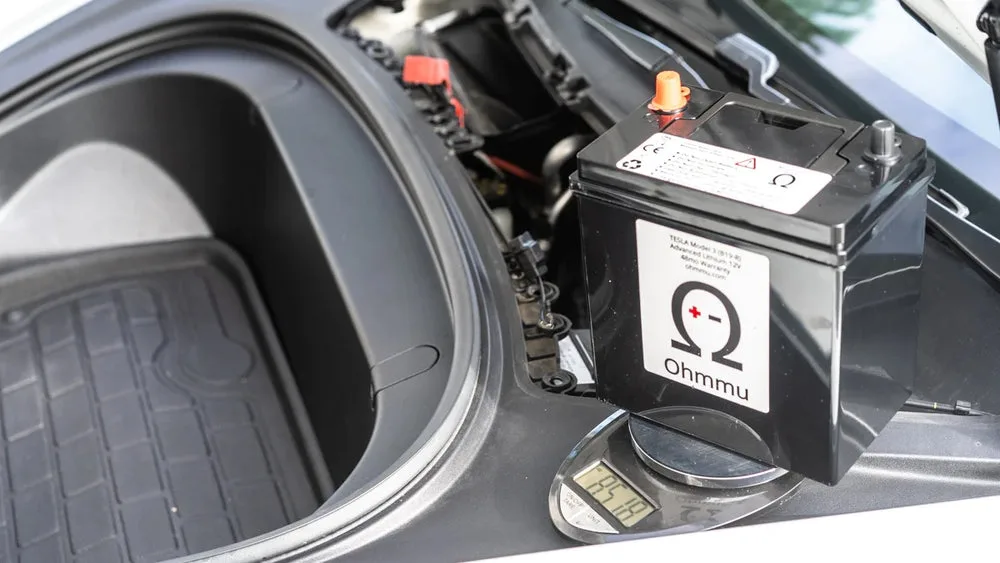
Image source: Bing (Web (fair-use with source credit))
Step 1: Reboot the car. This sounds too simple, but it works surprisingly often. Press and hold both scroll wheels on the steering wheel. Keep holding until the screen goes black.
Wait for the Tesla logo, then release.
Step 2: Power-cycle completely. A reboot isn't always enough. Go to Controls, then Safety, then Power Off. Wait two full minutes without touching anything.
This forces the car to shut down all systems and start fresh.
Step 3: Test the 12V battery. This battery lives behind the front bumper on the passenger side. You'll need to remove the frunk liner to reach it. A resting voltage of 12.6V or higher is healthy.
Anything below 12.4V is suspect. If it drops below 12V, the battery is likely dying.
Step 4: Check for pending updates. Open the software menu on your touchscreen. If an update is available, install it while plugged in. Tesla has patched lighting bugs through software before.
Step 5: Schedule mobile service if nothing works. If the reboot failed and the battery tests fine, you need professional help. Tesla's mobile technicians can connect remotely and pull error codes. They can also replace the 12V battery on the spot.
Here's a quick reference for the both-out scenario:
| Symptom | Likely Cause | Fix |
|---|---|---|
| Both lights dead after update | Software glitch | Reboot or power-cycle |
| Both lights dead, flickering dash | Weak 12V battery | Replace battery |
| Both lights dead, no alerts | Controller issue | Tesla service needed |
| Intermittent both-side behavior | Failing voltage | Load-test the battery |
The 12V battery is the most common culprit. Tesla recommends replacing it every two to four years. Heavy Sentry Mode usage drains it faster.
If your car is past the three-year mark, that's where to start.
This same battery weakens other electrical systems too. If your brake lights have stopped working or your horn has gone silent, a dying 12V battery could be the shared cause.
One Side Dark: Why It's a Connection, Not a Bulb
A single headlight out points in a different direction. The LED assembly is sealed and rated for the vehicle's lifetime. A dead bulb is unlikely.
The problem is usually at the connector or the wiring harness.
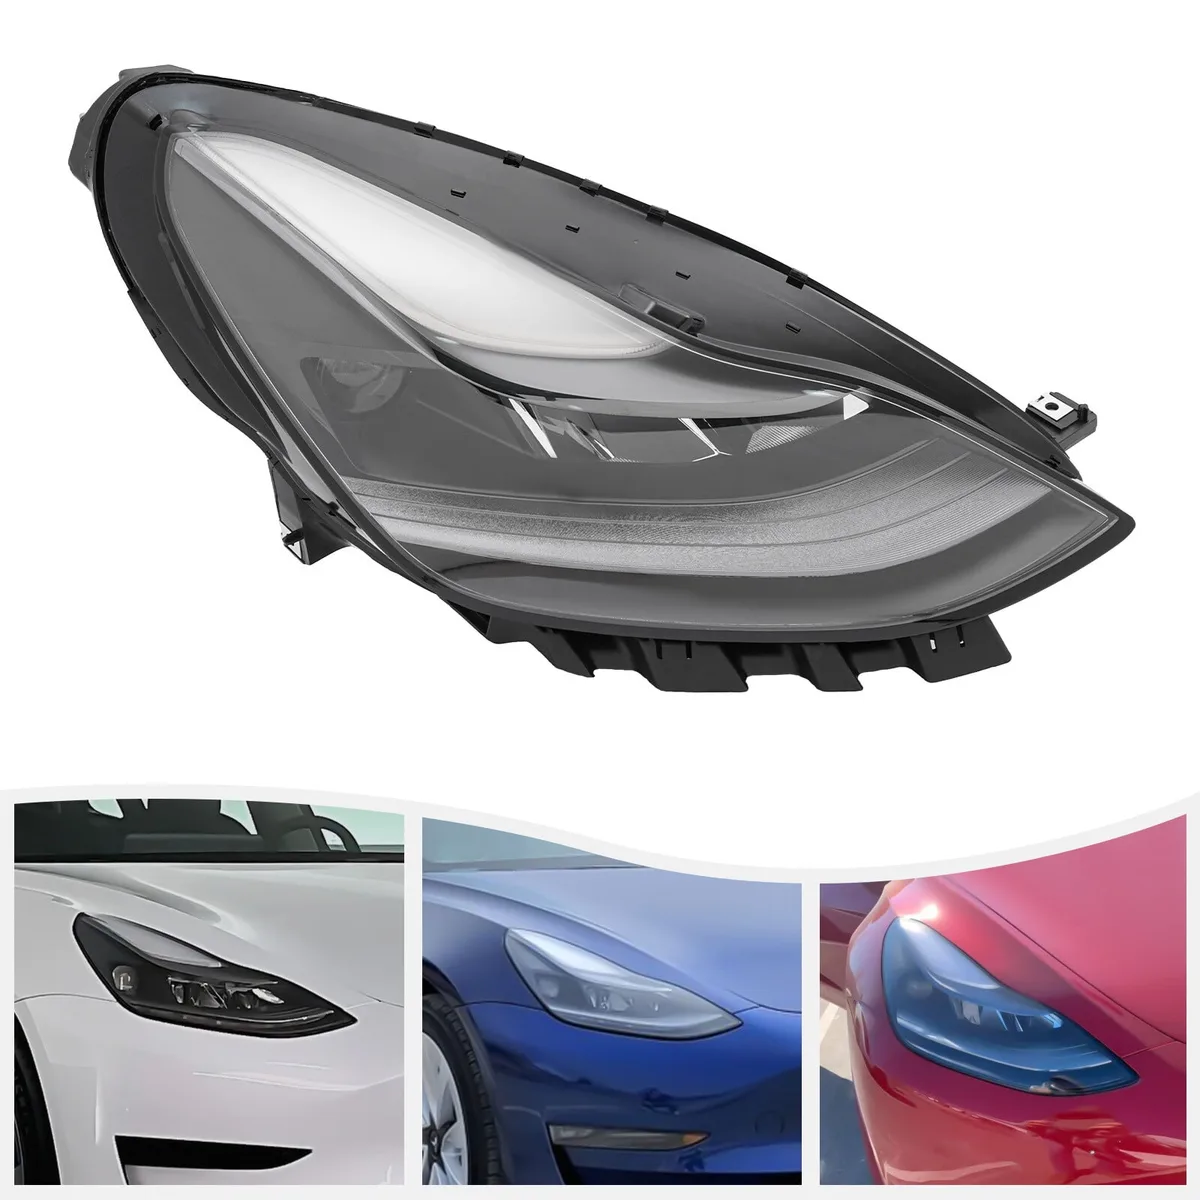
Image source: Bing (Web (fair-use with source credit))
Start with a visual inspection. Open the frunk and look toward the affected headlight. You'll see a wiring harness connecting to the back of the assembly. Check for obvious damage, chafing, or exposed wire.
Unplug the connector and inspect the pins. Look for green corrosion, bent pins, or moisture inside. This connector sits low and catches road spray. Even a small amount of water causes a poor connection.
Seat the connector firmly. Sometimes the locking tab doesn't fully engage. Press it back in until you hear a click. Then jiggle it gently to confirm it's secure.
Test the harness along the bumper. If the connector looks clean, check where the wiring routes along the front. Accident repairs or bumper work can pinch or tear wires. A rubbed-through wire grounds out and kills the headlight.
If you find corrosion, clean the pins with electrical contact cleaner. A small brush helps get into tight spots. Apply dielectric grease before reconnecting.
This prevents future moisture damage and restores the connection.
If the harness itself is damaged, you may need a new pigtail connector. This part usually costs under $50. Splicing it requires basic soldering, but it beats paying for a full headlight replacement.
For cars with front-end damage history, check for internal wire breaks. A wire can look fine outside while being broken inside the insulation. Pull gently on each wire where it enters the connector.
If any feels stretchy or loose, that's your problem.
The same connector checks apply when diagnosing other dead electrical components on your car.
Only High Beams Flicker or Stay Off?
High beam problems sometimes follow different logic than low beams. If your low beams work but the high beams flicker or refuse to engage, the fault is often in the control system.
Auto high beam is the usual suspect. The Model 3 uses forward-facing cameras to detect traffic and switch between high and low beams. When the system gets confused, it flickers or stays stuck in one mode.
Check your headlight settings on the touchscreen. If auto high beam is on, try switching to manual and test again. If manual works, the issue is with the camera or the algorithm.
Camera calibration matters. After a windshield replacement or camera service, recalibration is required. An uncalibrated camera misdetects traffic and behaves erratically. You can check calibration status in the service menu.
A dying 12V causes flicker too. When voltage drops, headlight driver circuits don't get stable power. LEDs flicker before failing completely. Load-testing the battery reveals this even when resting voltage looks fine.
The ambient light sensor plays a role. If it's blocked by dirt or a dashboard object, the car may never trigger high beams. Clean the sensor area gently. If you have window tint near the sensor, check that it isn't interfering.
If none of these steps help, the problem might be inside the headlight assembly's internal driver circuit. This board controls the individual LEDs and can fail over time. The only fix is a full assembly replacement.
Warranty coverage matters here. If your car is within the 4-year/50,000-mile bumper-to-bumper warranty, headlight failures are covered. A replacement costs roughly $800 to $1,500 per side plus labor if you're out of warranty.
Exhausting the cheap fixes first is always worth it.
Frequently Asked Questions
Can a weak 12V battery cause both headlights to fail?
Yes. The 12V auxiliary battery powers the body control module, which commands the headlights. When voltage drops below roughly 12V, the controller can't function properly.
Both headlights may shut off or flicker erratically. Replacing the battery often resolves the issue immediately.
How do I know if it's the battery vs the headlight assembly?
Test the 12V battery with a multimeter first. Resting voltage below 12.4V points to a battery problem. If both headlights are dead and the battery is low, replace the battery.
If the battery tests healthy and only one side is out, inspect the connector on that side.
Is it safe to drive with one headlight out?
It's legal in most areas for a short trip, but not recommended. One headlight reduces your visibility and makes your car harder to see. State inspection stations will fail you for it.
Fix it as soon as possible, ideally the same day.
Can Tesla fix headlight issues over the air?
Sometimes. If the problem is a software glitch, Tesla can push a firmware update that resolves it. You'll need a Wi-Fi connection and the car must be in a stable location.
Check your software menu for pending updates. If none are available, schedule service through the app.
How much does a headlight replacement cost out of warranty?
Expect $800 to $1,500 per side for the assembly, plus $150 to $300 for labor at a Tesla service center. Mobile service may charge less for labor. A DIY replacement saves the labor cost but requires removing the front bumper cover, which takes about an hour with basic tools.
Should I replace the 12V battery preventively?
Tesla recommends replacing it every two to four years. If yours is past the three-year mark, a preventive replacement costs around $100 to $200 for the part. It's cheap insurance against being stranded.
Heavy Sentry Mode use shortens the battery's life, so consider replacing earlier.