Your Honda Civic AC not cold is a problem that hits hardest in the middle of summer. The vents push air, but it barely feels cooler than outside. Before assuming a major repair, know that most causes are straightforward to diagnose.
Honda uses R-1234yf refrigerant in 2018 and newer Civics, holding around 19 to 22 ounces depending on model year. That precise amount matters. Even a small refrigerant loss can shut cooling down completely.

49% off Today's Exclusive Deals
Limited-time Exclusive Deals. Check current discount on Amazon.
Check Price on Amazon As an Amazon Associate I earn from qualifying purchases.Here's a step-by-step diagnostic path to figure out what's happening.
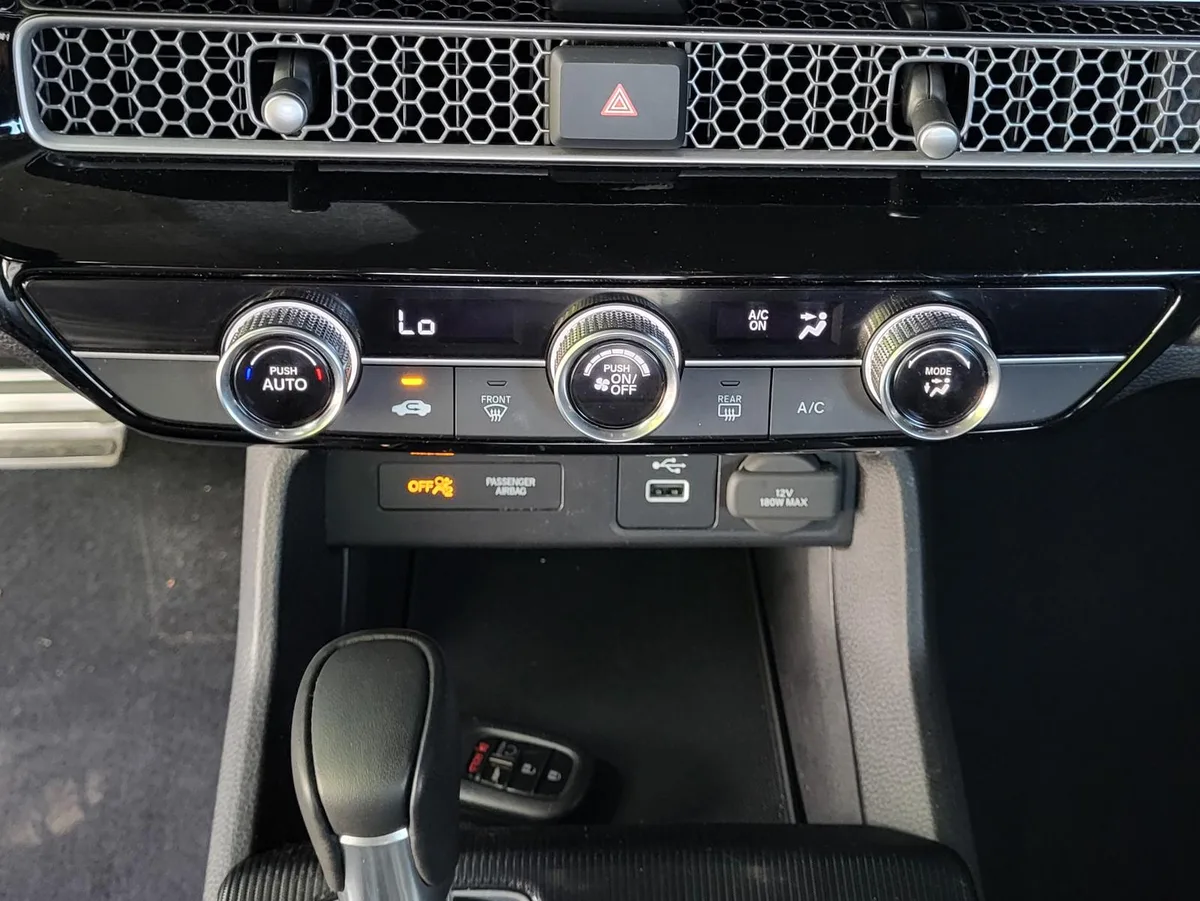
Image source: Bing (Web (fair-use with source credit))
49% off Today's Exclusive Deals
Limited-time Exclusive Deals. Check current discount on Amazon.
Check Price on Amazon As an Amazon Associate I earn from qualifying purchases.Why Your Honda Civic AC Isn't Blowing Cold
Most Honda Civic AC complaints boil down to five root causes.
- Low refrigerant from a slow leak in the condenser, O-rings, or fittings
- Compressor clutch failure preventing engagement
- Condenser fan malfunction blocking heat dissipation
- Blend door actuator stuck in the warm-air position
- Electrical fault like a blown fuse or bad pressure switch
Road debris is a particularly common culprit. The condenser sits right behind the front grille, and rock punctures create slow refrigerant leaks that take weeks to become obvious. This ranks among the most frequent issues across both 10th and 11th generation Civics.
The good news is that each cause follows a specific diagnostic path. You can narrow this down yourself with the checks below.
Quick Check: The 5-Minute AC Settings Verification
Before grabbing any tools, verify your settings. A surprising number of "broken" AC systems are just set wrong.
49% off Today's Exclusive Deals
Limited-time Exclusive Deals. Check current discount on Amazon.
Check Price on Amazon As an Amazon Associate I earn from qualifying purchases.- Press the AC button and confirm the indicator light is on
- Set the temperature dial fully to cold
- Turn fan speed to high
- Enable recirculation mode
- Direct airflow to the face vents
Start the car and idle for two minutes. Feel the air from the center vents. Still warm?
Check the cabin air filter next. It lives behind the glove box and takes five minutes to inspect. A clogged filter restricts airflow so severely it mimics a refrigerant problem.
Settings and filter look good? Move on to the diagnostic workflow.
The Diagnostic Workflow: From Simple Checks to Component Tests
Follow these steps in order. Stop at whichever step reveals the problem.
Step 1: Visual and Auditory Inspection
With the engine running and AC on max cold, listen near the passenger side of the engine bay. The AC compressor sits low on the engine and should produce a firm click as the clutch engages. No click means the compressor is not receiving power or the clutch has failed.
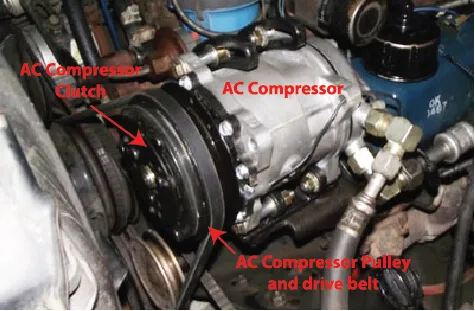
Image source: Bing (Web (fair-use with source credit))
Also check the condenser fan. It sits in front of the radiator and must spin with the AC running. A non-spinning fan causes heat buildup that kills cooling performance fast.
Step 2: Electrical System Check
If the clutch won't engage, check the AC fuse and relay in the under-hood fuse box. A blown fuse or stuck relay is a cheap fix. Test the relay by swapping it with an identical unit from the same box.
If both check out, the low-pressure switch may be cutting power. This switch protects the compressor when refrigerant drops below a safe threshold. In our research, a non-engaging clutch traces to low system pressure roughly 70 percent of the time.
Step 3: Preliminary Pressure Test
Connect a manifold gauge set to the low-side and high-side service ports. At 80 degrees Fahrenheit ambient temperature, healthy readings show 25 to 45 psi on the low side and 150 to 250 psi on the high side.
Both sides low? You likely have a leak. Only the low side dropping points to a blockage or expansion valve fault.
High readings on both sides suggest a condenser airflow issue or an overcharged system.
Step 4: Refrigerant Leak Detection
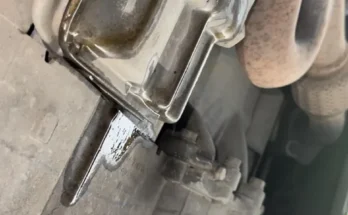
A UV dye kit is the most practical home leak detection method. Inject dye through the low-side port, run the system for ten minutes, then scan components with a UV light. Focus on the condenser, hose connections, the evaporator drain tube, and service port Schrader valves.
These are the most common leak locations.
Step 5: Advanced Component Diagnostics
Pressure readings look normal but air stays warm? The blend door actuator deserves attention. This small motor controls whether air passes through the cold evaporator core or bypasses it entirely.
A stuck actuator forces warm air through the vents regardless of system function. A Honda-compatible scan tool can command the actuator through its full range to confirm the fault.
When DIY Troubleshooting Ends: Signs You Need a Pro
Some repairs require equipment and certifications that most home garages lack. Refrigerant causes frostbite on contact and must be recovered under federal EPA Section 608 regulations. If you're not certified, leave the recharge to a professional.
Call a shop when:
- The system needs full evacuation and recharge using a vacuum pump and recovery machine
- You suspect compressor failure requiring a complete system flush
- Wiring or module faults demand Honda-specific scan tools and wiring diagrams
- The evaporator is leaking, which requires dashboard removal on most Civic generations
A qualified HVAC technician at an independent shop typically charges $100 to $200 for a diagnostic visit. That fee often gets applied toward the final repair.
If your Civic shows additional electrical symptoms like flickering dashboard lights or slow cranking, the root cause might extend beyond the AC system. Our guide to alternator failure warning signs covers related symptoms worth checking.
Cost Guide: From Refrigerant Recharge to Major Component Repair
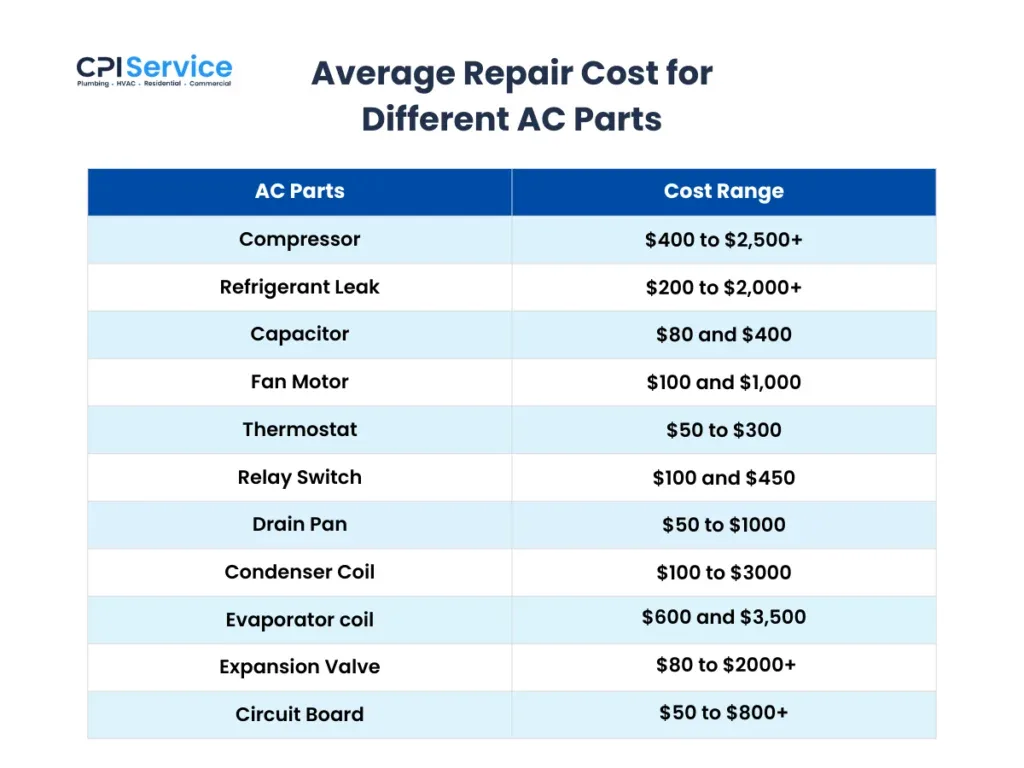
Image source: Bing (Web (fair-use with source credit))
Understanding typical repair costs helps you decide between a DIY fix and a shop visit.
| Repair | Typical Cost | Notes |
|---|---|---|
| Refrigerant recharge | $100 to $275 | Only works if no active leak |
| Cabin air filter | $15 to $40 | Easy five-minute DIY |
| Condenser replacement | $400 to $900 | Often caused by road debris |
| Compressor replacement | $800 to $1,500 | Includes flush and new drier |
| Blend door actuator | $150 to $400 | Labor varies by model year |
| Full system diagnosis | $100 to $200 | Usually credited toward repair |
As of 2026, R-1234yf refrigerant retails for $30 to $60 per ounce. A Civic holds roughly 19 to 22 ounces, making a shop recharge surprisingly cost-effective when you factor in recovery equipment and proper vacuum procedures. For context on how repair costs stack up across different systems, our breakdown of steering repair expenses covers another common maintenance category.
One important note: if a shop quotes a compressor replacement, ask whether the condenser was inspected too. Debris that damages the condenser sends metal particles through the entire system. Replacing the compressor while ignoring a damaged condenser leads to a second failure.
For another example of how HVAC systems fail across different models, our writeup on Nissan Rogue heater problems compares common climate control failure patterns.
Mistakes That Turn a Simple Fix Into an Expensive One
The biggest mistake is adding refrigerant without finding the leak first. It might restore cooling for a week or two. Then you're back to square one, out $50 to $80 on refrigerant you just vented.
A second common error is ignoring the condenser when replacing a compressor. If road debris punctured the condenser, metal particles are circulating through the system. Installing a new compressor without flushing the lines or replacing the condenser guarantees another failure within months.
Some owners skip the evacuation step during a recharge. Drawing a vacuum before charging removes moisture from the system. Moisture inside AC lines creates acid that corrodes internal components.
This is especially critical in humid climates.
Also, never mix refrigerant types. Older Civics use R-134a. Newer models use R-1234yf.
These are not interchangeable. Mixing them damages the compressor and may violate EPA regulations. Always check your model year before purchasing refrigerant.
| Mistake | Consequence |
|---|---|
| Adding refrigerant without leak repair | Temporary fix, wasted money |
| Ignoring condenser damage | Compressor failure repeats |
| Skipping vacuum evacuation | Acid buildup, internal corrosion |
| Mixing refrigerant types | Compressor damage, legal risk |
| Overtightening fittings | Cracked ports, new leaks |
If you suspect your cooling system has deeper issues beyond the AC, check whether other thermal components are working properly. Our breakdown of radiator failure symptoms covers warning signs across the broader cooling system.
FAQs: Common Honda Civic AC Questions Answered
Why does my AC work in the morning but stop by afternoon?
Low refrigerant often masks itself this way. Cool morning temperatures keep the system just functional enough. As ambient heat rises, the reduced charge can't keep up.
Pressure drops, the low-side switch disengages the compressor, and warm air takes over.
Can I just recharge my Civic AC without visiting a shop?
You can use a self-service recharge can with a built-in gauge. But 2018 and newer Civics require precise R-1234yf charge levels measured by weight. Overcharging damages the compressor.
If you go the DIY route, follow the gauge readings carefully and stop when the low side reads within the target range.
How long should a recharge last if there's no leak?
A properly sealed system holds its charge indefinitely. Most manufacturers design AC components to last the life of the vehicle. If you're recharging annually, there is a leak somewhere.
Find it before recharging again.
Is it safe to run the AC with a known refrigerant leak?
Running a low-charge system puts excessive strain on the compressor. Without sufficient refrigerant, the compressor lacks the lubrication it needs. Extended operation risks burning out the compressor, turning a $150 leak repair into a $1,500 replacement.
Stop using the AC once you confirm a leak.
What does a clicking sound from the engine bay mean?
That click is the compressor clutch attempting to engage. If it clicks repeatedly without staying engaged, the system likely has low refrigerant. The clutch engages, the low-pressure switch detects insufficient charge, and it cuts power.
This cycling pattern usually points to a charge problem rather than a mechanical clutch failure.
Your Decision Path: What to Do Next Based on Your Findings
The path forward depends entirely on what the diagnostic steps revealed.
Clutch won't engage and pressures are low. You have a refrigerant leak. You need leak detection, repair, evacuation, and a proper recharge. A shop handles this best unless you own recovery equipment.
Clutch cycles on and off rapidly. The system is low on charge but may not have a significant leak. Try a careful recharge with the correct refrigerant type. Monitor pressure readings.
If cooling holds for more than a few weeks, the slow leak may be minor enough to monitor.
Pressures look normal but air stays warm. Focus on the blend door actuator and HVAC controls. This is an electrical or mechanical issue inside the dashboard, not a refrigerant problem. A scan tool that communicates with the HVAC module narrows this down fast.
Everything checks out and cooling is marginal. Consider the condenser fan and airflow. A weak fan or partially blocked condenser reduces heat exchange even with a perfect charge. Cleaning debris from the condenser fins sometimes restores performance noticeably.
Whatever path you take, don't ignore the problem. A non-functioning AC forces you to drive with windows down, which increases fatigue on long drives. If your Civic shows other dashboard warning lights alongside the AC issue, that pattern may point to a broader electrical concern.
Our guide to interpreting dashboard warning indicators explains how to read common symbols across modern vehicles.
For official Honda maintenance schedules and system specifications, the Honda Owners site provides model-specific service intervals and technical bulletins you can reference during your diagnosis.