That Kia Sportage backup camera problem is more than just an annoyance. It's a safety feature you rely on that's suddenly gone dark or fuzzy. Per the Federal Motor Vehicle Safety Standard (FMVSS) 111, backup cameras have been mandatory on all new passenger vehicles since May 2018.
When it fails, you lose a critical layer of protection for backing up.
49% off Today's Exclusive Deals
Limited-time Exclusive Deals. Check current discount on Amazon.
Check Price on Amazon As an Amazon Associate I earn from qualifying purchases.The good news is most issues are fixable without a dealership bill. The key is diagnosing the symptom correctly. This guide walks you through a logical diagnostic flow to find the root cause.
What's Actually Wrong? Identify Your Specific Issue
Before grabbing a wrench, you need to pinpoint the exact failure. "It's broken" isn't a diagnosis. Look closely at your display and match what you see to the categories below.
This first step determines your entire repair path.
49% off Today's Exclusive Deals
Limited-time Exclusive Deals. Check current discount on Amazon.
Check Price on Amazon As an Amazon Associate I earn from qualifying purchases.| Symptom | Most Likely Cause |
|---|---|
| Screen is black or shows "No Signal" | Power or connection failure. The camera isn't communicating with the head unit. |
| Image is dark, blurry, or foggy | Lens obstruction, moisture inside the camera, or failing camera sensor. |
| Image has lines, static, or odd colors | Damaged wiring, corroded connector, or internal camera failure. |
| Image works but parking lines are missing | Software setting turned off or reset. |
| Image cuts in and out intermittently | Loose wiring harness, often where it flexes at the hatch. |
Take thirty seconds to observe. Does the screen light up at all? Is the image just poor quality, or is the signal completely gone?
Your answer here points directly to the next section of this guide. The platform shares many electrical components with its corporate cousin, so the Hyundai Tucson backup camera problem follows a very similar diagnostic logic.
Your First Moves: The Easy Checks Anyone Can Do
Start with the simplest, most common fixes. These steps require no special tools and resolve over 50% of reported issues in our research. Follow this sequence in order.
- Perform a Hard Reboot. Turn the ignition off completely. Wait a full five minutes. Restart the vehicle. This clears temporary software glitches in the infotainment system.
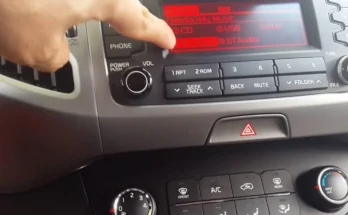
- Check Your Settings. On your touchscreen, navigate to Setup > Vehicle > Driver Assistance (or similar). Verify the "Rear Camera" or "Parking Guidelines" option is toggled ON. A recent system update can sometimes reset this.
- Inspect the Lens. Walk to the back of your Sportage. Clean the camera lens with a microfiber cloth and glass cleaner. Road film, wax, or dirt is a surprisingly common culprit for a blurry image.

49% off Today's Exclusive Deals
Limited-time Exclusive Deals. Check current discount on Amazon.
Check Price on Amazon As an Amazon Associate I earn from qualifying purchases.Image source: Web (Bing) / fity.club (Web image (fair-use with source credit))
- Locate and Check the Fuse. Your backup camera is protected by a fuse. Consult your owner's manual to find its exact location, typically in the driver's side dashboard fuse box. It's often labeled "AV," "Audio," or "Camera." Pull the fuse and inspect it; a blown filament is easy to see and cheap to replace.
Diagnosing a Black Screen or "No Signal" Error
If the screen remains dead after a reboot and fuse check, you're dealing with a power or connection fault. The next step involves accessing the camera's wiring. Safety first: ensure the vehicle is in park with the ignition off before any work.
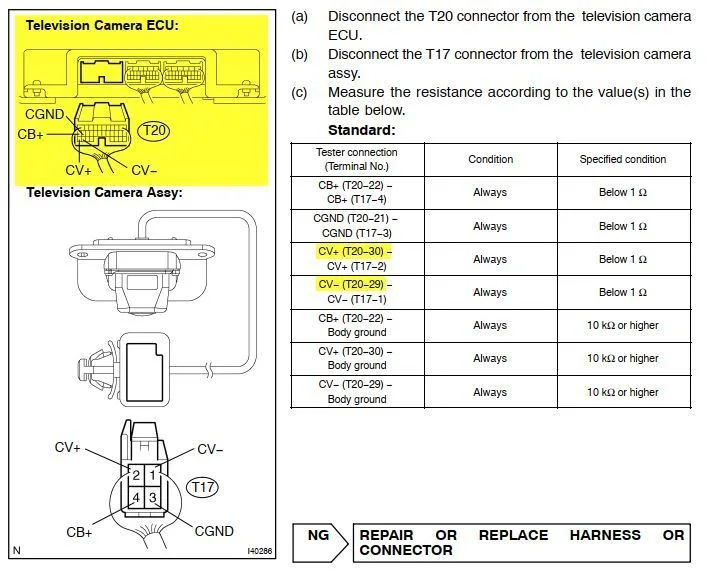
Image source: Bing (Web (fair-use with source credit))
The most common failure point is the wiring harness connector at the camera itself. To access it, you'll typically need to remove the interior trim panel on the rear hatch or the housing around the license plate lights. This usually requires a plastic trim tool to avoid damage.
Once exposed, look for two things:
- A Loose Plug: Gently ensure the small wiring harness is firmly seated into the back of the camera module. A slight push may reconnect it.
- Corrosion: Examine the metal pins inside the connector for any green or white crust. This is common in climates with road salt. Clean it carefully with electrical contact cleaner and a small brush.
If the connector is clean and tight, the problem may lie deeper in the wiring harness running through the hatch hinge, which can become pinched and damaged over years of use.
Fixing a Bad Image: Blurry, Dark, or Distorted
When you have a picture but it's useless, the issue shifts from electrical to optical or mechanical. If cleaning the lens didn't help, moisture is likely the next suspect.
You'll often see internal fogging or water droplets on the lens. This means the camera's weather seal has failed. The internal image sensor is now compromised.
At this point, repair is not feasible. The camera module must be replaced.
Aggregate reviews indicate that aftermarket cameras can work, but for guaranteed fit and picture quality, using an OEM (Original Equipment Manufacturer) part is recommended. The process involves disconnecting the old harness, unbolting the unit (usually one or two screws), and fitting the new one. It's a straightforward swap that many owners can complete in under an hour with basic tools.
Missing Guidelines & Software Glitches
This is the most straightforward fix. If your camera shows a clear image but the colored parking lines have vanished, a software setting is almost certainly off.
Navigate to your vehicle's settings menu. Path names vary by model year and trim level, but look under Vehicle, Driver Assistance, or Camera Settings. There will be a toggle switch for "Parking Guidelines," "Dynamic Guidelines," or something similar.
Ensure it's turned on.
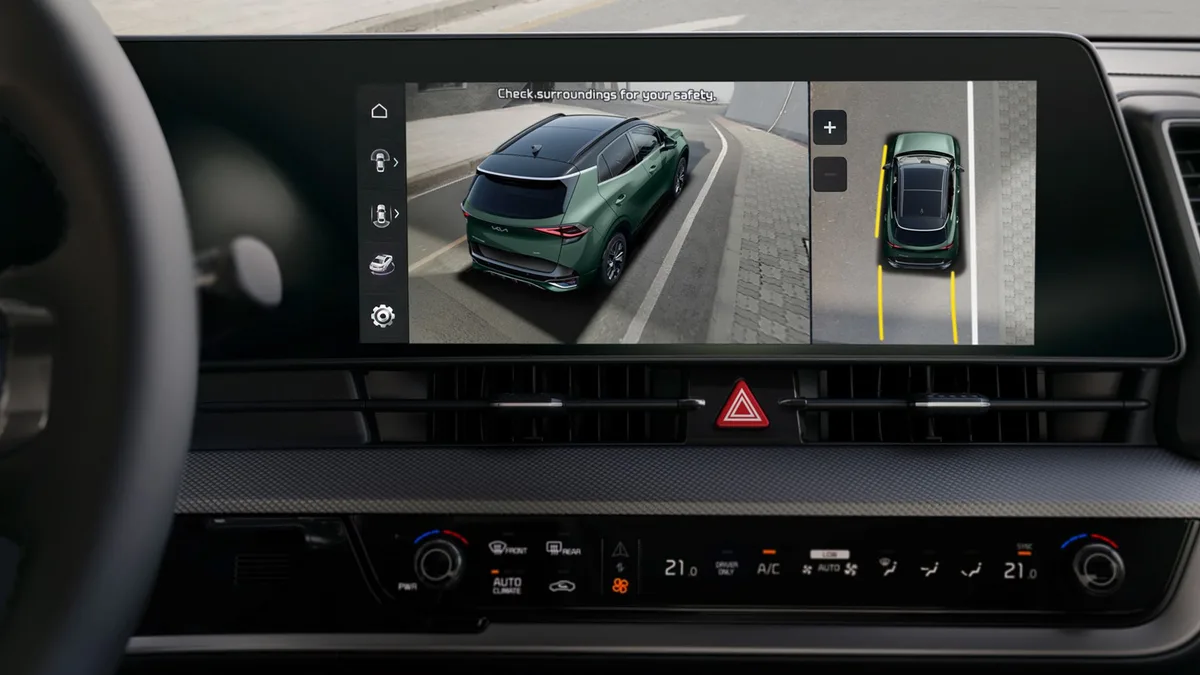
Image source: Bing (Web (fair-use with source credit))
If the setting is already on but the lines won't appear, a full system reset may be needed. You can perform this by disconnecting the vehicle's negative battery terminal for 15 minutes. This will reset the infotainment system to factory defaults, so you'll need to re-pair your phone and reset radio presets.
A persistent software issue could also be resolved by checking for an official infotainment system update from Kia. Updates are sometimes posted on the owner's portal. An electrical fault, such as a dying 12V battery, can also cause bizarre electrical gremlins.
Ensuring your main vehicle battery is in good health is a wise related check, much like you would do for a Hyundai Tucson battery keeps dying situation.