Dealing with a Subaru Outback AC not cold is frustrating, especially when summer heat hits hard. The good news is that most causes are easy to diagnose once you know what to look for. You just need to work through the system in the right order instead of guessing and throwing money at parts.
Manufacturer specifications indicate that the compressor clutch engagement is the single most reliable diagnostic starting point. That one visual test splits your entire troubleshooting path in half. Let's walk through it step by step.

49% off Today's Exclusive Deals
Limited-time Exclusive Deals. Check current discount on Amazon.
Check Price on Amazon As an Amazon Associate I earn from qualifying purchases.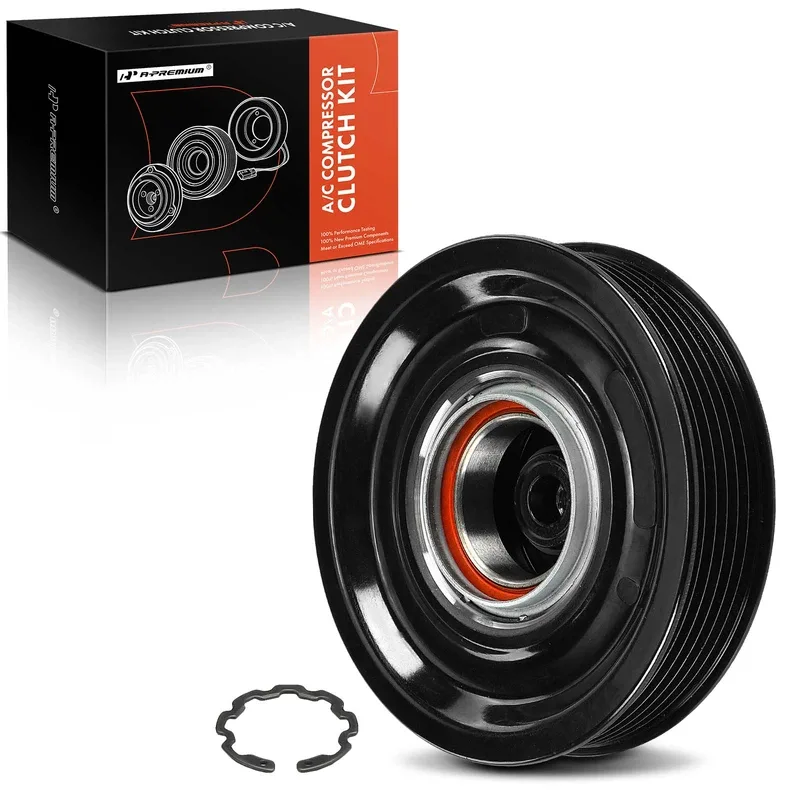
Image source: Bing (Web (fair-use with source credit))
Quick Answer
A Subaru Outback AC not cold is usually caused by a refrigerant leak, a compressor clutch failure, or an electrical fault. Start by checking if the compressor clutch engages when you turn the AC on max. Then check refrigerant pressure and airflow.
49% off Today's Exclusive Deals
Limited-time Exclusive Deals. Check current discount on Amazon.
Check Price on Amazon As an Amazon Associate I earn from qualifying purchases.Most fixes are straightforward once you find the root cause. Do not throw parts at it without a proper test.
Start Here: Confirm It's Actually an AC Problem
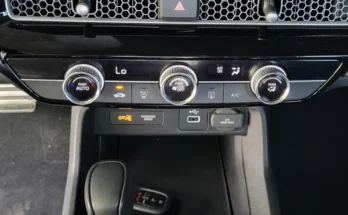
Before you touch any tools, confirm the system is truly underperforming. Grab a simple kitchen thermometer and hold it in the center dash vent. Run the AC on max cold with recirculation mode on and the engine at normal idle speed.
A healthy system should blow roughly 40 to 50 degrees Fahrenheit in moderate ambient heat.
If your vent temperature reads above 60°F, you have a real issue. But the fix might not be refrigerant at all. Weak airflow can make perfectly cold air feel warm.
49% off Today's Exclusive Deals
Limited-time Exclusive Deals. Check current discount on Amazon.
Check Price on Amazon As an Amazon Associate I earn from qualifying purchases.That is why your next check should be airflow strength.
Put your hand over the vent and feel how hard the air is pushing out. Weak airflow points to a clogged cabin air filter or a failing blower motor. Strong airflow means the problem sits deeper in the system.
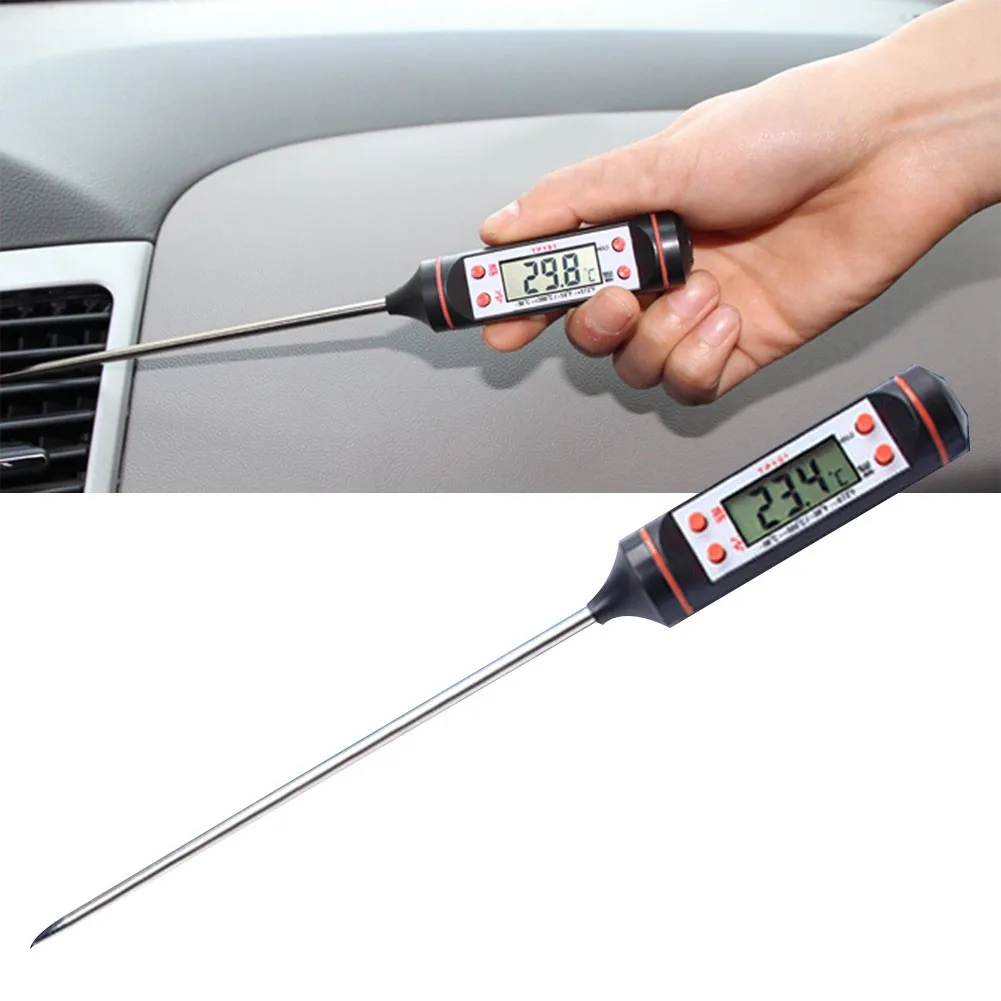
Image source: Bing (Web (fair-use with attribution))
The cabin air filter sits behind the passenger side glovebox. If you have never changed it, do that first. A clogged filter acts like a blanket over the evaporator.
It chokes airflow and makes the AC seem dead when the refrigerant charge is actually fine.
Also check that you are on recirculation mode, not fresh air. Recirculation pulls cabin air through the evaporator repeatedly, which gets much colder. Fresh air mode pulls in hot outside air and makes the system work far harder.
This is a free test that costs zero dollars and takes five seconds.
First Decision Branch: Is the Compressor Clutch Spinning?
Now open the hood and look at the AC compressor. It sits on the passenger side of the engine, driven by the serpentine belt. You are looking for the center hub of the clutch pulley.
With the engine running and the AC set to max cold, the clutch hub should be spinning with the belt. If the hub is stationary while the pulley spins, the compressor is not engaging. That single observation sends you down one of two totally different diagnostic paths.
A normal engagement looks like a smooth, steady spin. Intermittent engagement, where the clutch cycles on and off every few seconds, is called short cycling. That points to low refrigerant or a failing pressure switch.
No engagement at all points to an electrical or mechanical clutch problem.
Here is the logic you need:
- Clutch spins, air is still warm: go to Branch A below
- Clutch does not spin: go to Branch B below
- Clutch short cycles on and off rapidly: likely low refrigerant or a bad pressure switch
Write down which symptom you see. This simple observation saves you hours of confusion and prevents replacing parts you do not need. If you want a reminder on related system issues, our guide on car AC blowing hot air covers similar ground for other models.
Branch A: Compressor Engages, But Air Is Still Warm
If the clutch spins but the air stays warm, the compressor is doing its job. Something else is killing your cooling. The most common culprit is low refrigerant caused by a slow leak.
The system is closed, so if the charge is low, it has escaped somewhere.
Check the condenser fan next. It sits in front of the radiator and pulls air through the condenser coils. If that fan is dead, high-side pressure spikes and cooling performance collapses, especially at idle.
The system can still cool somewhat at highway speed because ram air replaces the fan.
A blend door actuator is another sneaky cause. One side hot, one side cold is the classic symptom. The blend door mixes outside air with the AC output, and when the actuator fails, it sticks in the heat position.
You might also hear clicking from behind the dashboard.
Low refrigerant on a Subaru Outback is often a condenser leak. Road stones and debris punch tiny holes in the fins. The system slowly bleeds refrigerant until the evaporator frosts poorly and vent temps climb.
A UV dye leak test is the cleanest way to confirm this without a shop.
Also check the cabin air filter if you skipped it earlier. And remember that a partially blocked evaporator can freeze over on long drives, which kills airflow. Thaw the car overnight and see if cooling returns temporarily.
If it does, the issue is likely airflow-related, not refrigerant-related.
Before you recharge anything, read our guide on car air conditioning not cold for a broader overview. It walks through the same principles with additional troubleshooting steps.
Branch B: Compressor Won't Engage
If the clutch hub stays still while the pulley spins, you have an electrical or mechanical failure. Start with the cheap stuff. Check the AC fuse in the interior fuse box and the under-hood fuse.
A blown fuse is a five-dollar fix, and it happens more often than you would think.
Next is the AC compressor relay. Swap it with the horn relay if they match, or test it with a multimeter. Relay failures leave the clutch without power.
The clutch coil itself can also burn out internally. You can test it by checking resistance with a multimeter across the clutch connector.
The low-pressure switch sits on the refrigerant line and prevents the compressor from running when pressure is dangerously low. If the system is nearly empty, this switch stays open and kills clutch engagement. That is a normal safety behavior, not a part failure.
Here is a quick workflow for the non-engaging clutch:
- Check fuse and relay first: cheapest and fastest
- Use a multimeter to check power at the clutch connector
- Measure clutch coil resistance: normally 3 to 5 ohms
- Test the low-pressure switch by jumping the connector pins briefly
If you bypass the pressure switch and the clutch clicks in, you have a low refrigerant situation. Do not just run it that way. The compressor will starve for oil and fail fast.
If the clutch still will not engage with power applied, the clutch gap may be worn, or the coil is dead. The clutch gap spec for most Subaru compressors runs about 0.012 to 0.024 inches. An oversized gap stops the clutch from pulling in.
A seized compressor is the worst case. Try turning the clutch hub by hand with the belt off. If it will not rotate freely, the compressor is locked up, and you need a replacement.
Our guide on car ac making noise describes the warning sounds that often show up before a full seizure.
Reading the Gauges: What Normal Pressure Looks Like
Once you know the clutch engages, the next step is measuring refrigerant pressure. This is where a manifold gauge set becomes your best friend. It screws onto the low-side and high-side service ports and shows you exactly what the system is doing.
For R-134a systems found in Outbacks from 2010 to 2019, normal low-side pressure sits around 25 to 45 psi at 80 degrees Fahrenheit ambient. High-side pressure runs roughly 200 to 250 psi at the same condition. These numbers shift with outside temperature, so compare against a chart.
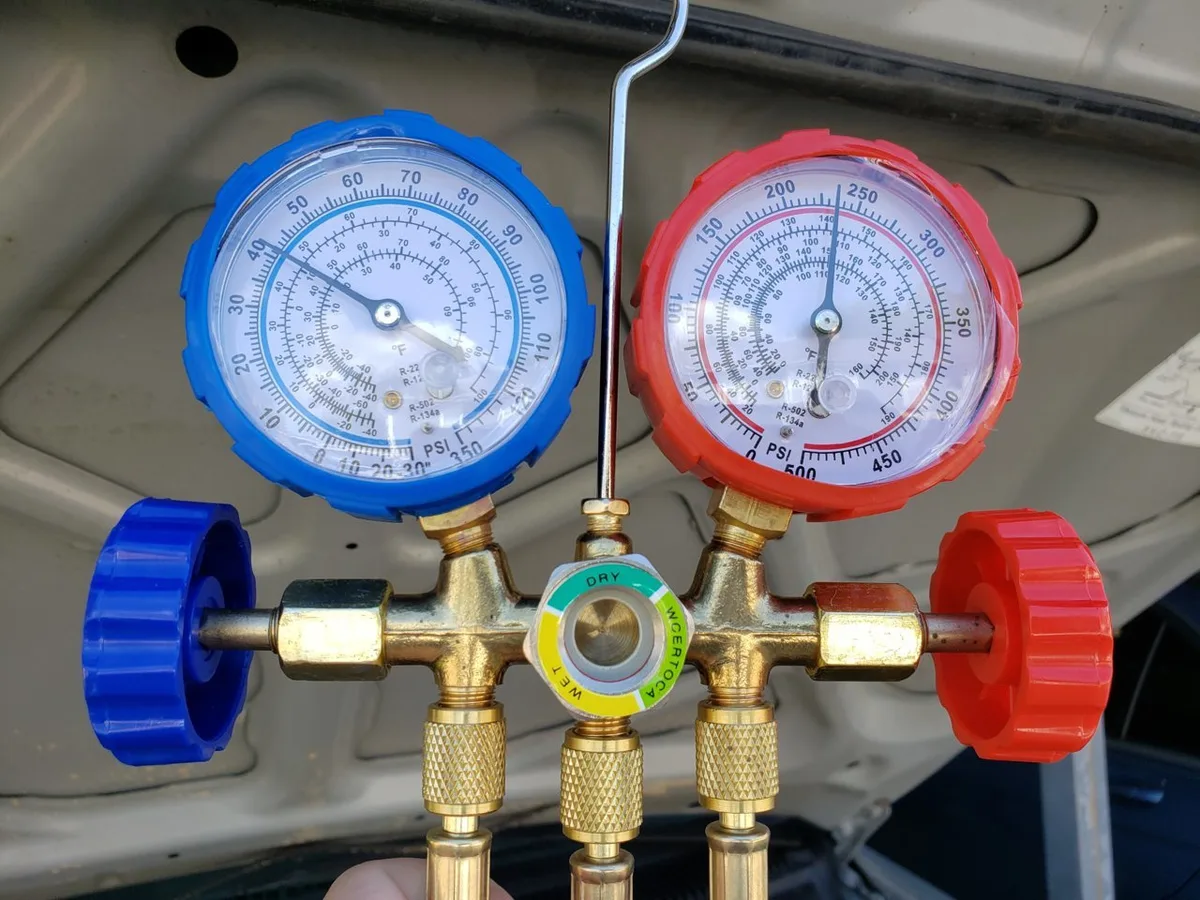
Image source: Bing (Web (fair-use with attribution))
If both pressures read low, the system is undercharged. You have a leak and need to find it before adding refrigerant. If both read high, the condenser is likely blocked or the fan is failing.
And if low-side reads near vacuum while high-side reads high, you have a restriction, usually a clogged thermal expansion valve.
Never fix an undercharged system by guessing with a retail recharge can. Those cans add refrigerant without removing moisture or checking for leaks. You can easily overcharge, which sends high-side pressures through the roof and damages the compressor.
A proper rebuild requires a vacuum pump to draw the system down before charging.
If refrigerant level checks out, verify the factory charge weight. Subaru specifies the charge in ounces on a label under the hood. Common Outback charges land around 17 to 24 ounces depending on year and engine.
Weighing the refrigerant as you add it is the only accurate method.
When you disconnect the gauges, check the service port caps. Missing caps let debris into the valve cores. That is a tiny issue that causes slow leaks over months.
Replace any missing caps with new ones from an auto parts store.
For 2020 and newer Outbacks, the refrigerant switches to R-1234yf. That system uses different fittings and higher pressure. Do not mix the two.
Charging R-134a into an R-1234yf system can damage components and is not compliant with EPA regulations. Check your under-hood label before you connect anything.
If you find a leak and want to fix it yourself, a UV dye kit is the practical route. It lets you trace the exact weeping point with a black light. Common leak spots on older Outbacks include the condenser face, line O-rings, and the compressor shaft seal.
Seals also dry out after long winter storage, which matches the "worked fine last fall, dead this spring" complaint.
Our guide on car radiator fan not working is a useful companion here, since fan failure directly drives high-side pressure. And if you ever smell a sweet coolant odor near the firewall, check our car coolant leaking article, since a leaking heater core can mimic warm-air complaints.
Common Mistakes That Cost Subaru Owners Hundreds
The same five mistakes keep showing up across owner forums. Each one turns a cheap fix into a costly repair. Avoid these.
Overcharging with retail recharge cans. Small cans add refrigerant without evacuating the system. An overcharge trips the high-pressure switch and forces the compressor into short cycling. You then pay for a diagnostic fee plus a proper evacuation.
The $40 can ends up costing $200.
Skipping the cabin air filter. A clogged filter chokes airflow and makes cold air feel weak or absent. The filter costs around $15 and takes five minutes to replace. It should be your first move, not your last.
Replacing the compressor when the clutch was the problem. The clutch is a serviced component on many Subaru compressors. A worn air gap or a dead coil costs a fraction of a full compressor swap. Demand a clutch bench test before approving a replacement.
Mixing up R-134a and R-1234yf. The service fittings look similar but are not interchangeable. Mixing refrigerants contaminates the entire system and forces a full component flush. Check the under-hood label before connecting anything.
Ignoring rapid clutch cycling. Short cycling usually means low refrigerant. Running the compressor that way starves it of oil and leads to bearing failure. Turn the AC off if you see the clutch snap on and off every few seconds.
When to Stop DIY and Call a Professional
Some jobs are beyond a driveway mechanic. Knowing when to stop saves you from a bigger bill. The EPA's SNAP program regulates refrigerant handling, and as of 2026, buying bulk refrigerant under EPA Section 608 requires an active technician certification.
Over-the-counter cans are still sold, but they do not make you a certified technician.
Call a professional if you find these:
- A seized compressor that will not turn by hand
- A system that pulls vacuum but will not hold it
- Refrigerant contamination from mixing types
- Any electrical short in the wiring harness
Those failures require recovery equipment, a vacuum pump, and proper recycling. A shop will also pin down your exact refrigerant charge weight from the factory label.
| Job | DIY cost | Shop cost |
|---|---|---|
| Clutch gap adjustment | $0 with a feeler gauge | $150 to $250 diagnostic plus repair |
| Cabin air filter | $15 part | $60 to $80 installed |
| Compressor replacement | $400 to $700 part plus labor | $1,200 to $1,800 |
| Evacuation and recharge | $300 in tools plus refrigerant | $150 to $250 |
If your repair quote exceeds half the car's value, weigh the replacement cost. At that point, compare the repair price against the market value of your Outback and decide whether the money makes sense.
Frequently Asked Questions
Why is my Outback AC cold at night but warm in afternoon heat?
High ambient heat raises refrigerant pressure beyond what a weak condenser fan can manage. The fan fails to shed heat, pressure climbs, and vent temps follow. This pattern points to a failing fan, not low refrigerant.
Test the fan at idle before touching the charge.
Is it safe to use a recharge kit from an auto parts store?
It is safe only if the clutch engages and pressures are genuinely low. Most owners skip that step. Overcharging causes more damage than the original leak.
Use it once to top off, then find and fix the leak.
What refrigerant does my 2015 Outback take?
The 2015 Outback uses R-134a. Models built from 2020 switched to R-1234yf. The stamped label under the hood tells you exactly which one your car takes.
Mixing the two is a serious contamination issue.
How often should the AC system be serviced?
Subaru does not publish a fixed service interval for the sealed AC loop. It should hold its charge for years. Smart owners check vent temperature and clutch engagement each spring.
Full evacuations are only needed after a leak repair or component replacement.