A Volkswagen Jetta alternator problem usually announces itself with a battery warning light on your dashboard, followed by a dead battery or dimming headlights. This isn’t a minor glitch. The alternator is the heart of your car's electrical system, and when it fails, you're on a countdown to being stranded.
Manufacturer specifications indicate a healthy Jetta charging system should maintain between 13.5 and 14.5 volts with the engine running. If your multimeter reads outside this range, the alternator or its voltage regulator is almost certainly the culprit. Here’s how to diagnose and fix the issue safely, without wasting money on parts you don’t need.

49% off Today's Exclusive Deals
Limited-time Exclusive Deals. Check current discount on Amazon.
Check Price on Amazon As an Amazon Associate I earn from qualifying purchases.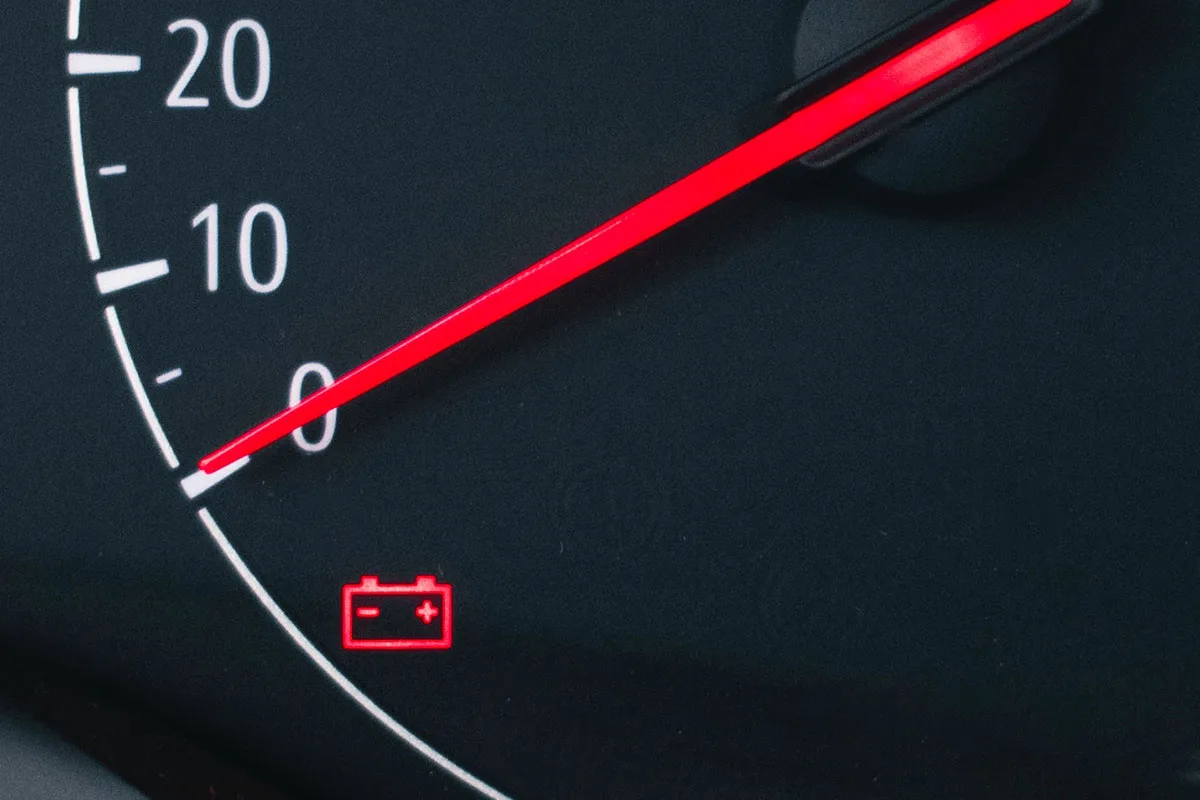
Image source: Bing (Web (fair-use with source credit))
What's Actually Going Wrong With Your Jetta's Alternator
The first sign is usually that red battery-shaped icon glowing on your instrument cluster. But don't assume the battery itself is dead. An alternator's job is to recharge the battery while the engine runs.
49% off Today's Exclusive Deals
Limited-time Exclusive Deals. Check current discount on Amazon.
Check Price on Amazon As an Amazon Associate I earn from qualifying purchases.If it stops doing that, your battery drains quickly and can't be recharged, leaving you stuck.
Other classic symptoms include:
- Dimming Lights: Headlights, interior lights, or the dashboard may flicker or appear dim, especially at idle. This happens because the alternator isn't providing consistent power.
- Slow Engine Crank: When you turn the key, the engine turns over sluggishly. A weak battery, starved of charge, struggles to power the starter motor.
- Whining or Grinding Noise: A failing bearing inside the alternator often creates a noticeable whine that changes with engine speed. A grinding noise is more severe and indicates internal mechanical failure.
- Multiple Electrical Failures: Power windows might slow down, the radio could glitch, or the check engine light may appear. These point to unstable voltage across the car's networks.
- Smell of Burning Rubber or Hot Metal: An overheating alternator or a slipping, glazed serpentine belt can produce a distinct, unpleasant smell from the engine bay.
The pain point is clear: this is a safety and reliability risk. Losing electrical power means losing power steering assist (on electric systems) and reduced brake effectiveness. It's a problem that demands immediate, accurate diagnosis.
The One Thing You Should Check Before Replacing Anything
You should check the charging voltage with a digital multimeter before buying any parts. This simple test confirms whether the alternator is the problem or if you're chasing a bad battery, a poor ground connection, or a faulty cable.
49% off Today's Exclusive Deals
Limited-time Exclusive Deals. Check current discount on Amazon.
Check Price on Amazon As an Amazon Associate I earn from qualifying purchases.It's the single most important diagnostic step. Skipping it often leads to replacing a perfectly good alternator. The process takes about five minutes and requires a basic multimeter.
Step-by-Step Voltage Test:
- Prepare the Vehicle: Turn off the engine. Ensure the battery terminals are clean and tight. A loose or corroded connection will give you a false reading.
- Set Up Your Multimeter: Set it to DC Volts (20V scale). Touch the red probe to the positive battery terminal (+) and the black probe to the negative terminal (-).
- Test Battery Resting Voltage: With the engine off, a good battery should read approximately 12.4 to 12.7 volts. Anything below 12.0 volts indicates a deeply discharged or failing battery that needs charging or replacement.
- Start the Engine and Re-test: Start the Jetta and let it idle. Reconnect the multimeter probes to the battery terminals as before.
- Evaluate the Reading: A functioning alternator should now show a reading between 13.8 and 14.5 volts. If the voltage remains the same as the resting voltage (around 12.4V) or is lower, the alternator is not charging. If it spikes above 15 volts, the voltage regulator has likely failed, which can boil and destroy your battery.
Key Insight: As of 2026, digital multimeters remain the definitive tool for this check. Aggregate reviews show that a reliable, basic unit from a brand like Fluke or Klein Tools is a worthwhile investment for any car owner.
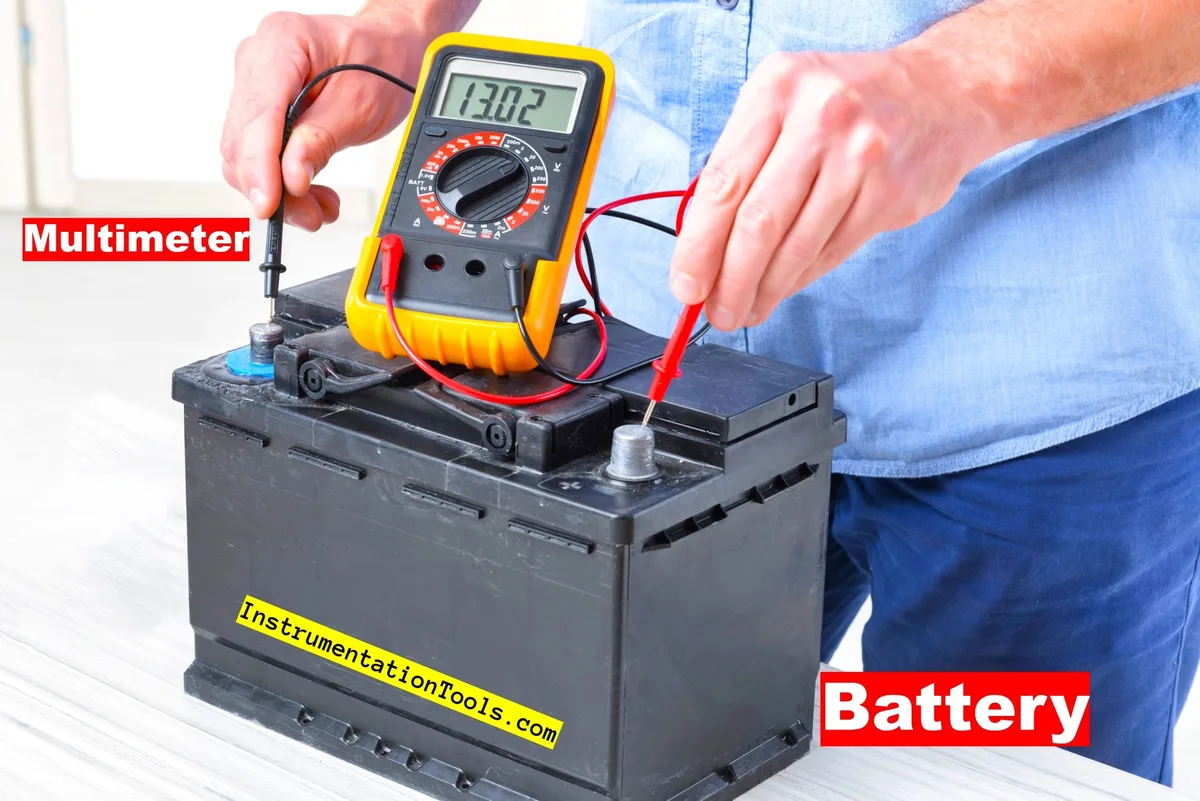
Image source: Bing (Web (fair-use with source credit))
Why Jetta Alternators Fail the Way They Do
Understanding the "why" helps you avoid repeat failures. The alternator is a complex unit with several common failure points, especially in VW models.
The integrated voltage regulator is the most frequent point of failure. It's the computer inside the alternator that controls output. When it fails, you get either undercharging (dead battery) or overcharging (fried battery and damaged electronics).
Inside the alternator, brushes wear down over time, and diodes in the rectifier (which converts AC to DC power) can burn out from heat or voltage spikes. A failed diode often causes a whining noise and erratic charging.
The Overrunning Alternator Pulley (OAP), or decoupler pulley, is another weak spot. This one-way clutch allows the alternator to spin freely when the engine suddenly decelerates, reducing belt vibration. When it seizes, it puts immense stress on the serpentine belt and bearings, often leading to that whining sound.
Model-Specific Patterns: Our research indicates that certain generations are more prone. The Mk6 Jetta (2011-2018) with the 2.0L TSI engine frequently sees voltage regulator issues. The Mk5 (2005-2010) models are known for OAP pulley failures.
Knowing your generation and engine helps you anticipate the most likely culprit.
A failing alternator puts your entire vehicle at risk. Per guidelines from organizations like the National Highway Traffic Safety Administration (NHTSA), maintaining critical vehicle systems is essential for safe operation.
How to Diagnose the Problem Safely Without Making It Worse
Once the voltage test points to the alternator, a proper workflow prevents misdiagnosis. Rushing this can lead to damaging expensive electronic control units (ECUs).
Safety First: Always disconnect the negative (-) battery terminal before doing any work on the charging system. This prevents accidental shorts that can fry fuses or modules.
Follow this diagnostic sequence:
- Visual Inspection (Engine Off): Check the serpentine belt for cracks, glazing, or excessive slack. A loose or worn belt can slip and fail to turn the alternator properly. Inspect the wiring harnesses connected to the alternator for damage or corrosion.
- Load Test the Battery: Even if the resting voltage was okay, a battery that can't hold a load is useless. Most auto parts stores will perform this test for free. It determines if your battery is part of the problem.
- Check for DTCs: Use an OBD-II scanner to check for diagnostic trouble codes. Codes like P0562 (System Voltage Low) or P0563 (System Voltage High) directly point to charging system faults.
- Perform a "Snap" Test: With the engine idling and the multimeter connected, have someone rev the engine to about 2,000 RPM briefly. The voltage should remain steady in the 13.8-14.5V range. If it fluctuates wildly or doesn't increase at all, the alternator's output is suspect.
- Check the Pulley: With the belt off (engine cool and battery disconnected), try to spin the alternator pulley by hand. It should spin smoothly and quietly. If it grinds, feels rough, or is locked, the bearing is shot. Also, verify the OAP pulley decouples; it should spin freely in one direction but engage in the other.
Common mistakes include testing voltage only at idle (a weak alternator may show good voltage until you add electrical load) and ignoring the ground strap from the engine to the chassis, which is critical for a complete circuit.
Your Repair Options: What to Buy, What to Pay, and What to Watch Out For
You've confirmed it's the alternator. Now you face a choice between different parts and repair methods, each with trade-offs in cost, reliability, and warranty.
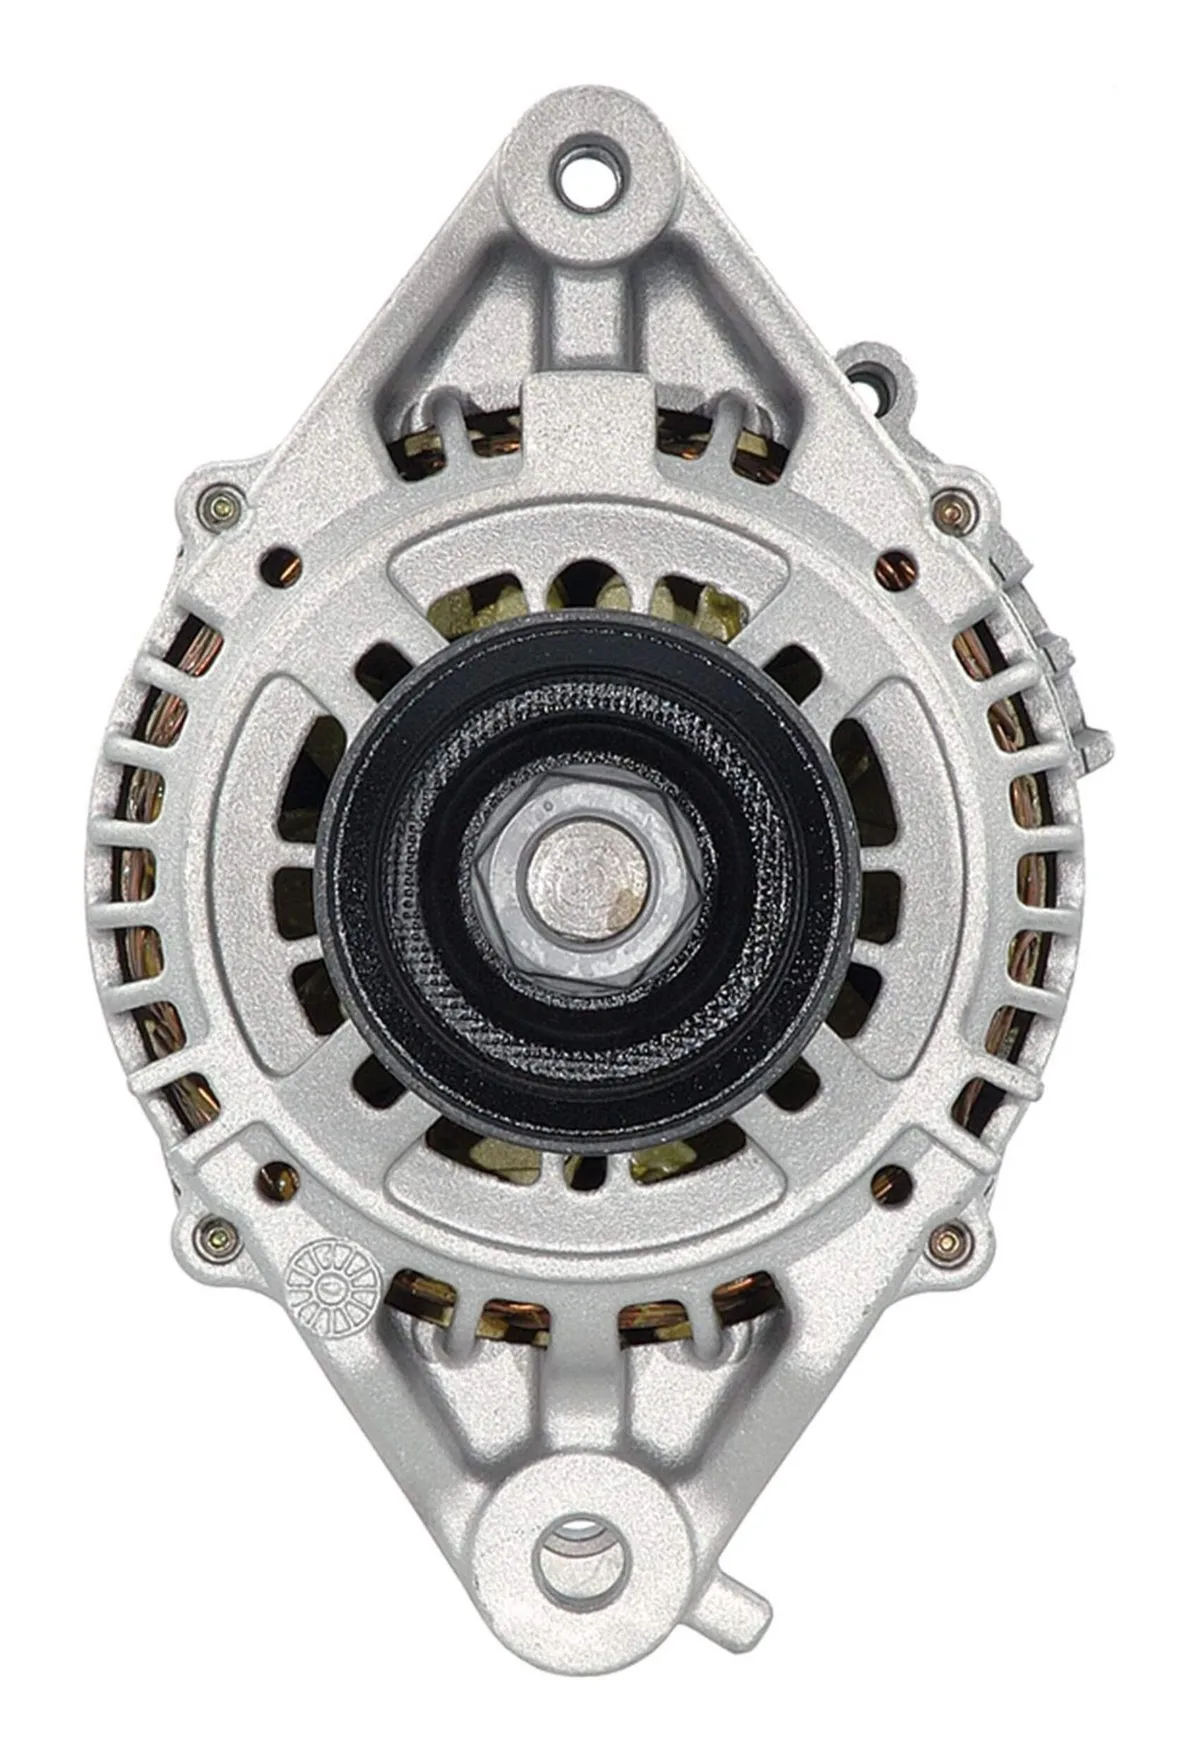
Image source: Bing (Web (fair-use with source credit))
| Option | Best For | Pros | Cons | Approximate Cost Range (Part Only) |
|---|---|---|---|---|
| New OEM (Bosch) | Owners wanting factory performance and longevity. | Exact-fit, highest quality, typically includes new pulley/regulator. | Most expensive option. | $350 – $600+ |
| New Aftermarket | Budget-conscious owners needing a solid, warrantied replacement. | Good value, widely available, often 1-3 year warranty. | Quality varies by brand. Research is key. | $100 – $250 |
| Remanufactured | The most economical choice for older vehicles. | Core charge rebate available, environmentally friendly. | Quality depends on rebuilder. Shorter warranty (90 days to 1 year). | $80 – $200 |
Critical Advice: If your Jetta has an OAP decoupler pulley, ensure the replacement alternator comes with one. Installing a solid pulley on a car designed for an OAP will cause severe belt vibration and premature failure.
Labor Cost Context: If you hire a professional, expect to pay for 1.5 to 2.5 hours of labor, depending on engine layout and shop rates. For a 2.0L TSI, the alternator is more accessible than on some other engines.
Pro Tip: When installing a new alternator, it's a best practice to also install a new serpentine belt and inspect the belt tensioner. A weak tensioner will cause the same problems you're fixing. And don't forget to recharge or reset the battery management system if your Jetta has one, as a deeply discharged battery can cause persistent electrical gremlins even after the alternator is fixed.
For other persistent electrical issues, you might investigate related systems, such as a battery that keeps dying or a steering problem linked to electrical faults.